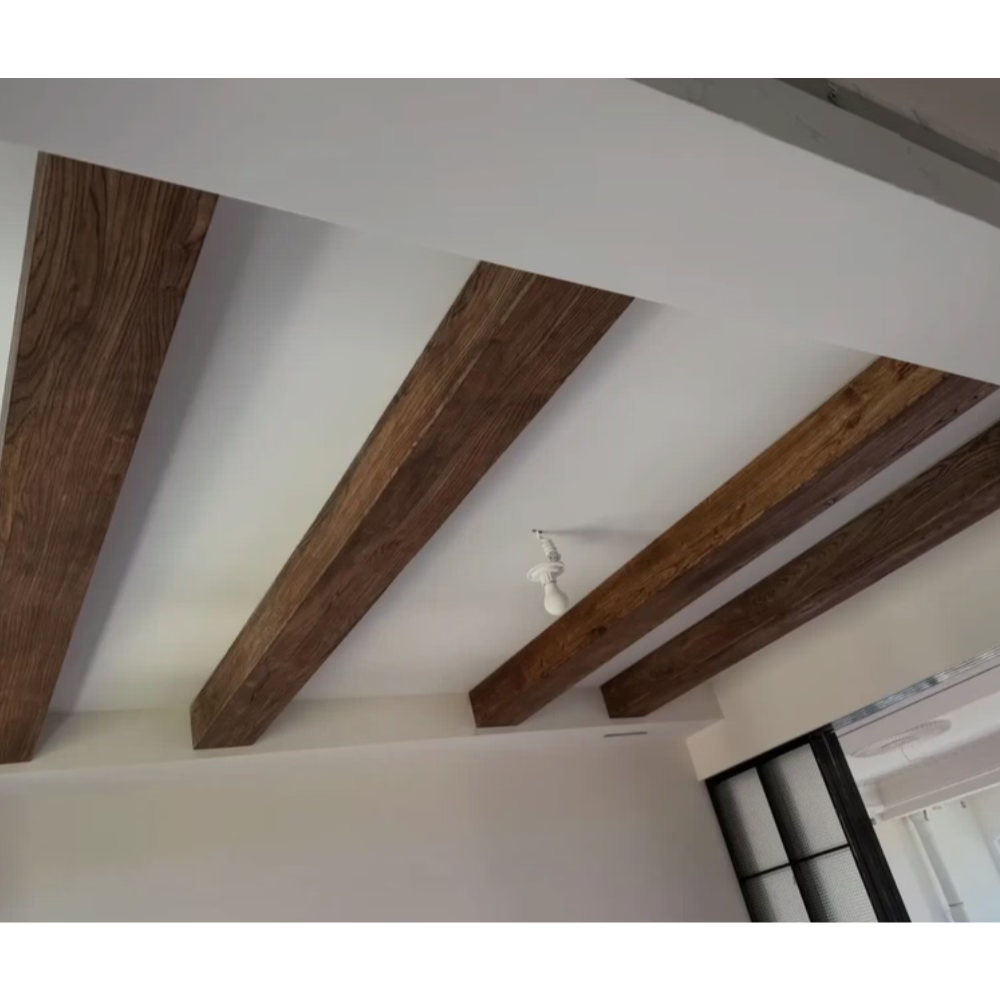
Decorative Ceiling Beams Polyurethane Faux Timber
Interior Installation: fauxwoodbeams 015
Carpenter Tradesman conversational Perspective
Been installing decorative beams since polyurethane first became a viable alternative to solid timber, and I'll tell you what I tell every homeowner who asks: most of the work is in the preparation. The actual beam mounting is straightforward - it's the layout, the cleat installation, and the finish work that determines whether the final result looks professional or amateur. After a few hundred installations, you develop opinions about what works and what doesn't. Here's what I tell my crew on day one of any beam job.
Faux Wood Beam Installation
Been installing decorative beams since polyurethane first became a viable alternative to solid timber, and I'll tell you what I tell every homeowner who asks: most of the work is in the preparation. The actual beam mounting is straightforward - it's the layout, the cleat installation, and the finish work that determines whether the final result looks professional or amateur. After a few hundred installations, you develop opinions about what works and what doesn't. Here's what I tell my crew on day one of any beam job.
writingStyle
carpenter-tradesman conversational
Tools Every Crew Member Needs
I require every installer on my crew to have their own laser level, their own stud finder, their own fine-tooth saw, and their own touch-up kit. Sharing tools slows the job and creates mistakes when the right tool isn't where you need it. The investment in duplicates pays back in faster jobs and fewer call-backs. We've been virtually callback-free on beam installations for the last four years because of this discipline.
Field Touch-Ups
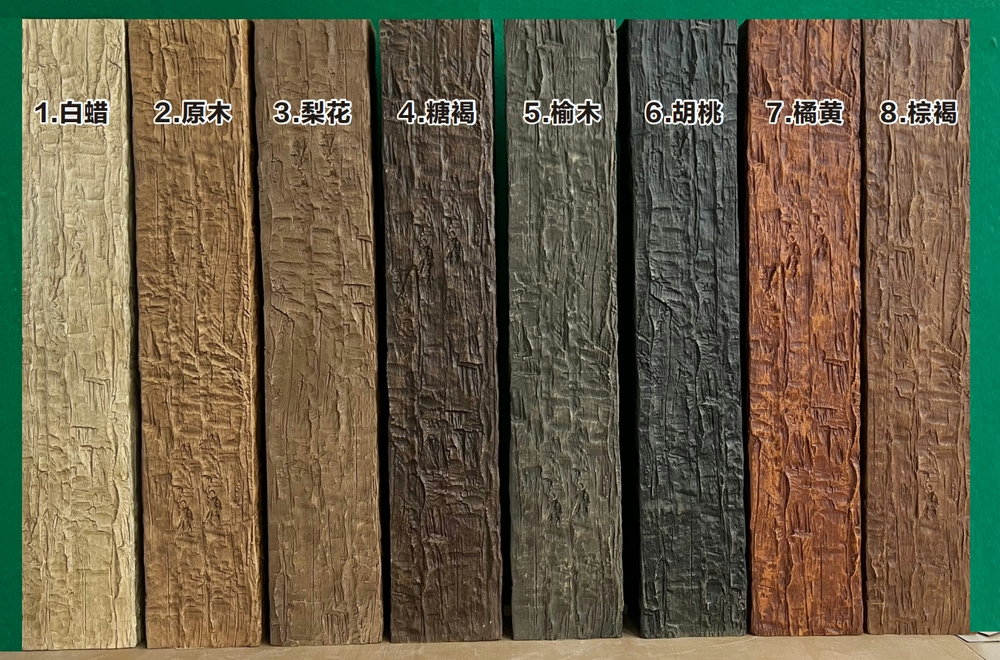
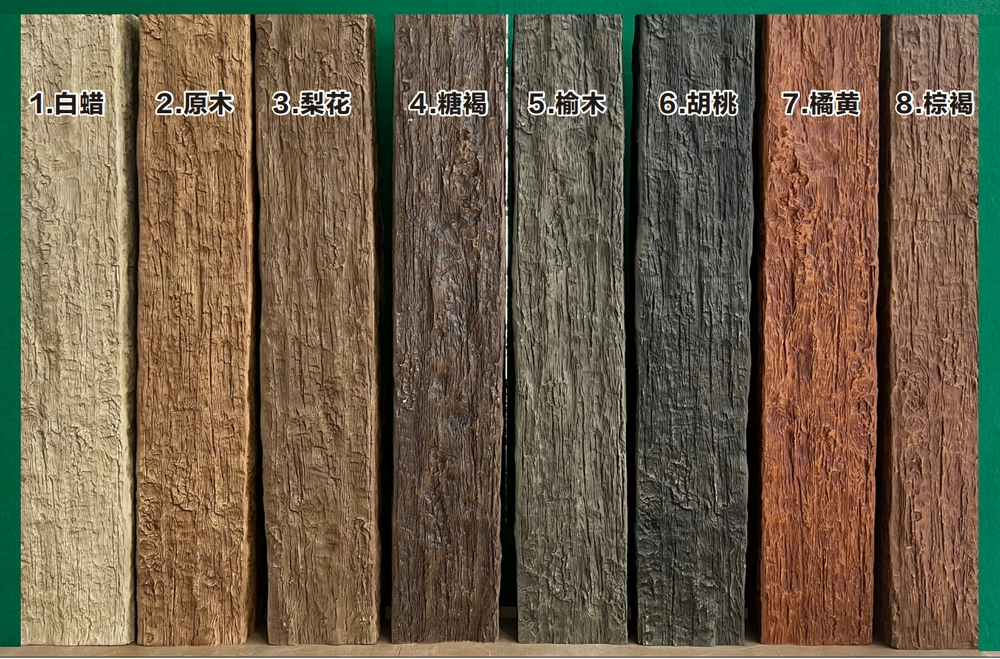
Every finish we supply comes with a touch-up kit containing the base stain, sealer, and colorant to match field repairs. Store the kit with the homeowner's other maintenance supplies and tell them where it is. The number one cause of 'my beam looks weird' calls three years after installation is the homeowner trying to clean a spot with the wrong product and removing the finish. Having the original touch-up materials on hand solves this problem instantly.
Crew Briefing Notes
- Rule1: The cleat is everything. If the cleat is straight, level, and properly secured, the beam job goes smoothly. If the cleat is wavy, the beam job becomes a fight with the material that nobody wins.
- Rule2: Measure at three points. Span length, midpoint, and at any transition point (like where the beam crosses a ceiling fixture). Ceiling heights are not always consistent, especially in older homes. Use the shortest measurement when cutting the cleat.
- Rule3: Pre-finish any cuts. If you trim the beam in the field, the cut end exposes raw polyurethane. Touch it up with the supplied finish materials before installation. An unfinished end on an otherwise finished beam is the first thing the eye notices.
- Rule4: Stagger your screws. Don't put all the trim screws in a straight line - alternate high and low on the cleat. This keeps the beam from racking along its length and provides better long-term hold.
- Rule5: Check sight lines before final fastening. Stand in the room's main viewpoint and look at the beam. If it appears straight from there, it's straight. The customer's eye will never check the level - they'll check how it looks from their chair.
Frequently Asked Questions
Are faux wood beams realistic looking?
Yes, our faux wood beams feature hand-carved textures and multi-step finishing that captures every detail of authentic aged wood. Most people cannot tell the difference.
How much do these beams weigh?
Our faux wood beams are approximately 88% lighter than real wood. A typical 8-foot beam weighs only 10-15 pounds, making DIY installation easy.
Can I install these outdoors?
Yes, we offer outdoor-rated faux wood beams that are UV-resistant and waterproof, perfect for covered patios and porches.
How do I get a quote?
Click the "Get Inspired - Contact Us" button above. We typically respond within 2-4 hours with pricing tailored to your project.