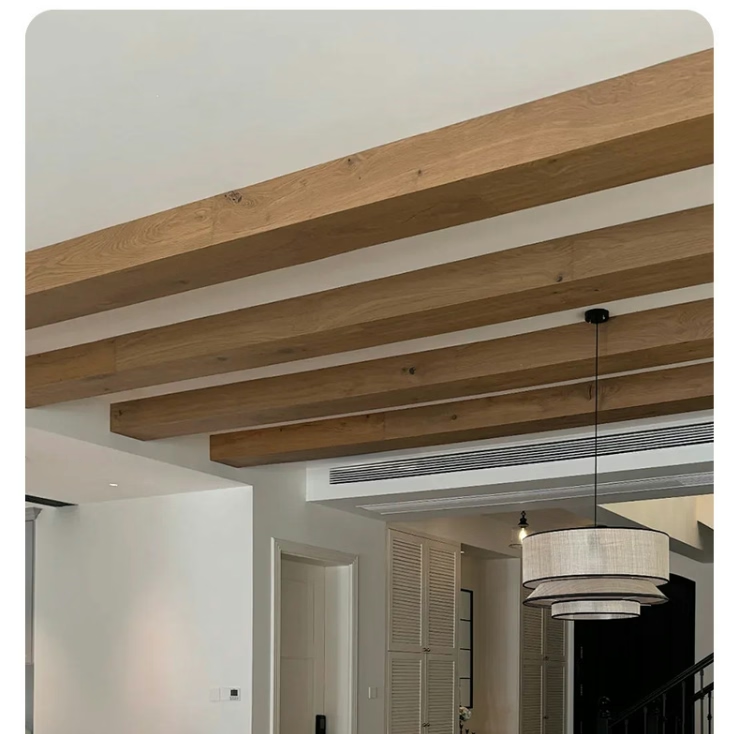
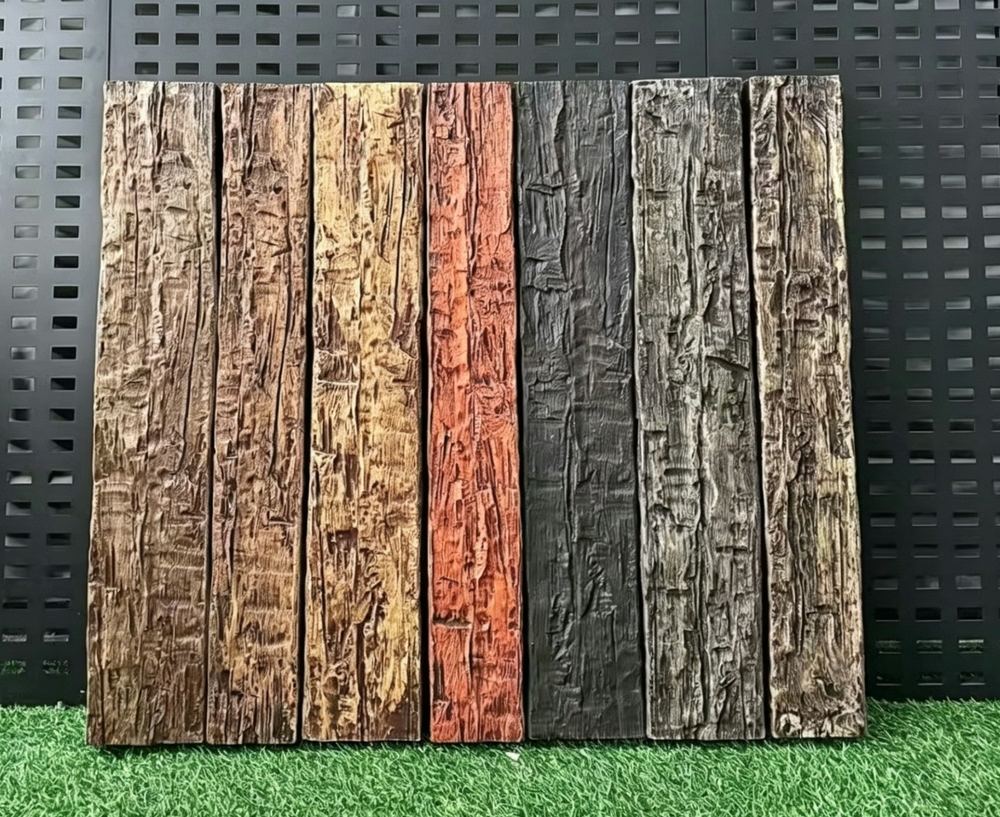
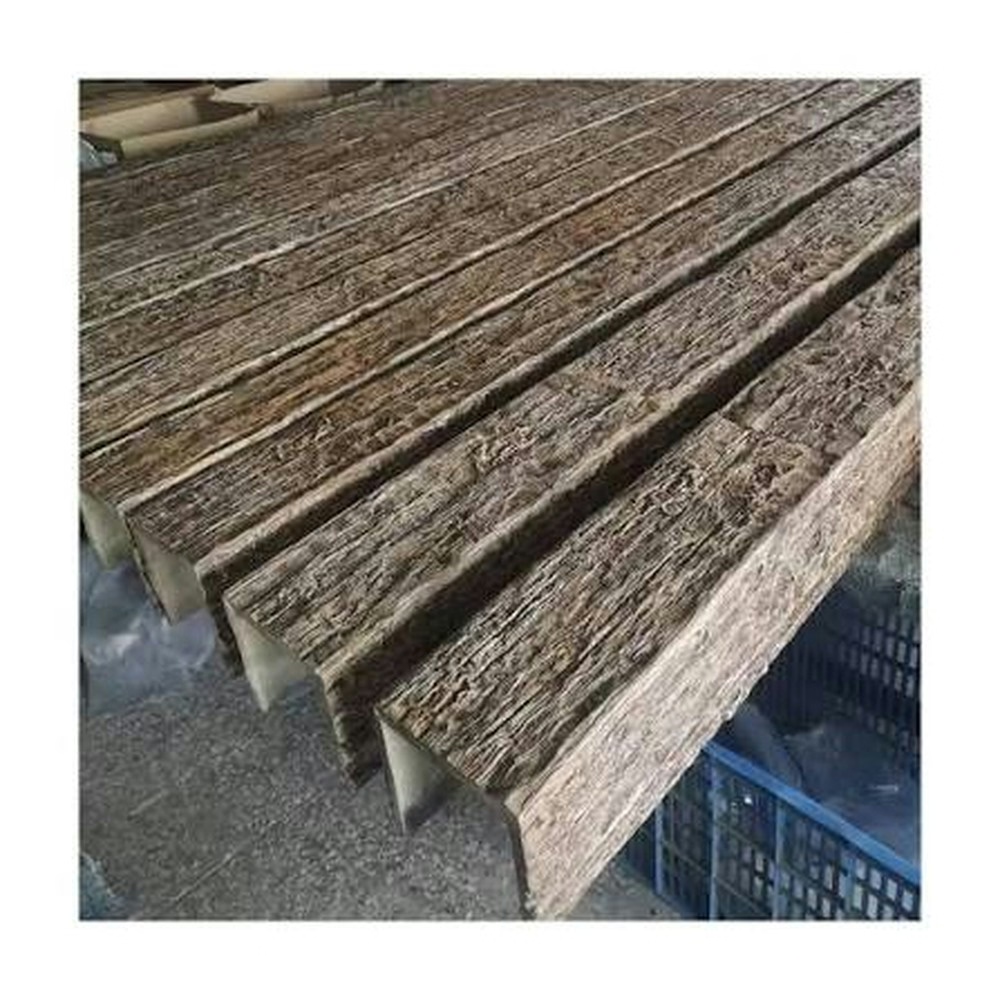
Beginner-Friendly DIY Faux Wood Beam Installation Tutorial
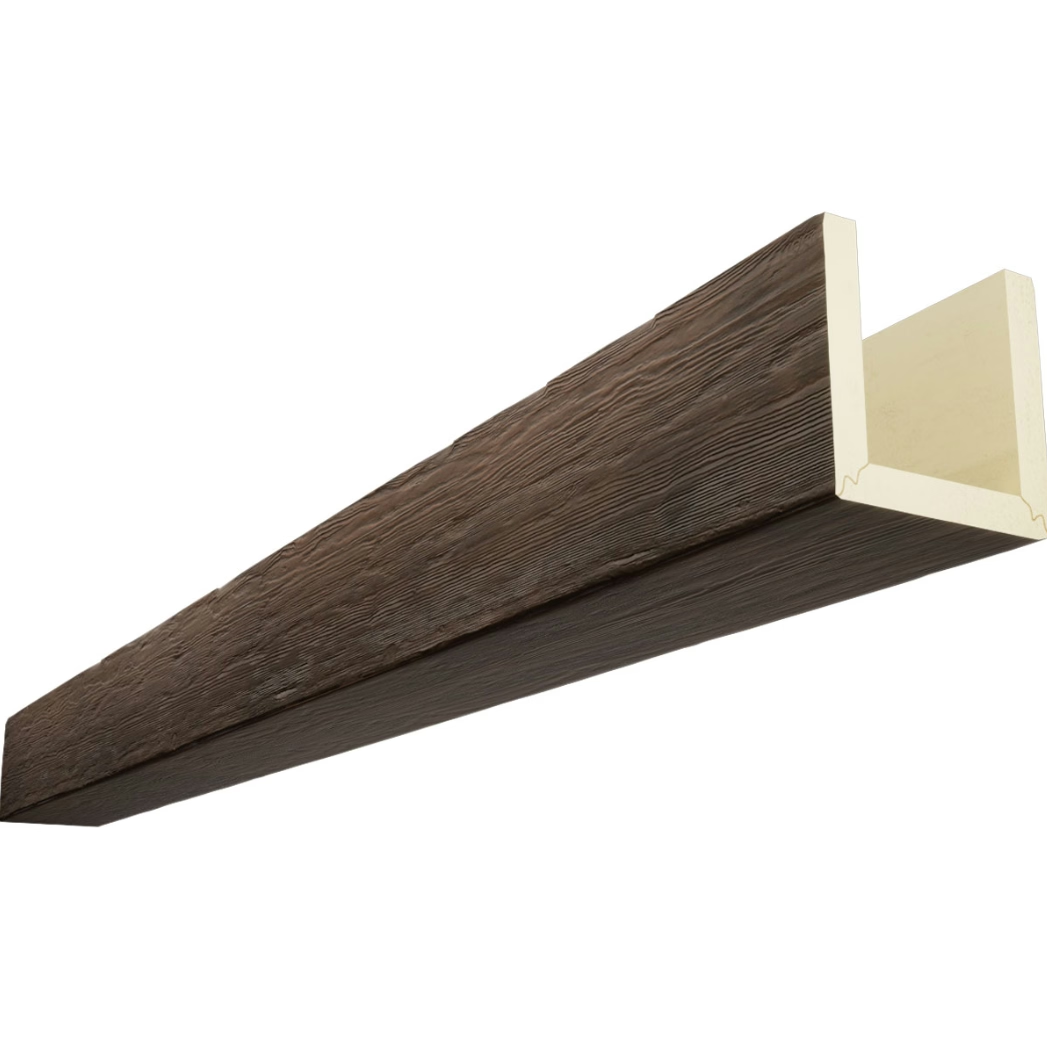
This tutorial guides you through complete faux wood beam installation from initial planning through final inspection, designed for readers with no prior construction experience. Follow these steps systematically for professional-quality results that enhance your living space with permanent architectural character.
Step one: Measure and plan. Record your room's dimensions, ceiling height, and any obstructions that affect beam placement. Determine beam orientation—typically perpendicular to ceiling joists for visual impact. Calculate beam quantity based on chosen spacing, typically 32 to 48 inches between parallel beams for residential applications.
Step two: Acquire materials. Purchase beams with included mounting hardware for your specific ceiling construction. Gather additional supplies including a stud finder, tape measure, level, drill, screwdrivers, wood shims, construction adhesive, and paintable caulk. Don't forget safety glasses and a stable step ladder appropriate for your ceiling height.
Step three: prepare the ceiling. Locate and mark all ceiling joists within your installation area. Use the stud finder to identify joist positions, then verify by driving small finishing nails through scrap wood until you encounter resistance indicating joist location. Connect marks to create visible reference lines across the ceiling.
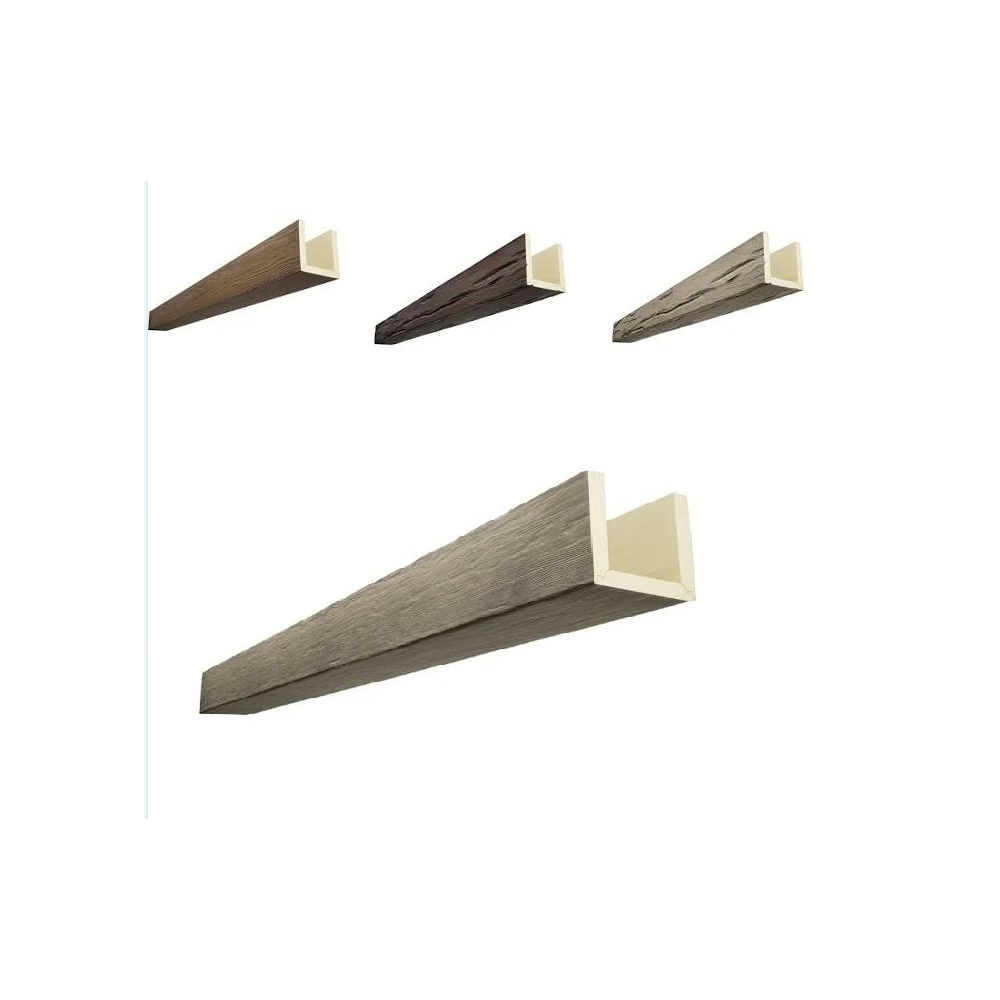
Step four: install mounting brackets. Following your beam kit instructions, attach mounting brackets to ceiling joists at your planned beam positions. Ensure brackets are level and securely fastened—these brackets carry all beam weight, so attachment quality determines installation success. Typically two to four brackets per beam, spaced evenly along the beam length.
Step five: prepare beams for installation. Test-fit beams over mounted brackets before applying any adhesive. Mark any locations requiring notching for fixtures or obstructions. Make required cuts using a fine-tooth saw, cutting slowly for clean edges.
Step six: attach beams. Apply construction adhesive to bracket contact surfaces. Position beams over brackets, pressing firmly to engage adhesive. Secure with screws through bracket flanges into beam interiors. Check levelness and adjust as needed before adhesive sets.
Step seven: finishing. Fill any visible gaps between beams and ceiling with paintable caulk. Touch up cut ends with primer and finish paint matching beam surfaces. Inspect all attachment points for security and visual quality.
Technical References
ASTM standards cited in every specification
Test Data
Lab results from internal testing program
Updated 2026
Reviewed against current product specs