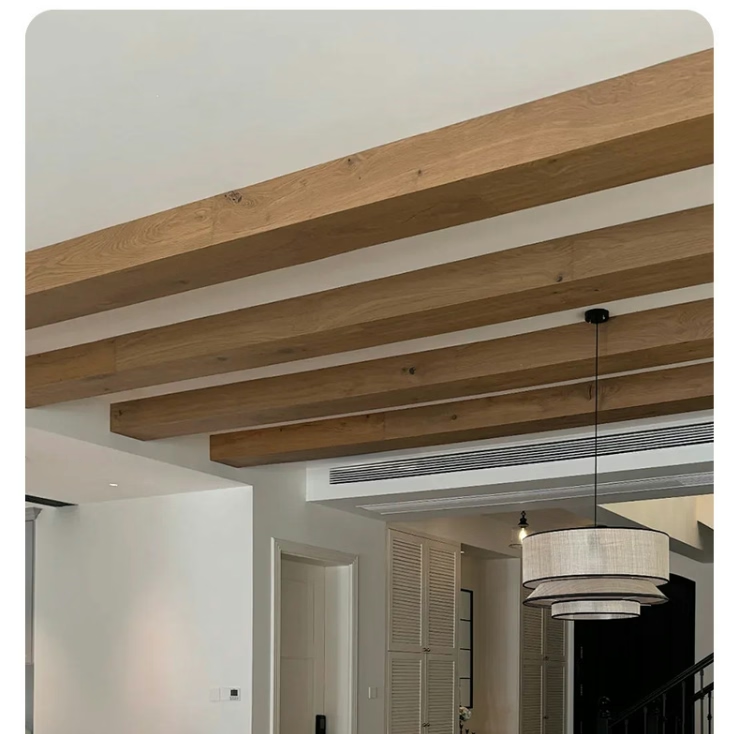
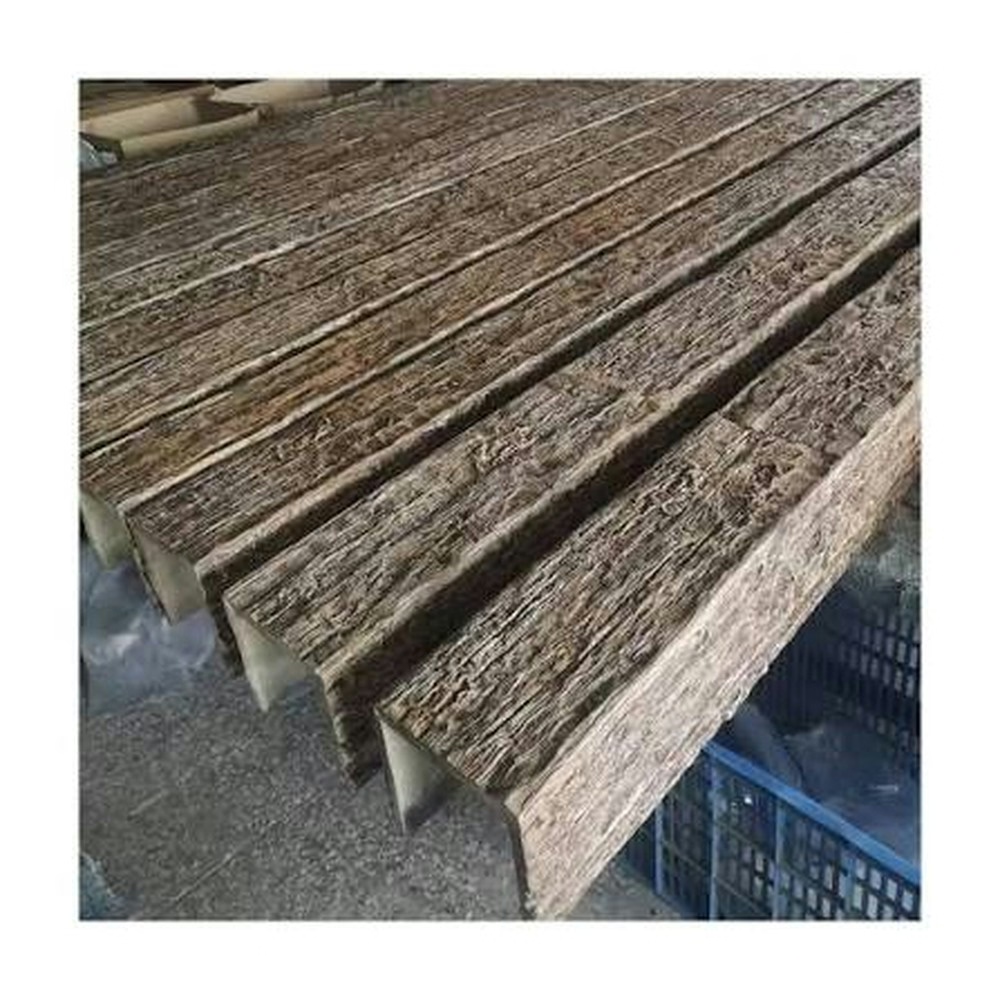
Beginner-Friendly Full DIY PU Faux Beam Installation Tutorial
This comprehensive tutorial covers complete polyurethane faux beam installation for beginners, providing detailed guidance through every installation phase while building the understanding that enables confident decision-making throughout your project.
Phase One: Project Assessment and Planning
Successful faux beam installation begins before any physical work. Evaluate your ceiling to understand what you're working with. Note ceiling height, joist locations and direction, any obstacles including light fixtures or HVAC components, and the overall room dimensions that will receive beams. Sketch your ceiling showing these elements, then overlay your planned beam layout.
Selecting beams requires matching product specifications to your room characteristics. Beam depth should scale proportionally with ceiling height—taller ceilings accommodate deeper beams without appearing overwhelmed. Determine whether you prefer structural beams (mounted directly to ceiling with full depth appearance) or architectural (shallower profiles creating decorative effect without requiring structural engagement).
Calculate material quantities based on your layout plan. Determine total beam length needed, number of mounting brackets required, and any additional materials—adhesive, caulk, paint—your specific situation demands.
Phase Two: Material Preparation
Organize materials and tools in your work area. Lay out all beams in arrangement matching their planned positions. Verify that beam quantities and specifications match your order. Inspect each beam for damage, finish inconsistencies, or dimensional variations that might affect installation.
Prepare your tools: stud finder, tape measure, level, drill with appropriate bits, screwdrivers, saw if any cutting is required, safety equipment, adhesive, and caulk. Having everything accessible prevents frustrating interruptions during installation.
Phase Three: Ceiling Preparation
Mark joist locations systematically across your installation area. Use your stud finder to locate each joist, mark the edges, and connect marks to create visible reference lines. Verify joist positions with exploratory drilling through scrap material—this confirmation prevents discovering missed joists after bracket installation.
Clean ceiling surfaces where brackets will mount. Remove dust, loose paint, or debris that might reduce adhesive bonding or bracket attachment security.
Phase Four: Bracket Installation
Install mounting brackets per manufacturer specifications. Position brackets at planned beam locations, ensuring each bracket engages a ceiling joist. Verify that bracket mounting surfaces are level—any bracket installed out of level will create beam alignment problems that compound across your installation.
Allow adhesive, if used on bracket installations, to cure per manufacturer recommendations before loading brackets with beam weight.
Phase Five: Beam Installation
Test-fit each beam before permanent attachment. Position beams over installed brackets, verify clearances, and identify any interference requiring adjustment. Mark notches or cuts needed for fixtures or obstructions.
Apply construction adhesive to bracket contact surfaces. Position beams precisely, engaging all mounting mechanisms. Secure temporarily if your installation system requires it while adhesive cures.
Phase Six: Finishing and Inspection
Fill gaps between beams and ceiling with paintable caulk. Touch up any cut ends or damaged surfaces with primer and paint. Inspect all attachment points for security. Verify that beams are level and spacing is consistent throughout.
Your completed installation provides years of maintenance-free beauty—a permanent architectural enhancement achieved through your own effort.
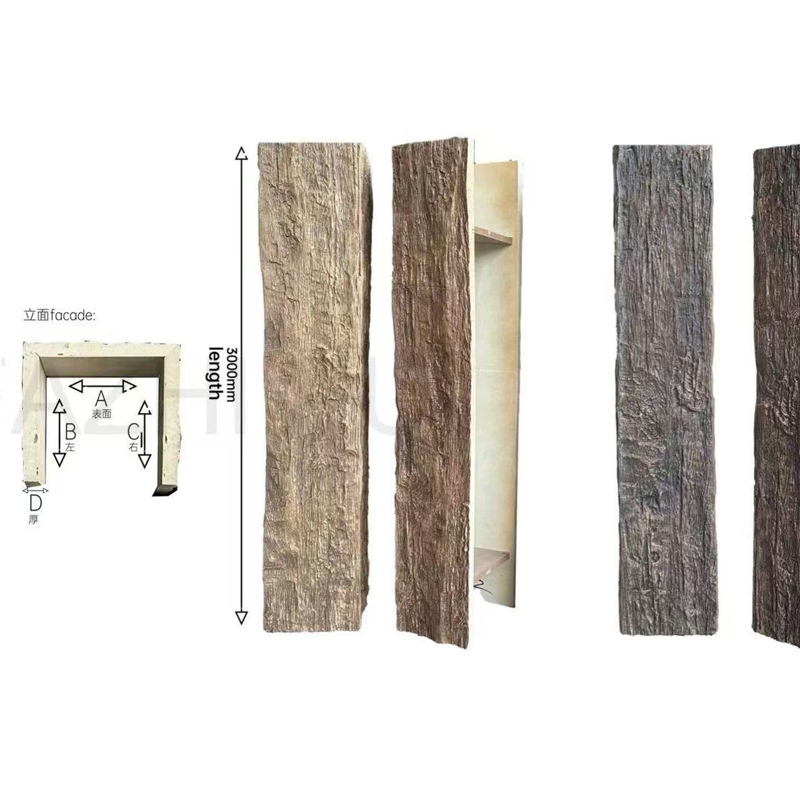

Technical References
ASTM standards cited in every specification
Test Data
Lab results from internal testing program
Updated 2026
Reviewed against current product specs