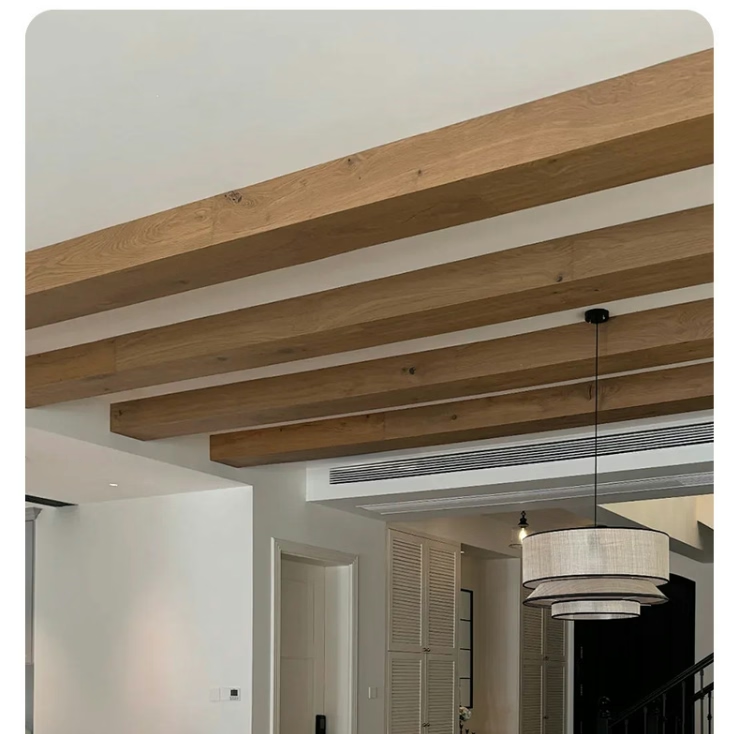
Beginner-Friendly Non-Professional Faux Wood Beam Installation Guide
Not everyone engaging faux beam installation possesses construction backgrounds, trade experience, or tool familiarity. This guide assumes the reader has never swung a hammer, operated a power drill, or undertaken home improvement projects—building every concept from foundational explanation through complete installation guidance.
Understanding What You're Installing
Faux wood ceiling beams are hollow, lightweight architectural elements that attach to ceiling surfaces to create the appearance of structural timber. Polyurethane serves as the primary material, providing realistic wood texture reproduction while maintaining light weight and installation simplicity. The beams hang from mounting brackets attached to ceiling joists—structural members within your ceiling that support overhead weight.
Your ceiling consists of finish material (drywall or plaster) covering the joist structure. The finish material alone cannot support beam weight—mounting brackets must engage the joists beneath for secure installation.
Essential Concepts Before Beginning
Joists run in one direction across your ceiling, typically spaced 16 inches apart. Your stud finder locates joists by detecting the denser wood material. Once located, joists provide the attachment points for mounting hardware.
Level describes a perfectly horizontal surface. Your beam installation should appear level—horizontal alignment creates professional appearance. Your phone likely includes a level application using the device's internal sensors.
Stud finders detect density variations in ceiling and wall materials, identifying where structural members lie behind finished surfaces. Operating your stud finder involves moving it slowly across the ceiling while watching for indicators showing joist locations.
Tools You'll Use
A tape measure records dimensions. Your phone's calculator helps with arithmetic. A stud finder locates joists. A drill drives screws. A level ensures horizontal alignment. A pencil marks reference points. Your phone's camera documents your work for future reference.
Step-by-Step Installation
- Measure your ceiling dimensions—length and width in inches or centimeters.
- Plan your beam layout—typically perpendicular to joist direction, with beams spaced evenly across the ceiling.
- Purchase beams and hardware for your planned layout.
- Locate and mark all ceiling joists within your installation area.
- Install mounting brackets at planned beam positions, securing each bracket to ceiling joists.
- Apply construction adhesive to bracket contact surfaces.
- Position beams over brackets, engaging all mounting mechanisms.
- Secure beams to brackets per manufacturer instructions.
- Fill gaps and touch up any damaged surfaces.
- Inspect your completed installation for levelness and secure attachment.
Your finished installation adds architectural character to your home—a meaningful improvement achieved through your own capability.


Technical References
ASTM standards cited in every specification
Test Data
Lab results from internal testing program
Updated 2026
Reviewed against current product specs