Best Joint Compound for Seamless PU Faux Beam Joint Finishing
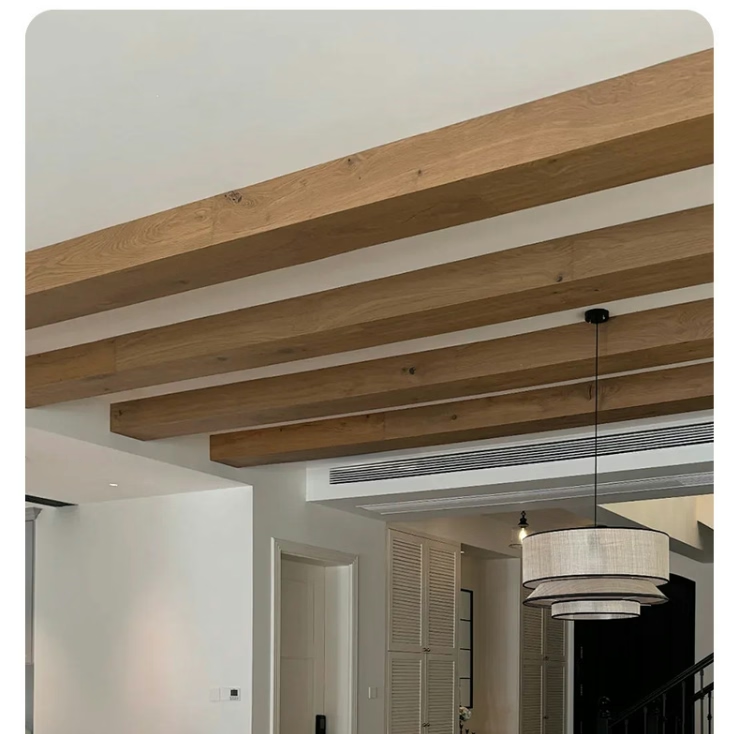
Faux wood beam installations achieving professional appearance depend significantly on joint finishing that conceals splices, connections, and mounting details. Joint compound selection directly affects finishing quality, durability, and the seamless appearance that distinguishes expert installation from amateur work.
Polyurethane surfaces present unique challenges that influence joint compound selection. Unlike drywall, which absorbs joint compound evenly, polyurethane repels many materials that would bond readily to gypsum or wood substrates. Compounds designed for drywall application fail on polyurethane, peeling away during drying or crumbling under minimal stress. Selecting compounds specifically formulated for polyurethane or multi-surface application prevents these failures.
Acoustic sealant serves as a foundation layer where beams meet ceiling surfaces or where joint gaps require filling. This flexible material adheres to polyurethane while accommodating the slight movement that temperature cycling creates. Applied before joint compound, acoustic sealant fills gaps completely while providing elastic support that prevents cracking.
Setting-type joint compounds offer advantages for faux beam finishing. Available in various set times ranging from minutes to hours, these compounds harden through chemical reaction rather than evaporation. This hardening produces denser, more durable fills that resist cracking and sanding damage. For deep fills where standard compounds would require multiple applications, setting compounds reduce labor while improving results.
Lightweight setting compounds combine the convenience of premixed products with the performance of setting types. These compounds sand easily once cured while maintaining sufficient strength for gap-filling applications. Their reduced weight minimizes stress on the hollow beam structures that might bow under heavier compounds.
Application technique matters as much as compound selection. Loading joints generously, then sanding flush after curing, produces cleaner results than thin applications requiring multiple sandings. Sanding between coats when multiple applications are necessary prevents profiling that thin layering creates. Using fine sandpaper—120-grit or finer—avoids scratches that show through finish paint.
Priming before painting completes the finishing process. Joint compound areas absorb paint differently than surrounding beam surfaces. Primer equalizes absorption, producing consistent finish appearance across the entire beam surface. Skipping primer risks visible joint patterns that undermine the seamless appearance that joint finishing aims to achieve.
Technical References
ASTM standards cited in every specification
Test Data
Lab results from internal testing program
Updated 2026
Reviewed against current product specs