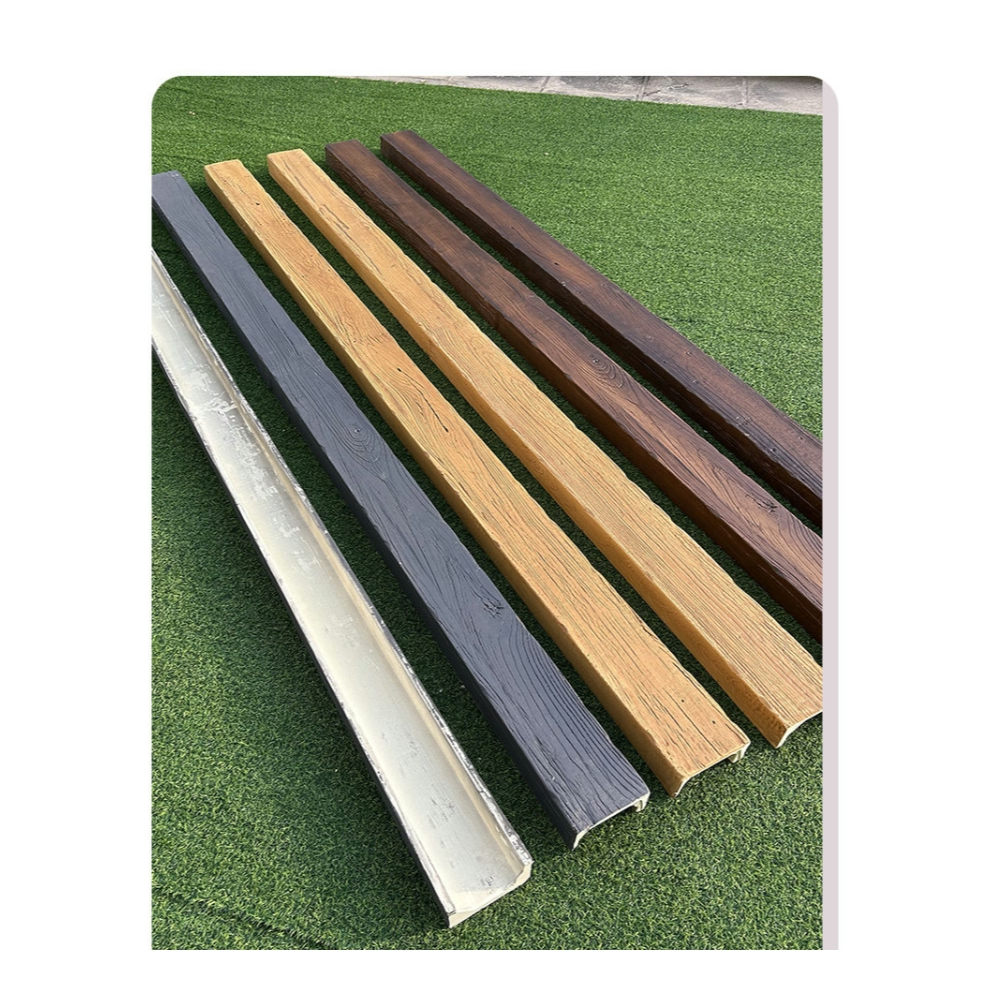
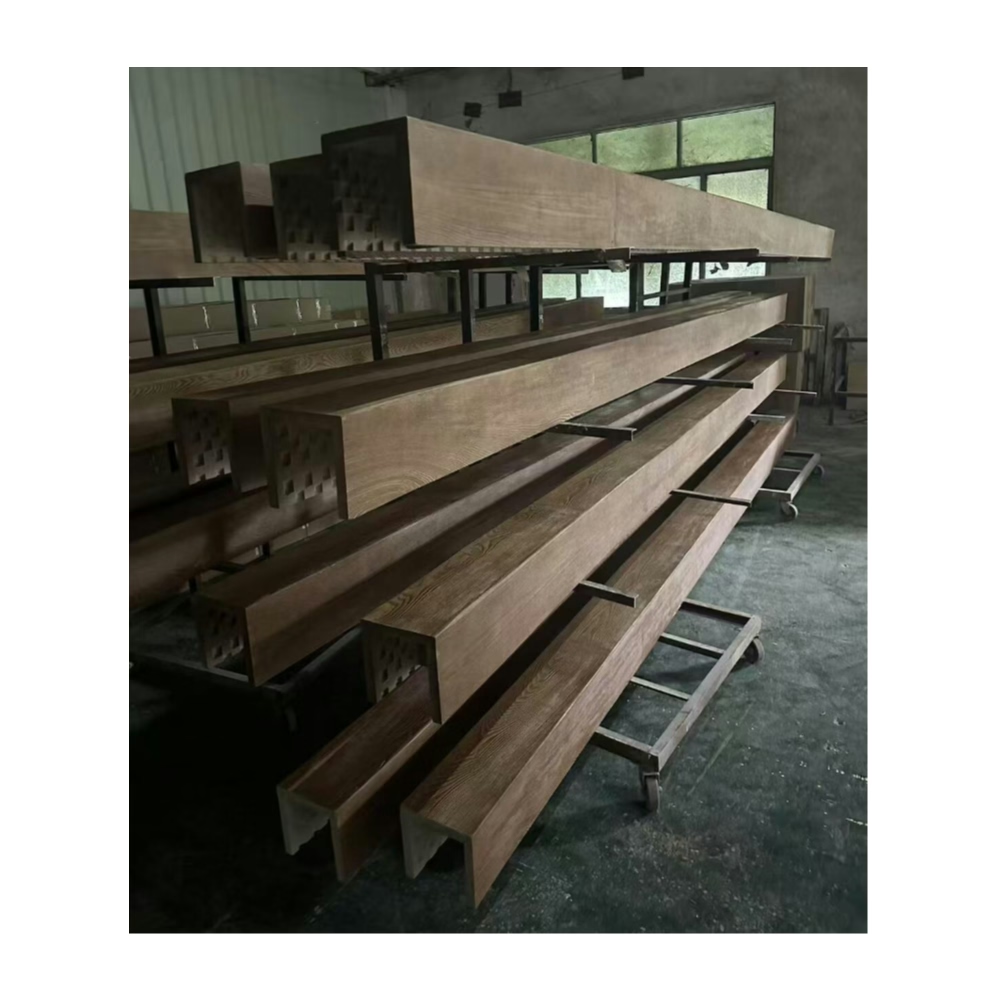
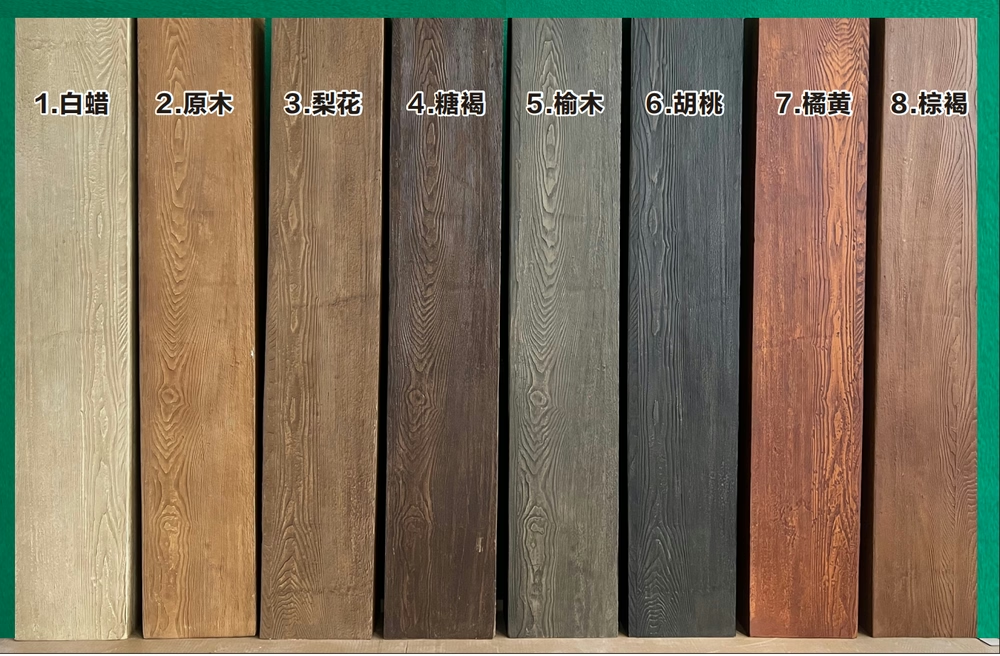
The wine tasting room featured reclaimed wood beams meeting stone accent walls—beautiful material combination emphasizing rustic character. However, the contractor struggled with transition details where beams intersected irregular stone surfaces. The stone varied from 1-3 inches in face dimension creating undulating surfaces that flat-ended beams couldn't meet cleanly. Initial installation attempts left 1-2 inch gaps between beam ends and stone—unacceptable visual voids that undermined otherwise beautiful craftsmanship. We developed custom transition strategy: scribing beam ends to stone contours, adding decorative corbels bridging gaps where scribing alone proved inadequate, and using flexible caulk accommodating minor irregularities. Those custom transitions transformed potentially problematic intersections into refined details that appeared intentional rather than compromised. That project taught me that transition details deserve equal attention to primary elements—poor transitions undermine otherwise excellent work.
Beam-to-wall transition detailing in mixed-material interior finishes requires understanding material characteristics, anticipating tolerance challenges, and executing details that create clean professional intersections regardless of material combinations or installation sequences. Successful transitions appear effortless despite often representing significant planning and craftsmanship resolving geometric and material conflicts.
Understanding Transition Challenges
Material thickness variations where wall finishes vary in depth—perhaps 1/2-inch drywall versus 1-1/2-inch stone veneer—create geometric challenges for beam ends. Beams projecting from ceilings must terminate against varying wall planes requiring different treatment strategies. Uniform beam details can't accommodate material thickness variations without appearing wrong.
Surface irregularities from textured finishes, uneven stone, or imperfect wall planes create gaps when straight-edged beams meet irregular surfaces. Perfect geometric intersections exist only in drawings—real installations involve tolerance management and gap concealment. Understanding inevitable irregularities guides detail development accommodating rather than fighting reality.
Installation sequence conflicts where walls install before beams or vice versa affects transition execution. Ideal sequences might not match actual project logistics. Details must work regardless of installation sequence preventing situations where proper transitions require impractical construction sequences.
Thermal expansion differences between materials create relative movement at transitions. Polyurethane beams expand differently than drywall or stone veneer—rigid connections create stress while flexible treatments accommodate movement. Understanding dimensional stability requirements guides appropriate detailing.
Finish plane relationships determining whether beam faces align flush with wall surfaces, project beyond, or recess create different visual effects and technical requirements. Each relationship demands different detailing approach—what works for flush relationships fails for projecting conditions.
Beam-to-Drywall Transitions
Direct abutment where beam ends contact drywall creates simplest transition when wall planes prove flat and beam ends cut square. This basic detail works well for perpendicular intersections where beams run directly into walls. However, direct abutment requires proper beam end preparation and quality drywall finishing.
Caulked joints between beam ends and drywall accommodate minor irregularities while providing clean appearance. Caulk selection matters—color-matched acrylic latex or siliconized acrylic provides flexibility plus paintability. Proper joint sizing—roughly 1/8-1/4 inch—allows adequate caulk while avoiding excessive gaps. Backer rod for gaps exceeding 3/8 inch provides backing preventing excessive caulk usage.
Crown molding at ceiling-wall intersections where beams terminate can conceal beam-wall junctions eliminating need for perfect beam end fitting. Crown molding provides architectural detail while solving technical challenges. This approach suits traditional interiors where crown molding appears contextually appropriate. However, contemporary design often avoids crown molding preferring clean junctions without trim.
Shadow reveals creating deliberate small gaps between beam ends and walls makes gaps appear intentional rather than accidental. Perhaps 1/4-1/2 inch uniform reveal painted ceiling color behind appears designed rather than poor fitting. Shadow reveals require precise execution—irregular reveals appear sloppy rather than intentional.

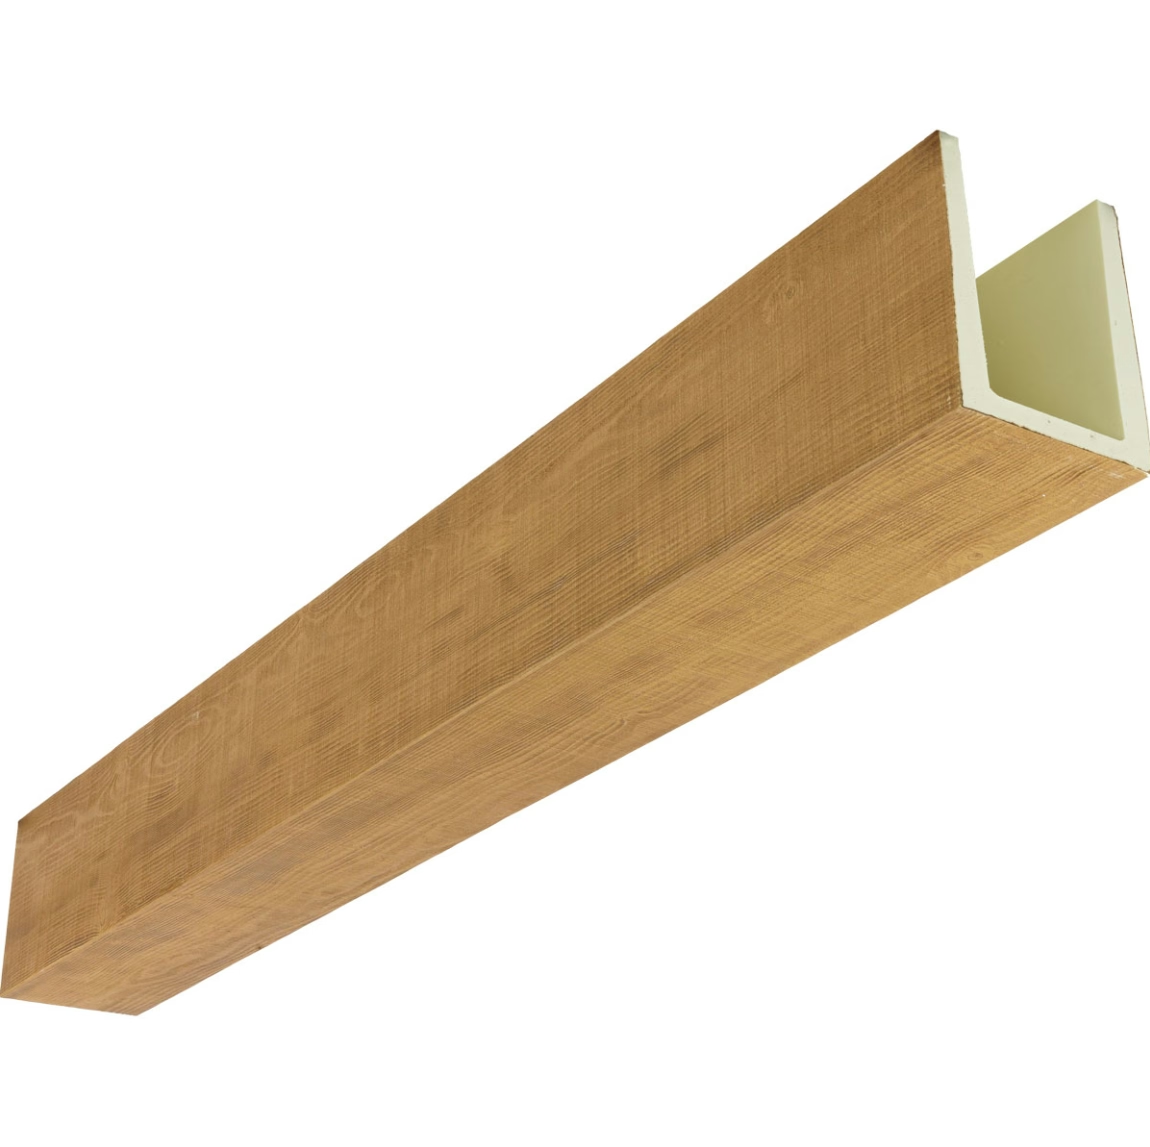
Stone and Masonry Wall Transitions
Scribed fitting where beam ends custom-cut to match irregular stone surfaces creates intimate contact despite surface variations. Scribing requires specialized skills—templating stone profiles then transferring to beam ends before cutting. This traditional stone masonry technique achieves quality fits but demands time and skill unavailable in some installations.
Corbel brackets where decorative wooden corbels bridge between beam ends and irregular wall surfaces transform technical challenges into design features. Corbels provide visual weight suggesting structural support (even when purely decorative) while concealing gaps that direct abutment would reveal. This architectural solution combines function and aesthetic enhancement.
Deeper beam embedment where beams recess into wall planes with stone building around beam sides creates flush integrated appearance. This approach requires coordinating rough framing, beam installation, and stone veneer sequencing—complexity limiting use to new construction or major renovations where all trades coordinate early.
Transition trim pieces using specialized moldings or custom fabricated trim bridging beam-stone junctions provides architectural solution when corbels prove too traditional and scribing too labor-intensive. Contemporary metal or wood trim pieces can create clean transitions while accommodating irregularities.
Mortar or grout grouting gaps between beam ends and stone using colored mortar or grout matching stone joints creates cohesive appearance treating beams as integral to stone assembly. This technique suits installations where beam-stone integration proves important to design concept.
Wood Paneling Intersections
Flush integration where beam faces align with paneling surface planes creates seamless transitions appearing designed as unified system. Achieving flush relationships requires coordinating beam and paneling thicknesses during planning—reactive field adjustments prove difficult. Flush integration delivers sophisticated results justifying planning requirements.
Reveal details leaving deliberate gaps between beams and paneling creates shadow lines emphasizing distinct elements rather than attempting seamless integration. Reveals suit designs celebrating material diversity rather than camouflaging it. Consistent reveal dimensions—perhaps 1/4 or 3/8 inch—create intentional appearance versus irregular accidental-appearing gaps.
Interlocking profiles where paneling incorporates grooves or beams include rabbets allowing elements interlocking requires custom fabrication but delivers refined integrated appearance. This sophisticated approach suits high-end installations where custom detailing proves acceptable. Standard products rarely include interlocking features limiting technique to custom work.
Trim transition strips concealing paneling-beam junctions using quarter-round, base cap, or custom profiles provides traditional solution accommodating dimensional variations. Trim pieces painted to match paneling or beams unify transitions while forgiving inexact fits. This forgiving approach suits budget-conscious projects where custom fitting proves impractical.
Tile Wall Transitions
Edge tile treatment where tile terminates at beam intersections requires planning edge conditions. Bullnose tile providing finished edges proves preferable to field tile with exposed cut edges. Planning tile layouts coordinating with beam locations enables using bullnose appropriately. Reactive installations might require trim covering exposed tile edges.
Grout lines aligning beam positions with tile grout lines creates integrated appearance where beams appear coordinated with tile grid. This planning-intensive approach requires architectural coordination early ensuring beam and tile layouts harmonize. Results justify coordination effort through cohesive appearance.
Schluter or similar profiles providing metal edge transitions between tile and beams creates contemporary clean detail while accommodating thin tile edges requiring protection. These specialty profiles available in various finishes coordinate with fixtures and hardware. Profile selection should consider overall material palette.
Contemporary Minimalist Approaches
Flush shadow gaps creating uniform small reveals between all intersecting elements—beams, ceilings, walls—emphasizes clean geometry while eliminating trim. This detail-intensive approach requires precise installation and proper planning. Results prove very contemporary suiting modern design sensibilities but appearing wrong in traditional contexts.
Precision fitting achieving tight junctions without caulk, trim, or reveals demands exceptional craftsmanship and dimensional control. This exacting standard suits showcase installations where budget and schedule allow meticulous execution. Most projects benefit from forgiving details accommodating normal construction tolerances.
Reveal materials using contrasting materials in shadow gaps creates visual interest from technical necessity. Perhaps dark-painted reveals behind lighter beams and walls emphasizes geometry through contrast. Material selection in reveals deserves consideration as design element rather than afterthought.
Installation Sequence Strategies
Beam-first installation where beams install before wall finishes allows wall materials cutting precisely to beam dimensions. However, beam-first sequence requires protecting installed beams during subsequent wall work. This sequence suits some material combinations but complicates others.
Wall-first installation completing walls before beams enables proper wall finishing without beam obstructions. Beams then install against completed walls requiring field-fitting to actual conditions. This sequence suits most projects providing flexibility for beam fitting though potentially showing gaps if fitting proves imperfect.
Progressive installation coordinating beam and wall work in alternating stages accommodates specific detail requirements. Perhaps blocking and rough-in occurs first, followed by certain wall materials, then beams, then final wall finishing. Custom sequences enable particular details but complicate project scheduling requiring strong coordination.
Dealing with Out-of-Square Conditions
Angle assessment measuring actual wall angles determining deviations from square guides transition detail adjustments. Walls might be out-of-square by several degrees—beams must accommodate actual conditions rather than theoretical square intersections. Measuring actual conditions prevents assuming square geometry that doesn't exist.
Compound angle cutting adjusting beam end cuts accommodating non-square intersections achieves better fit than assuming square. Compound miter saws or careful hand-cutting enables creating angles matching actual conditions. However, complex angles demand skill and time unavailable in some installations.
Forgiving details using flexible trim, caulked joints, or other accommodating approaches masks geometric irregularities that precise fitting can't address within practical time and budget constraints. Pragmatic details acknowledging real-world conditions prove more reliable than idealistic details assuming perfection.
Material-Specific Considerations
Textured finishes including heavy knockdown, orange peel, or hand-troweled plaster create irregular surfaces complicating clean beam abutment. Options include scribing to texture (labor-intensive), using trim bridging texture, or embracing caulked joints accepting some irregularity. Texture must inform detail development during planning rather than complicating field installation unexpectedly.
Wallpaper terminations where wallpapered walls meet beams requires clean wallpaper edges without tears or gaps. Planning beam positions relative to wallpaper seams and patterns, using trim concealing wallpaper edges, or selecting wallpaper after beam positions determined coordinates materials. Reactive wallpaper installations around installed beams proves challenging.
Fabric wall coverings requiring special handling at transitions might use trim concealing fabric edges or specialized installation techniques tucking fabric behind trim. Fabric characteristics—stretch, thickness, backing—affect appropriate details. Understanding fabric properties guides detail development.
Acoustic Considerations
Sound flanking paths at transitions where gaps between beams and walls allow sound transmission through details might compromise acoustic partitions. Acoustic-rated walls require sealed beam penetrations preventing sound bypassing walls through ceiling paths. Acoustic sealants and gaskets close flanking paths maintaining acoustic performance.
Fire-rated assemblies requiring fire-stopping at all penetrations demand approved products and proper installation maintaining fire ratings. Building inspectors verify fire-stopping during inspections—improper details fail inspection requiring correction. Understanding fire-rating requirements guides appropriate detail selection.
Quality Control Verification
Visual inspection from normal viewing distances evaluating whether transitions read as clean and professional guides acceptance decisions. Perfection at 6 inches proves unnecessary if transitions appear excellent from 8-10 feet. Conversely, details appearing acceptable close-up might show problems from normal viewing. Appropriate viewing distance assessment prevents both over-correction and under-correction.
Uniformity verification ensuring consistent detail treatment throughout installations prevents varied treatments appearing unprofessional. If caulked joints prove appropriate, all similar conditions should use consistent caulk. Mixed approaches—some caulked, some trimmed, some gapped—appear indecisive unless intentionally varied for clear functional reasons.
Documentation through installation photographs creates records showing detail execution useful for reference on future projects or warranty situations. Photographic records prove particularly valuable when questioning details months or years post-installation.
Common Mistakes and Solutions
Inconsistent gaps varying from 1/8 to 3/4 inch at different beam-wall intersections appear unprofessional regardless of average quality. Consistency matters more than perfection—uniform 1/4-inch gaps appear intentional while variable gaps appear sloppy. Establishing target gap dimensions and maintaining consistency throughout projects ensures professional appearance.
Over-reliance on caulk filling excessive gaps with caulk rather than proper fitting creates thick caulk lines that crack, yellow, or pull away over time. Caulk should fill modest gaps (1/8-3/8 inch) not bridge voids (1/2 inch+). Proper fitting minimizes caulk requirements ensuring long-term appearance.
Mismatched materials using trim or caulk colors not coordinating with adjacent materials creates visual discord. Color-matched caulk, trim stained or painted appropriately, and careful material selection ensures transitions harmonize with rather than contrast against adjacent finishes.
Professional Detailing Excellence
Beam-to-wall transition detailing in mixed-material interior finishes requires planning material intersections, developing appropriate details for specific material combinations, and executing installation sequences enabling quality transitions. Successful transitions appear effortless despite often representing significant design consideration and skilled craftsmanship. For contractors, architects, and designers creating interior environments with diverse materials, systematic transition planning and skilled execution ensures that material intersections enhance rather than compromise overall design quality.
The discipline to detail transitions thoroughly during design and execute them carefully during installation distinguishes professional work from amateur efforts that focus on primary elements while neglecting intersections. Transition quality often determines whether installations appear professionally executed or assembled carelessly.
通过精心设计和施工的梁墙过渡细节,可以实现不同材料之间的完美衔接,提升整体空间的精致度和专业感。
Technical References
ASTM standards cited in every specification
Test Data
Lab results from internal testing program
Updated 2026
Reviewed against current product specs