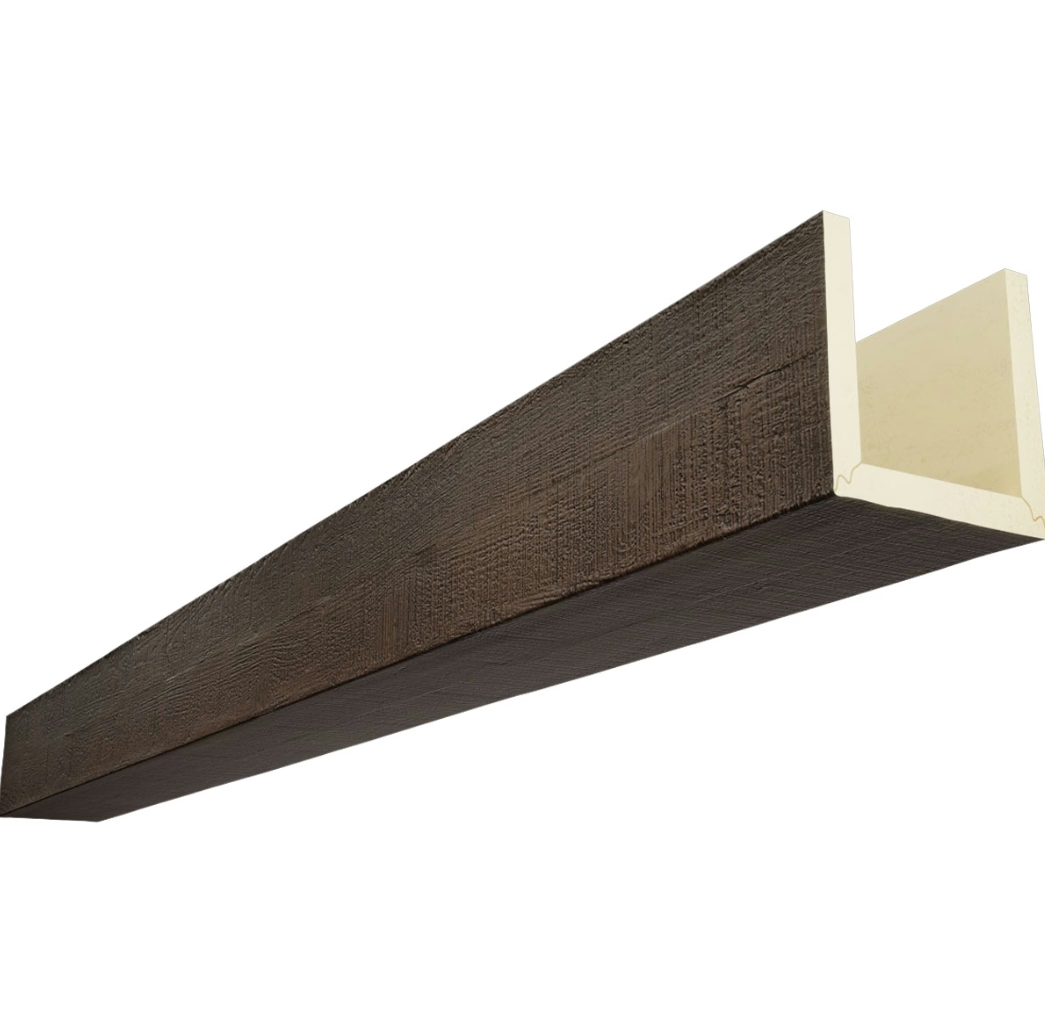
The wine cellar design called for a traditional barrel vault ceiling—a continuous curved surface spanning 12 feet with elegant curved beams running perpendicular to the vault's length. The architect had originally specified bent laminated timber, and the quote came back at $8,500 per beam for the eight beams the design required. At $68,000 just for decorative ceiling elements, the feature threatened the entire project budget. Custom curved polyurethane beams fabricated to match the vault's 8-foot radius solved the problem at $1,800 per beam—nearly 80% savings while delivering identical visual effect. That project demonstrated how modern fabrication techniques make curved beam applications practical in projects where traditional timber construction would prove prohibitively expensive.
Curved ceilings create dramatic architectural spaces, but specifying appropriate curved beams requires understanding fabrication capabilities, radius limitations, and installation requirements that differ from straight beam applications. The design freedom polyurethane materials enable opens possibilities that would be impractical or impossible with traditional materials.
Understanding Curved Ceiling Geometries
Barrel vault ceilings create half-cylinder surfaces—imagine cutting a cylinder lengthwise and mounting one half as a ceiling. The constant radius curve runs in one direction while the perpendicular axis remains straight. Beams running perpendicular to the curve follow the vault radius, while beams running along the vault length remain straight. This geometry makes barrel vaults among the simpler curved applications to detail.
The radius measurement defines vault curvature—the distance from curve center to surface. Small radius vaults (4-6 feet) create tight curves appropriate to intimate spaces. Medium radius vaults (8-12 feet) suit residential rooms and boutique commercial spaces. Large radius vaults (15+ feet) create gentler curves for grand spaces where tight curvature would feel out of scale. Beam fabrication capabilities often depend on radius—tighter curves present greater manufacturing challenges than gentle curves.
Groin vaults intersect two barrel vaults at right angles, creating complex three-dimensional curves where the vaults meet. These intersections require compound-curved beams or carefully-detailed junction where beams from each vault meet. The geometric complexity makes groin vault beam detailing among the most challenging ceiling applications.
Dome ceilings present spherical or elliptical surfaces curving in all directions simultaneously. Beams following these surfaces require compound curves that change radius along their length—substantially more complex than single-radius barrel vault beams. True curved beams for domes prove so challenging that most installations use straight beam segments approximating curves through polygonal geometry.
Catenary curves—the natural shape of hanging chains—create elegant curved ceilings different from circular arcs. Gothic architecture extensively used pointed arches and catenary vaults. Replicating these curves requires custom calculations defining the curve geometry, then fabricating beams to those specific profiles. Standard radius tooling cannot create true catenary curves since they're mathematically different from circular arcs.
Fabrication Methods for Curved Beams
Hot-forming techniques apply heat to straight polyurethane beams, softening the material enough to bend into curved forms. Once cooled, the polyurethane retains the curved shape permanently. This method works for gentle curves—typically 10-foot radius or greater—without creating internal stresses that could cause long-term deformation. Tighter radius curves risk kinking or surface distortion that compromises appearance.
Cold-forming mechanically bends beams into curves using fixtures constraining them to desired radius. The elastic nature of polyurethane allows bending without heating for modest curves, with the beams maintaining curved shape after installation. This method requires careful control preventing over-stress that could cause cracking or creasing. Cold-forming typically limits to 12-foot or greater radius depending on beam cross-section and wall thickness.
Custom molding creates the most accurate curved beams for tight radius or complex curve applications. Manufacturers build curved master patterns matching project-specific geometry, then create molds from those masters. Production casting in these curved molds produces beams perfectly matching required curves without stress or distortion from forming processes. This method accommodates any achievable radius and ensures consistent geometry across multiple beams.
Segmented construction assembles curved beams from multiple straight sections joined at angles approximating curves. Each segment might span 12-18 inches, with joints cut at angles that create overall curved profiles when assembled. This approach avoids curved fabrication entirely but creates faceted profiles that approximate rather than truly replicate smooth curves. The visual acceptance depends on radius, viewing distance, and design style—some applications integrate segmented curves successfully while others require smooth continuous curves.
Design Considerations and Radius Specifications
Minimum radius limits depend on fabrication method and beam dimensions. Hot-forming typically limits to 8-10 foot radius for standard residential beams, with tighter curves risking surface quality issues. Custom molding can achieve 4-6 foot radius for most applications, with even tighter curves possible in special cases. Manufacturers should provide radius capability data for their specific products since capabilities vary by formulation and production equipment.
The relationship between beam cross-section and minimum radius follows practical guidelines. Larger beams require gentler curves than small beams. A 6x6 beam might bend to 6-foot radius while a 12x12 beam might need 12-foot minimum radius. Hollow beam wall thickness also affects bendability—thin-walled beams accept tighter curves than thick-walled designs. These relationships mean larger beams in tight-curve applications may require custom molding rather than forming methods.
Curve consistency across multiple beams proves critical for professional appearance. All beams in a vault must follow identical radius or the variations become visually obvious. Custom molding from single master patterns ensures this consistency. Formed beams may show slight radius variations from piece to piece depending on process control—acceptable for some applications but problematic when precision matters.
Transitional details where curved beams meet straight beams or walls require careful planning. The curve must arrive tangent to walls—matching wall plane direction at contact points—or the junction looks awkward. Beams that curve then suddenly bend sharply at walls signal poor geometry planning. Proper design ensures curves flow smoothly into wall connections maintaining geometric continuity.
Beam spacing in curved applications follows the same proportion principles as straight beam layouts but must account for foreshortening effects. Beams spaced 4 feet apart measured along the curve might appear more closely spaced when viewed from certain angles due to perspective effects. Mock-ups or 3D visualization help verify that planned spacing creates desired visual effect from primary viewing positions.
Installation Challenges and Solutions
Mounting surface preparation for curved beam installations demands greater precision than straight applications. The ceiling surface must match beam curvature—beams cannot conform to incorrect curves without creating gaps, stress, or distortion. Verify ceiling radius using templates before ordering beams, and correct any framing irregularities before beam installation begins.
Adhesive application patterns for curved beams must account for higher stress compared to straight beams. The curve creates tension forces along outer faces and compression on inner faces that straight beams don't experience. More generous adhesive coverage—continuous beads rather than intermittent application—provides necessary bonding preventing long-term creep or detachment under these stresses.
Mechanical fastener patterns require closer spacing on curved beams to prevent the beam from trying to straighten under internal stresses. Where straight beams might fasten every 24 inches, curved beams may need 16-inch spacing or tighter. The fasteners constrain beam position preventing stress relaxation that would cause progressive detachment over time.
Temporary support during adhesive cure proves more critical for curved beams than straight applications. The curve wants to relax toward straight under internal stresses, and fresh uncured adhesive cannot resist these forces. Bracing, temporary nails, or support frames must maintain beam position through complete adhesive cure—typically 48-72 hours depending on adhesive type and environmental conditions.
Junction details where curved beams meet at vault intersections or wall connections require custom-fitted pieces accurately matching both beams' curve geometry. These complex three-dimensional intersections typically need shop fabrication—field-fitting such joints rarely achieves professional results. Provide manufacturers with complete geometry information allowing proper junction piece fabrication before installation.
Cost Implications and Budget Planning
Custom curved beam pricing typically runs 150-300% of straight beam costs depending on radius, fabrication method, and order quantity. A straight beam costing $200 might cost $300-600 in curved configuration. The premium reflects custom tooling, specialized forming equipment, lower production efficiency, and smaller production quantities that prevent economies of scale.
Tooling costs for custom-molded curved beams typically range $5,000-15,000 per unique curve geometry. This investment amortizes across order quantity—five beams each bear $1,000-3,000 tooling cost while 20 beams reduce per-unit tooling to $250-750. Large orders make custom molding economical while small quantities may favor forming methods despite geometric limitations.
Lead times for curved beams extend 4-8 weeks beyond straight beam schedules, reflecting custom fabrication requirements. Forming methods require scheduling specialized equipment and processes. Custom molding needs tool building time before production begins. Project schedules must account for these extended timelines—curved beams cannot be rush-ordered like standard straight products.
The cost comparison versus bent laminated timber typically favors polyurethane substantially. Timber bent-lam requires specialized shops, expensive forming, and extended glue curing resulting in $4,000-8,000+ per beam for residential scale. Polyurethane curved beams at $300-800 deliver similar visual results at fraction of cost—often making architectural features economically feasible that timber pricing would prohibit.
Salvaging curved beams if radius proves incorrect becomes impossible—curved beams cannot recut or reform for different applications like straight beams can. This makes accurate radius verification before ordering absolutely critical. The cost of wrong-radius beams includes not just replacement beam cost but schedule delays waiting for correct pieces.
Special Applications and Advanced Geometries
Spiral curves following circular staircases demand continuously changing radius that standard curved beams cannot replicate. These applications typically require segmented approximations or custom CAD-driven CNC milling creating beams that aren't truly polyurethane foam but rather CNC-carved lightweight materials textured and finished to match foam beams elsewhere in projects.
Elliptical curves—ovals rather than circular arcs—present fabrication challenges since the radius changes continuously along the curve. Custom molding from CNC-cut patterns allows creating these complex curves, though cost premiums over constant-radius curves can reach 50-100%. Design decisions should weigh whether elliptical precision justifies costs versus circular arc approximations that might serve nearly as well.
Compound curves bending in two directions simultaneously—like domes or complex vaulted intersections—push fabrication capabilities to limits. Small sections might achieve through careful forming, but large compound-curved beams generally require abandoning polyurethane for alternative materials better suited to complex geometry. Sometimes straight beam segments carefully angled create better results than attempting compound curves that exceed fabrication capabilities.
Reversing curves that change direction—S-curves and serpentine forms—require multiple curves with smooth transitions. These dramatic features typically need custom molding since forming cannot create direction changes without introducing stress concentrations. The theatrical effect can justify costs in focal features, though such complexity rarely makes sense for utilitarian beam applications.
Testing and Quality Verification
Dimensional accuracy verification using templates confirms beams match specified radius before installation. Create radius templates from plywood or cardboard matching design dimensions, then check production beams against templates. Radius variations exceeding 1-2% typically appear visually obvious once installed and should trigger rejection and replacement.
Structural integrity of curves requires verification that forming or molding hasn't compromised material. Inspect for surface cracking, delamination, or distortion indicating manufacturing problems. Test-fit beams temporarily before applying adhesive—discovering problems after adhesive application makes corrections far more difficult than finding them during dry-fit.
Long-term dimensional stability matters particularly for curved beams since internal stresses might cause gradual relaxation over years. Quality manufacturers pre-stress beams during fabrication then allow stress relaxation before finishing, ensuring production geometry stays stable after installation. Requesting information about post-forming stabilization procedures helps identify quality manufacturers versus those shipping unstable products.

Curved beam fabrication represents sophisticated manufacturing enabling architectural features traditional materials cannot achieve economically. Understanding fabrication methods, radius capabilities, and installation requirements allows designing dramatic curved ceiling treatments with confidence that production and installation will deliver intended results. The cost premiums for curved work prove modest compared to alternative materials, making barrel vaults, arched ceilings, and other curved geometries accessible to projects where budget constraints would otherwise force simpler flat ceiling treatments. When design vision demands curves, modern polyurethane fabrication capabilities deliver those curves practically.
Technical References
ASTM standards cited in every specification
Test Data
Lab results from internal testing program
Updated 2026
Reviewed against current product specs