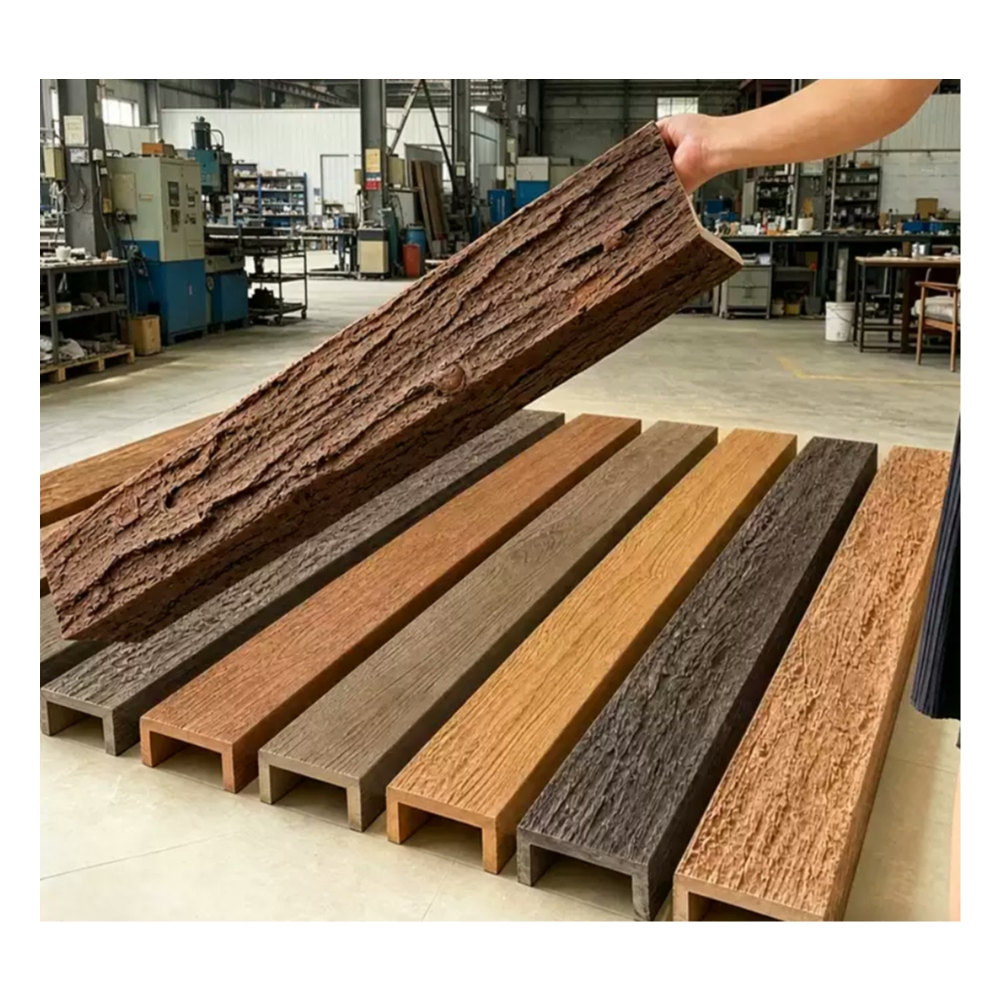
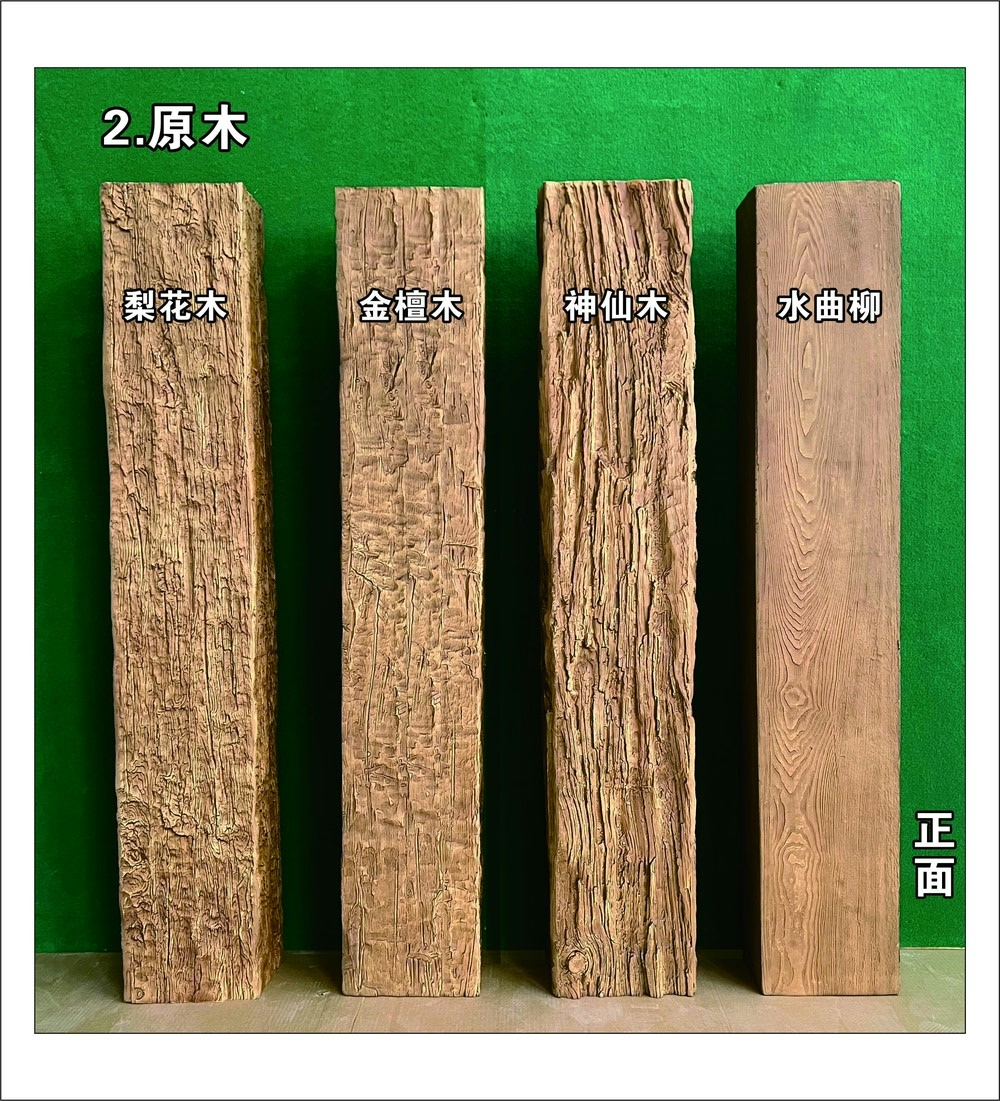
Easy Install PU Faux Ceiling Beams | Bulk Supply for Contractors
The installation advantages of polyurethane faux beams over real timber are real and significant, but they aren't automatic. A poorly designed faux beam with a confusing cleat system can be just as hard to install as a timber beam. A well-designed faux beam with a thoughtful cleat system and clear documentation can be installed by a two-person crew in a fraction of the time it takes to install a comparable timber beam.
This is what actually makes a faux ceiling beam easy to install, what the cleat system looks like, and how contractors use the install advantages to run faster, more profitable jobs.
The weight advantage in real numbers
The weight difference between polyurethane faux beams and solid timber beams is the most cited advantage, and it's real:
- 8-foot timber beam, 6 inches by 8 inches: approximately 60 to 90 pounds.
- 8-foot polyurethane faux beam, 6 inches by 8 inches, 150 kg/m³: approximately 12 to 18 pounds.
- 8-foot polyurethane faux beam, 6 inches by 8 inches, 250 kg/m³ (artisan): approximately 20 to 30 pounds.
For longer beams, the difference is even more pronounced:
- 16-foot timber beam, 8 inches by 10 inches: approximately 280 to 380 pounds.
- 16-foot polyurethane faux beam, 8 inches by 10 inches, 250 kg/m³: approximately 70 to 95 pounds.
The weight difference changes the install:
- No crane required. A 16-foot timber beam typically requires a crane or a team of 6 to 8 people to lift into position. A polyurethane beam of the same dimensions can be lifted by 2 to 3 people.
- No engineered structural support. A timber beam of that size usually requires a structural beam or glulam behind it. A polyurethane beam can mount to standard ceiling framing.
- Standard tools. A timber beam may require specialized cutting and fastening tools. A polyurethane beam installs with standard carpentry tools.
For contractors running multiple beam installations, the labor savings are substantial. A timber beam install that takes a 4-person crew 4 to 6 hours can be done with a polyurethane beam by a 2-person crew in 1 to 2 hours.
The cleat system: where the install is won or lost
The cleat system is the single biggest factor in how easy a faux beam is to install. A good cleat system:
- Comes with the beam. The cleats are sized and specified for the specific beam. The contractor doesn't have to source cleats separately or fabricate them on-site.
- Mounts to standard substrates. The cleats work on drywall, plaster, wood framing, or concrete with appropriate anchors. The substrate doesn't require special preparation.
- Has documented load ratings. The cleat load rating is documented, with a clear safety factor. The contractor knows the cleat can handle the beam weight.
- Allows for adjustment. The cleat system allows the beam to be adjusted up, down, left, or right within a small range, so the beam can be aligned precisely with adjacent beams or walls.
- Hides behind the beam. Once the beam is mounted, the cleat is invisible. No exposed hardware, no visible brackets.
- Works with standard fasteners. The cleat mounts with screws or bolts that the contractor already has on the truck.
A bad cleat system:
- Doesn't come with the beam. The contractor has to fabricate cleats on-site, often without a clear specification.
- Only works on one substrate. The cleat is designed for new construction drywall but doesn't work on plaster or concrete.
- Has unclear load ratings. The contractor doesn't know if the cleat can handle the beam weight.
- Doesn't allow adjustment. The beam has to be mounted perfectly the first time. If it's off by 1/4 inch, the whole beam has to come down and the cleat has to be remounted.
- Shows visible hardware. The cleat is visible after install, requiring field patching or painting.
- Requires specialized fasteners. The contractor has to source unusual screws, anchors, or bolts.
For contractors evaluating faux beam suppliers, the cleat system is the most important specification to evaluate. A good cleat system justifies a price premium over a similar beam with a bad cleat system.
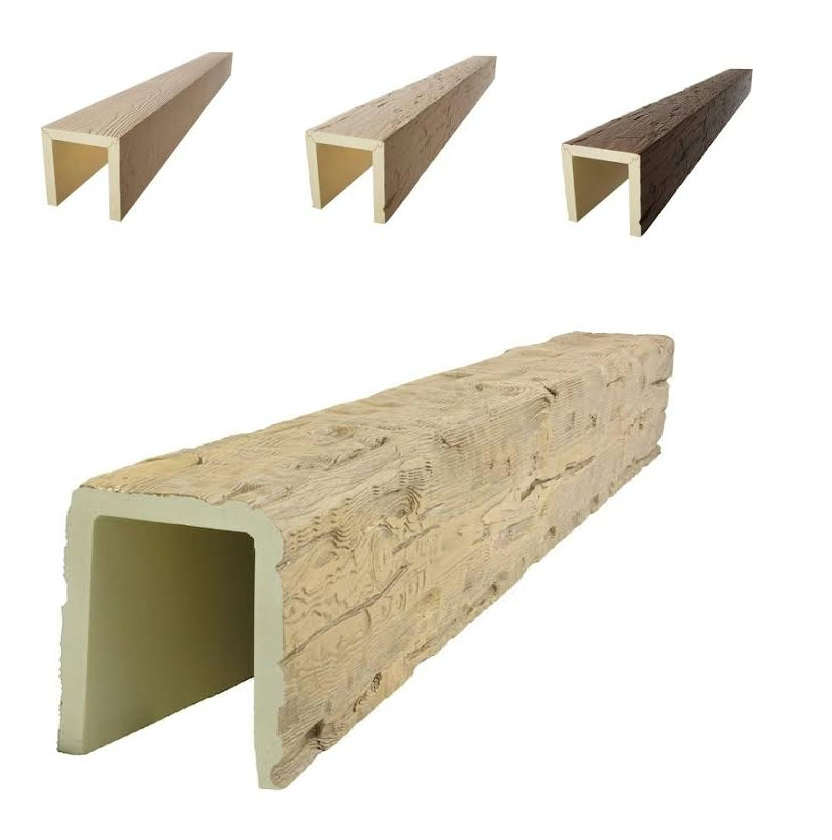
The install procedure in detail
For a well-designed faux ceiling beam with a good cleat system, the install procedure is:
Pre-install
- Lay out the beam locations on the ceiling. Mark the centerline of each beam, the cleat locations, and any reference points (walls, windows, other beams).
- Locate the ceiling joists or structural members. The cleats should be mounted into joists or blocking, not just into drywall.
- Pre-drill the cleat mounting holes. If the substrate is concrete or masonry, drill and set anchors before the install day.
- Check the cleat hardware. Confirm the cleats are the right type for the substrate, and that all hardware is on site.
Beam install
- Mount the cleats to the ceiling. Two cleats per beam, located at the planned positions. Each cleat is leveled and secured with appropriate fasteners.
- Lift the beam into position. Two people lift the beam and place it onto the cleats. The beam hooks or sits on the cleats.
- Adjust the beam position. The beam is slid left or right along the cleat to align with the layout marks. Up-down adjustment is usually available within a small range.
- Secure the beam to the cleats. Most cleat systems have a set screw, locking tab, or fastener that secures the beam to the cleat once positioned.
- Check alignment with adjacent beams. The beam is checked against the layout marks and against any adjacent beams.
- Repeat for the next beam.
A two-person crew can typically install 8 to 12 beams per day using this procedure, depending on the ceiling height, the beam length, and the substrate.
Post-install
- Caulk or seal any joints. If the beams meet at a joint (end-to-end or at a wall), the joint is caulked or sealed with a factory-supplied color-matched product.
- Touch up any minor damage. Small scratches or chips from install are touched up with factory-supplied repair materials.
- Clean the beams. Dust and debris from install are wiped or vacuumed from the beam surface.
The post-install work typically takes 1 to 2 hours per room, depending on the number of beams and the complexity of the joints.
Common install issues and how to avoid them
A few install issues come up often enough to flag:
Misaligned cleats
If the cleats are mounted in the wrong position, the beam doesn't align with the layout marks. The fix is to remount the cleats, which requires removing the partially installed beam.
Prevention: Measure twice, mark clearly, and have a second person check the layout before any holes are drilled.
Cleats not into joists or blocking
If the cleats are mounted only into drywall (not into the structural framing behind), the cleats pull out under the beam's weight. This usually happens within weeks of install.
Prevention: Use a stud finder or mark the joist locations clearly during the layout phase. If joists aren't available at the planned cleat locations, install blocking between the joists before the drywall goes up.
Beam not level
If the cleats are not level, the beam sits at an angle. From below, this is immediately visible.
Prevention: Use a level on each cleat as it's mounted. Don't assume the ceiling is level—the cleats may need to be shimmed to produce a level beam.
Beam-to-beam joints don't align
If two beams meet at a joint and the joint isn't aligned, the seam is visible from below.
Prevention: Plan the joint locations during the layout phase. Use a reference line (laser level or chalk line) to align the beam ends at the joint.
Damage during install
Beams can be scratched, dented, or chipped during handling and install. The damage is usually cosmetic and can be repaired with factory-supplied materials, but it adds time.
Prevention: Handle beams carefully during transport and lifting. Use protective gloves to avoid fingerprints on the factory finish. Don't drag beams across each other or across rough surfaces.
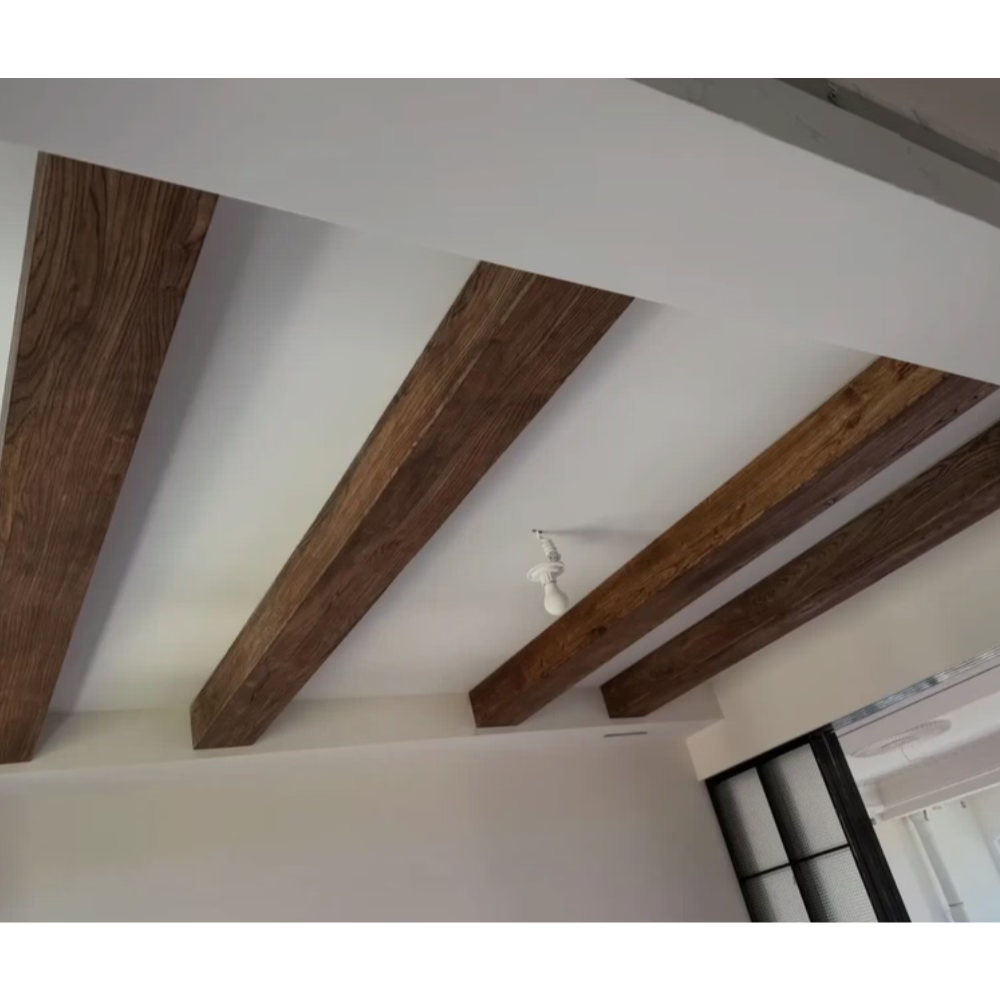
How contractors use the install advantage
For contractors running multiple beam installations, the install advantages of polyurethane translate directly into project economics:
- Faster install times. The 8 to 12 beams per day install rate is much faster than timber. For a 30-beam project, the install takes 3 to 4 days instead of 8 to 12.
- Smaller crew. A two-person crew handles polyurethane beams; a timber beam install requires 4 to 6 people minimum.
- No specialized equipment. No crane, no engineered structural support, no specialized freight. The project doesn't have to coordinate specialized equipment schedules.
- Fewer weather delays. Polyurethane beams aren't affected by humidity or temperature during install the way timber is.
These advantages add up across multiple projects. A contractor who specializes in polyurethane beam installs can run more projects per year with the same crew size, which directly improves profitability.
What contractors should ask the beam supplier
For contractors evaluating a faux beam supplier, the install-related questions are:
- What cleat system does the beam use? Get a sample cleat and documentation.
- What substrates does the cleat work with? Drywall, plaster, wood, concrete, metal framing?
- What is the cleat load rating? With documented safety factor.
- Does the cleat allow adjustment? Up-down, left-right?
- Is the cleat visible after install? If yes, how is it finished?
- What fasteners does the cleat use? Standard or specialized?
- What is the install time per beam? Realistic estimate based on the supplier's experience.
- What is the recommended crew size? Two people? Three?
The answers to these questions reveal whether the supplier has thought about the install process or is just selling a product. A supplier with good answers has a product that's actually easy to install. A supplier with vague answers probably hasn't tested the install process.
Common pitfalls in faux beam installs
A few patterns that come up often enough to flag:
- Wrong cleat for the substrate. The cleat is designed for drywall but the actual substrate is plaster or concrete. The cleat pulls out within months.
- Cleats not into structural framing. The cleats are mounted into drywall only. They pull out under load.
- Insufficient crew for the beam length. A 20-foot beam is awkward even if it's light. Two people can handle it, but only if they're prepared.
- No layout verification before drilling. The cleats are mounted based on the layout, but the layout wasn't verified against actual field conditions.
- Touch-up not done promptly. Minor damage from install is left unrepaired. The repair is harder to do once the surrounding construction is complete.
Easy-install polyurethane faux beams are one of the categories where the product design, the cleat system, and the install documentation all matter. The right supplier has thought through all three. The wrong one has a beam that's heavy, a cleat that doesn't work, and documentation that doesn't help.
Technical References
ASTM standards cited in every specification
Test Data
Lab results from internal testing program
Updated 2026
Reviewed against current product specs