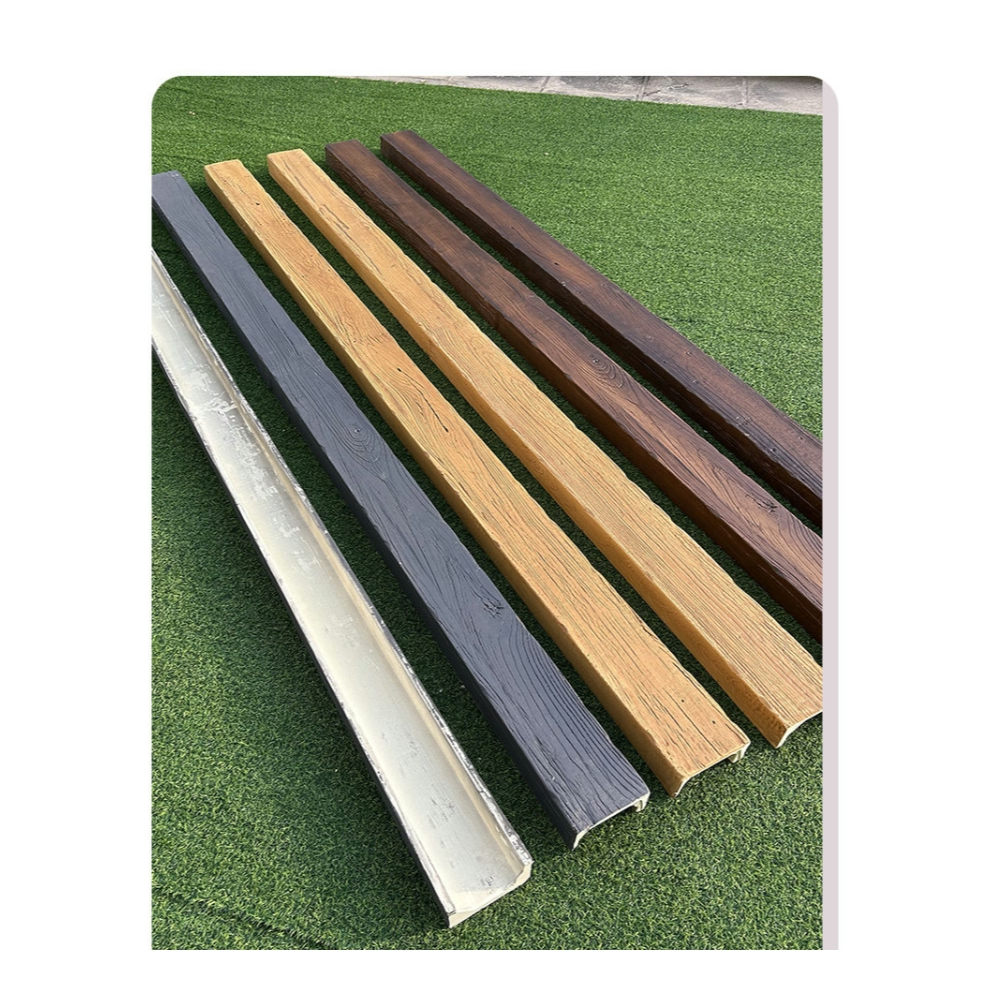
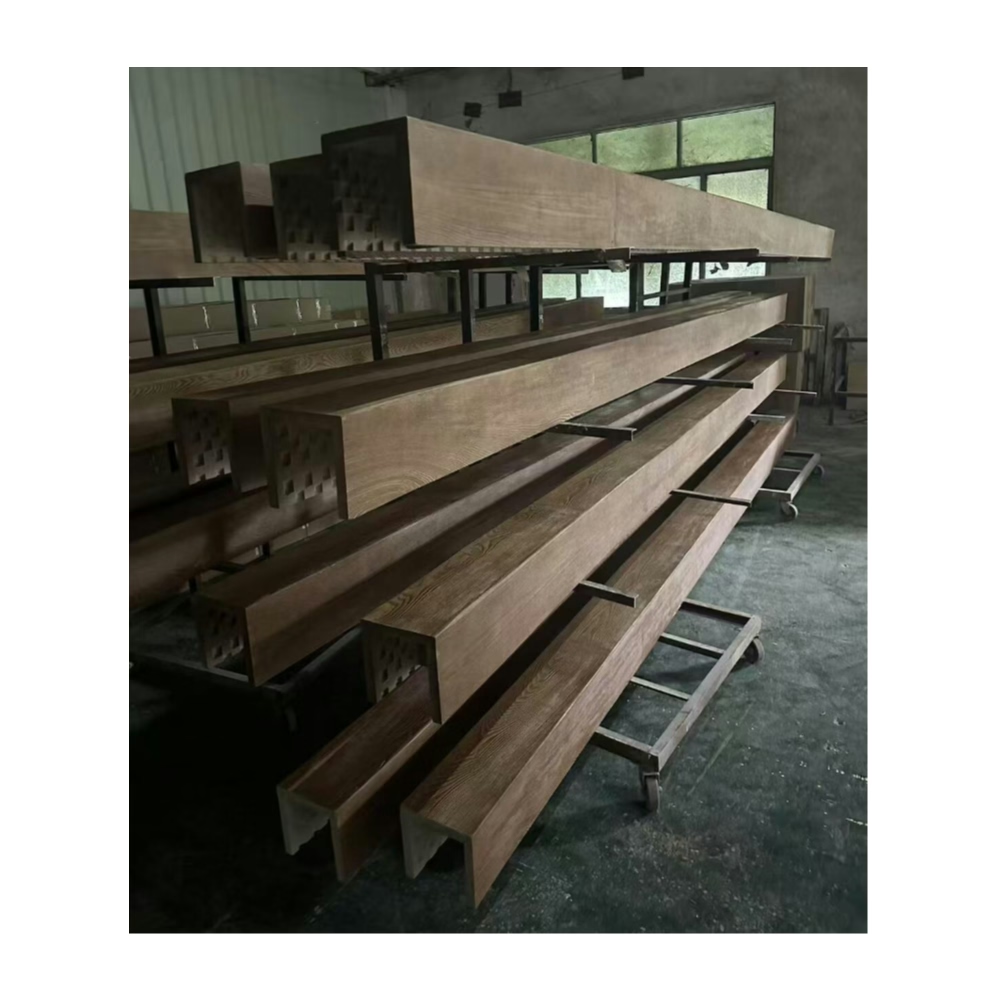
The 1920s craftsman home featured original plaster ceilings with character—and a pronounced slope dropping 2.5 inches across the 18-foot great room length. The homeowner wanted parallel beams spanning the room, assuming we'd simply attach them to existing ceilings. I explained that mounting beams parallel to sloping ceiling would create visibly unlevel beams appearing to sag. We had three options: correct the ceiling slope through extensive plaster work, install beams parallel to the slope accepting unlevel appearance, or install beams level using progressive shimming creating slight gaps at one end. The homeowner chose the third approach—we installed beams perfectly level with tapered shimming creating maximum 1/4-inch gaps at the low end that joint compound easily filled. The result looked professional despite underlying ceiling irregularities, and guests never suspected the extensive preparation required.
Unlevel ceilings prove more common than perfect ones—old houses settle, modern framing uses imperfect lumber, and drywall installation rarely achieves perfect planarity. Installing decorative beams highlights ceiling irregularities that might go unnoticed otherwise. Understanding assessment techniques, correction methods, and installation adaptations allows creating straight, level installations despite imperfect substrates, maintaining professional appearance without necessarily requiring complete ceiling renovation.
Assessing Ceiling Conditions
Visual inspection from multiple angles and lighting conditions reveals obvious irregularities—sags, crowns, or sloped areas that casual observation might miss. Sighting along ceiling planes from room corners or using raking light from windows or work lights emphasizes surface variations. This preliminary assessment identifies whether problems warrant detailed measurement or remain minor enough to ignore.
Laser level surveying using rotary lasers projecting level reference planes throughout rooms quantifies deviations objectively. Measuring from laser lines to ceiling surfaces at multiple points creates elevation maps revealing slope magnitude and patterns. Modern laser levels costing $100-300 provide accuracy adequate for this assessment, while professional-grade units offer precision unnecessary for most residential applications.
String line methods stretching taught strings between high points create reference planes revealing ceiling sags or irregularities between measured points. While less sophisticated than laser systems, string lines cost virtually nothing and work effectively for linear measurements. Measuring perpendicular distances from strings to ceiling surfaces quantifies variations along lines.
Water level techniques using fluid-filled clear tubing establish perfectly level reference marks around room perimeters. Water levels prove foolproof since water seeks true level regardless of room size or shape. Marking ceiling perimeter elevations then measuring to actual ceiling surfaces reveals slopes. This old-school method works reliably though proving more tedious than laser levels.
Documentation through sketches or room diagrams annotating measurements creates records guiding correction decisions and installation planning. Simple drawings showing room dimensions with elevation measurements at multiple points communicate conditions more effectively than verbal descriptions. This documentation helps discussing options with homeowners or other trades.

Determining Acceptable Tolerances
Visual perception thresholds defining when irregularities become obvious versus remaining unnoticeable guide whether correction proves necessary. Research suggests humans detect slopes exceeding 1:120 (approximately 1 inch in 10 feet) in architectural elements when viewing carefully. Casual observation might not notice variations below this threshold. Understanding perception limits prevents over-correcting minor variations that wouldn't actually appear problematic.
Installation type influences tolerance—single beams tolerate more ceiling variation than multiple parallel beams since parallel elements emphasize relative differences. Three parallel beams following unlevel ceiling planes create obviously non-parallel appearance despite each individual beam mounting flat. Single accent beams allow following ceiling contours without creating obvious problems.
Viewing distance affects what variations appear noticeable—irregularities obvious from 6 feet might disappear from 15 feet. Ceiling heights above 10 feet benefit from distance making minor variations invisible. Lower ceilings under 8 feet warrant tighter tolerances since viewing proximity emphasizes imperfections.
Homeowner expectations varying from perfectionist standards to casual acceptance affect what corrections prove necessary. Some clients demand museum-quality installation requiring extensive correction while others accept compromises avoiding expensive preparation. Understanding expectations prevents both over-delivering beyond client value and under-delivering creating dissatisfaction.
Code requirements for structural or safety reasons occasionally mandate correction regardless of aesthetic concerns. Severely sloped ceilings might indicate structural problems requiring engineering evaluation. While decorative beam installation doesn't trigger structural codes, discovering significant problems during assessment creates ethical obligations informing homeowners about potential issues.
Correction Methods for Substrate Irregularities
Furring strip installation creating new level plane above irregular ceilings provides straightforward correction without disturbing existing ceiling materials. Tapered furring strips—thicker at low areas, thinner at high areas—create level mounting surfaces. This approach works well when ceiling heights accommodate losing 1-2 inches to furring systems and when lowered ceilings don't create other problems.
Plaster or drywall repair filling low areas to match high points corrects irregularities through additive building up rather than removing material. Joint compound, plaster, or setting compounds applied and sanded smooth create level surfaces. This method works for modest irregularities—filling more than 1/2 inch becomes impractical due to material volume, weight, and finishing challenges.
Ceiling resurfacing using skim coating over entire ceiling planes creates uniform smooth surfaces regardless of underlying irregularities. This technique requires skilled drywall finishing but delivers excellent results. Skim coating adds minimal thickness—1/16 to 1/8 inch—while correcting minor variations and creating perfect finish for beam mounting.
Structural correction addressing framing issues causing ceiling irregularities provides permanent solutions but requires extensive work disturbing finished spaces. Sistering joists, adding supplemental framing, or jacking sagging members solves underlying problems rather than just concealing symptoms. This approach suits major renovations where ceilings open for other reasons but proves impractical for projects not otherwise disturbing ceilings.
Selective demolition and replacement removing and rebuilding severely problematic ceiling areas creates perfect surfaces but represents major intervention. This option suits situations where extensive ceiling damage exists anyway or where other factors—mold remediation, insulation upgrades—already require ceiling removal. Purely for beam installation purposes, demolition rarely proves justified.
Installation Adaptations for Imperfect Ceilings
Tapered shimming using progressively thicker shims along beam lengths accommodates sloped ceilings while maintaining level beam appearance. Shimming creates gaps between beams and ceilings that joint compound or caulk fills. This practical compromise delivers level beams without extensive ceiling correction. Shim tapers should remain gradual—roughly 1/16 inch per foot maximum—preventing obvious gaps requiring excessive filler.
Flexible mounting using construction adhesive without rigid mechanical fastening allows beams conforming somewhat to ceiling contours. Adhesive-only mounting suits situations where ceiling slopes remain modest and where following contours creates acceptable appearance. This approach requires judgment about when slopes remain acceptable versus when they appear obviously wrong.
Scribe fitting where beam edges custom-cut to match irregular ceiling profiles creates intimate contact despite surface variations. Scribing suits situations where beam tops contact ceilings but ceiling planes slope or curve. This technique requires skill and time but delivers perfect-appearing fit to imperfect surfaces.
Strategic placement positioning beams where ceiling conditions prove best rather than where ideal design might place them compromises design for practical considerations. If ceiling slopes significantly at one area but remains reasonably level elsewhere, placing beams in better areas might prove more practical than extensive correction. This pragmatic approach requires honest discussion with homeowners about compromises.
Visual grading accepting that beams won't achieve perfect level but ensuring they appear reasonable requires judgment about acceptable imperfection. If laser measurements show 1/8-inch variation over 10-foot beam but visual inspection reveals it appearing straight, perfectionist correction might prove unnecessary. Conversely, measurements showing 1/4-inch variation that appears obviously crooked warrant intervention regardless of whether numbers seem modest.
Blocking and Cleat Adjustment
Continuous blocking installation running entire beam lengths provides multiple attachment points allowing gradual conformance to irregular ceilings better than discrete mounting points. Continuous blocking screwed to joists at regular intervals pulls tight to ceiling planes. Beams mounting to this blocking follow ceiling contours or, with shimming, create level planes despite irregular substrates.
Planed blocking where mounting cleat tops plane or sand level despite mounting to irregular ceiling joists creates level beam mounting surfaces. This traditional carpentry technique requires skill but delivers excellent results. Blocking might mount at varying angles to ceiling surfaces but present level top surfaces accepting beam attachment.
Adjustable mounting systems using threaded rods or leveling feet allow vertical adjustment positioning beams level independent of ceiling irregularities. These sophisticated systems suit commercial installations justifying complexity and cost. Residential applications rarely justify adjustable mounting expense unless severe irregularities make simpler approaches impractical.
Distributed fastening using numerous fastener points along beam lengths provides many opportunities for minor adjustment keeping beams tracking level despite irregular substrates. Rather than fastening every 24 inches, perhaps fastening every 12 inches allows more frequent correction. Additional fasteners cost little while improving control over beam positioning.
Joint and Termination Details
Coped joints between beam sections accommodate changing ceiling planes better than simple square butt joints. Coping allows creating tight joints despite one beam section mounting at slightly different plane than adjacent section. This detail proves particularly important when beams cross from sloped ceiling areas into relatively level areas.
Flexible joint treatments using caulking or flexible trim pieces accommodate movement at joints as beams settle or shift slightly accommodating ceiling irregularities. Rigid joints crack as materials shift while flexible treatments remain intact. This tolerance builds in forgiveness allowing installations remaining attractive despite minor movements.
Crown molding integration where beams meet ceilings or walls uses molding profiles forgiving of gaps and irregularities. Crown molding bridges gaps that would otherwise require extensive filling. This architectural detail adds visual interest while solving practical problems.
Ceiling medallions or rosettes at beam terminations create decorative focal points that also conceal irregular joints where beams meet ceilings. These traditional architectural elements prove particularly effective in period homes where authentic detailing enhances rather than compromises design intentions.
Filler and Finishing Techniques
Joint compound application filling gaps between beams and irregular ceilings requires appropriate products and techniques. Setting-type compounds rather than premixed all-purpose products prove better for gaps exceeding 1/4 inch. Multiple thin coats work better than single thick applications that crack drying. Sanding after cure creates smooth transitions.
Flexible caulk usage for small gaps and joints requiring movement tolerance uses acrylic latex or siliconized acrylic caulks that remain paintable and flexible. Color-matched caulks minimize visibility while flexibility accommodates minor movements. Bead application should smooth flush with beam and ceiling surfaces avoiding prominent caulk lines.
Trim pieces concealing gaps provide architectural solutions where filling proves impractical. Small cove moldings, quarter-round, or custom trim profiles bridge gaps while adding detail. Trim solutions suit traditional architectural styles where added molding appears intentional rather than covering problems.
Paint blending where slight gaps remain after filling uses paint techniques minimizing visibility. Painting beam-ceiling transitions in single color reduces contrast making irregularities less apparent. Strategic paint application sometimes proves more effective than perfect filling.
Communication and Expectation Management
Pre-installation disclosure informing homeowners about ceiling irregularities and correction options prevents disputes when irregularities become apparent during installation. Showing measurements, explaining options, discussing costs and benefits of various approaches, and documenting agreed approaches protects contractors while ensuring clients make informed decisions.
Realistic outcome descriptions explaining what various approaches will and won't achieve helps clients understanding trade-offs. Complete ceiling replacement creates perfection but costs substantially. Shimmed installation creates good appearance at modest cost but won't achieve absolute perfection. Honest communication about outcomes prevents disappointment.
Cost transparency itemizing correction work separately from basic installation allows clients seeing what various quality levels cost. If basic installation costs $3,000 but achieving perfection requires $2,000 additional ceiling work, itemizing helps clients deciding whether perfection justifies additional investment. Transparency builds trust while supporting informed decisions.
Documentation including photos of existing conditions, measurements showing irregularities, and agreed correction approaches protects contractors from later claims that existing conditions were caused by installation work. Date-stamped photos proving ceiling conditions before work began prove invaluable if disputes arise.
Tool and Technique Requirements
Precision measurement equipment including quality levels, laser tools, and accurate measuring devices enables assessment and correction work. Cheap tools produce unreliable measurements leading to poor decisions. Professional-grade tools prove essential for this work—legitimate 4-foot levels, accurate laser levels, quality measuring tapes.
Shim stock variety including plastic composite shims, cedar shims, and purpose-built leveling shims provides appropriate materials for various shimming requirements. Having multiple shim types and sizes allows selecting appropriate materials for specific situations. Shim inventory proves inexpensive relative to value enabling proper installation.
Filling and finishing tools including drywall knives in multiple sizes, sanding blocks, and application tools for various products enable proper joint and gap treatment. Quality finishing tools prove essential—cheap knives leave marks and scratches that good tools avoid. Professional finishing requires professional tools.
Installation aids including adjustable supports, positioning clamps, and temporary bracing assist holding beams at proper elevations during installation. These aids prove particularly valuable when working alone or when complex positioning requires freeing hands for fastening operations.
Quality Standards and Inspection
Level verification using precision levels or laser tools confirms beams achieve intended elevations. Final inspection should verify each beam measures level within 1/16 inch over 10 feet—a reasonable tolerance indicating professional installation. Documentation through photographs and measurements provides quality records.
Visual inspection from multiple viewpoints and lighting confirms that installations appear straight and properly executed regardless of what measurements show. Sometimes installations measuring perfectly appear slightly off due to optical effects while other times slightly imperfect measurements produce perfectly acceptable appearance. Visual judgment remains ultimate quality criteria.
Gap assessment checking that all joints, ceiling interfaces, and terminations close tightly without excessive caulking or visible irregularities confirms proper execution. Gaps exceeding 1/8 inch generally appear too large unless concealed by trim. Proper installation minimizes gaps through good fitting rather than excessive filling.
Professional Problem-Solving Excellence
Unlevel ceiling correction before beam installation requires assessment skills, technical knowledge, and practical judgment balancing perfection against pragmatism. Understanding when and how to correct irregularities versus adapting installations to imperfect conditions separates professional installers from those either ignoring problems creating poor results or over-correcting creating unnecessary expense. For contractors installing beams in real-world conditions where few ceilings achieve perfection, these correction techniques and installation adaptations deliver professional results regardless of starting conditions.
The discipline to thoroughly assess conditions, honestly communicate findings and options, and execute appropriate corrections or adaptations distinguishes professional installation from amateur work that either ignores problems or addresses them inappropriately. Success requires technical skills combined with communication ability and judgment about appropriate quality standards.
Technical References
ASTM standards cited in every specification
Test Data
Lab results from internal testing program
Updated 2026
Reviewed against current product specs