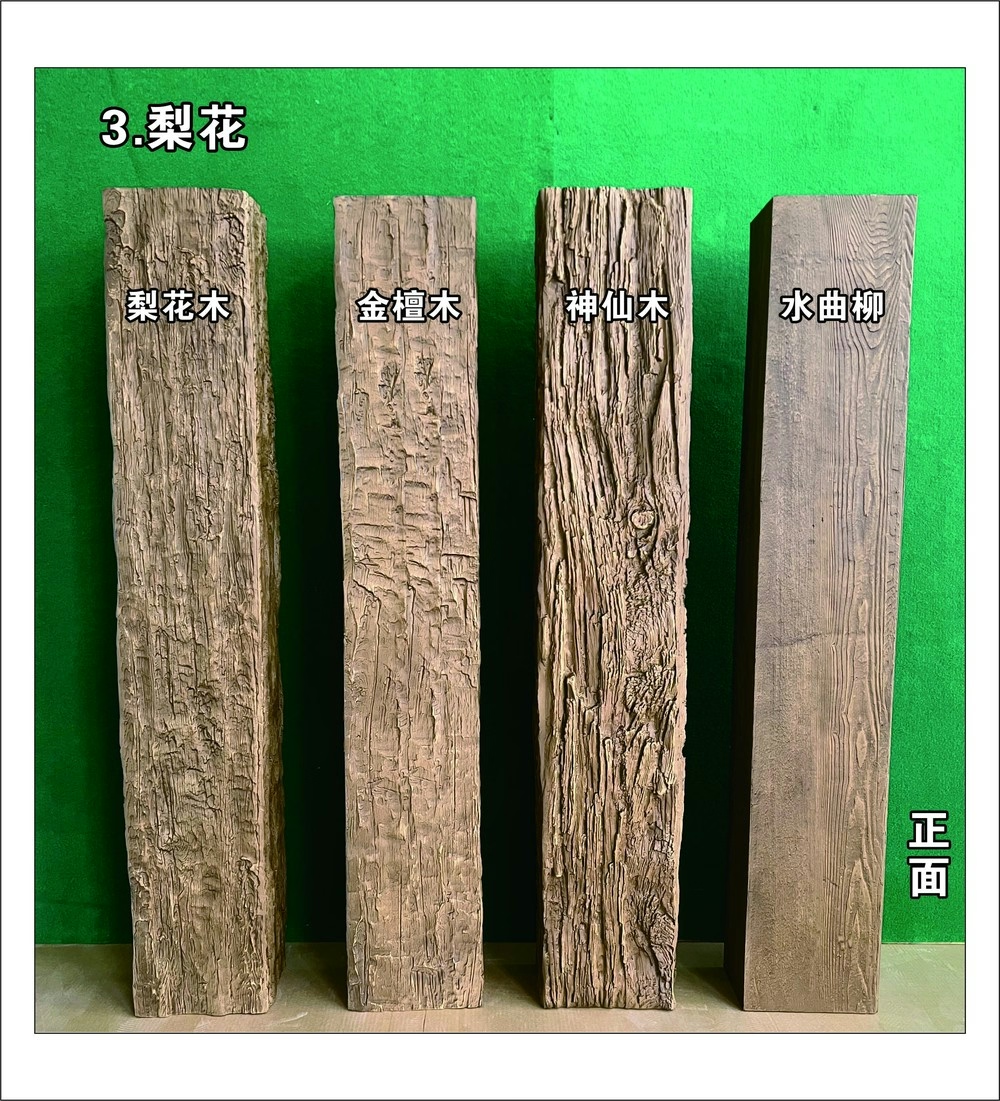
Buying Bulk PU Faux Beams: A Complete Guide for Home Builders
Buying bulk polyurethane faux beams as a home builder involves a structured process from needs assessment through post-install follow-up. The decisions made at each stage affect the project's success, cost, and timeline. This guide walks through the complete process so home builders can make informed decisions at each stage.
Stage 1: Needs assessment
Before contacting suppliers, the home builder needs to assess the project requirements.
Project type and scope
Determine the project context:
- New construction or renovation?
- Single home or part of a multi-home program?
- Standard specification or buyer-driven customization?
- Designer or architect involvement?
The project context shapes the procurement approach.
Volume estimate
Estimate the beam volume per project:
- Linear feet per room and per home.
- Cross-section dimensions per application.
- Coordinating elements (corbels, beam caps, column wraps).
- Total annual volume across the builder's projects.
The volume estimate informs supplier selection and pricing tiers.
Specification requirements
Determine specification requirements:
- Profile and cross-section preferences.
- Color and finish preferences.
- Density requirements (for specific applications).
- Documentation requirements (for code compliance or premium projects).
The specification requirements inform supplier capability assessment.
Timeline requirements
Determine timeline requirements:
- When do beams need to be delivered?
- Is there flexibility in delivery timing?
- Are there phases that require different delivery dates?
- What's the critical path for beam installation?
The timeline requirements inform supplier capability assessment.
Stage 2: Supplier research and shortlisting
With needs assessed, research and shortlist potential suppliers.
Supplier identification
Identify potential suppliers:
- Industry directories and trade shows.
- Referrals from other builders.
- Online research and reviews.
- Factory direct vs distributor relationships.
A shortlist of 3 to 5 suppliers provides comparison options.
Supplier capability assessment
For each shortlisted supplier, assess capabilities:
- Production capacity for your volume.
- Mold library diversity.
- Custom development capability.
- Code compliance documentation.
- Lead time reliability.
- Quality consistency claims.
The capability assessment informs supplier selection.
Supplier references
For each shortlisted supplier, request references:
- References from comparable projects.
- References from comparable builders.
- References that can be visited or contacted.
- Online reviews and reputation.
References confirm the supplier's actual performance.
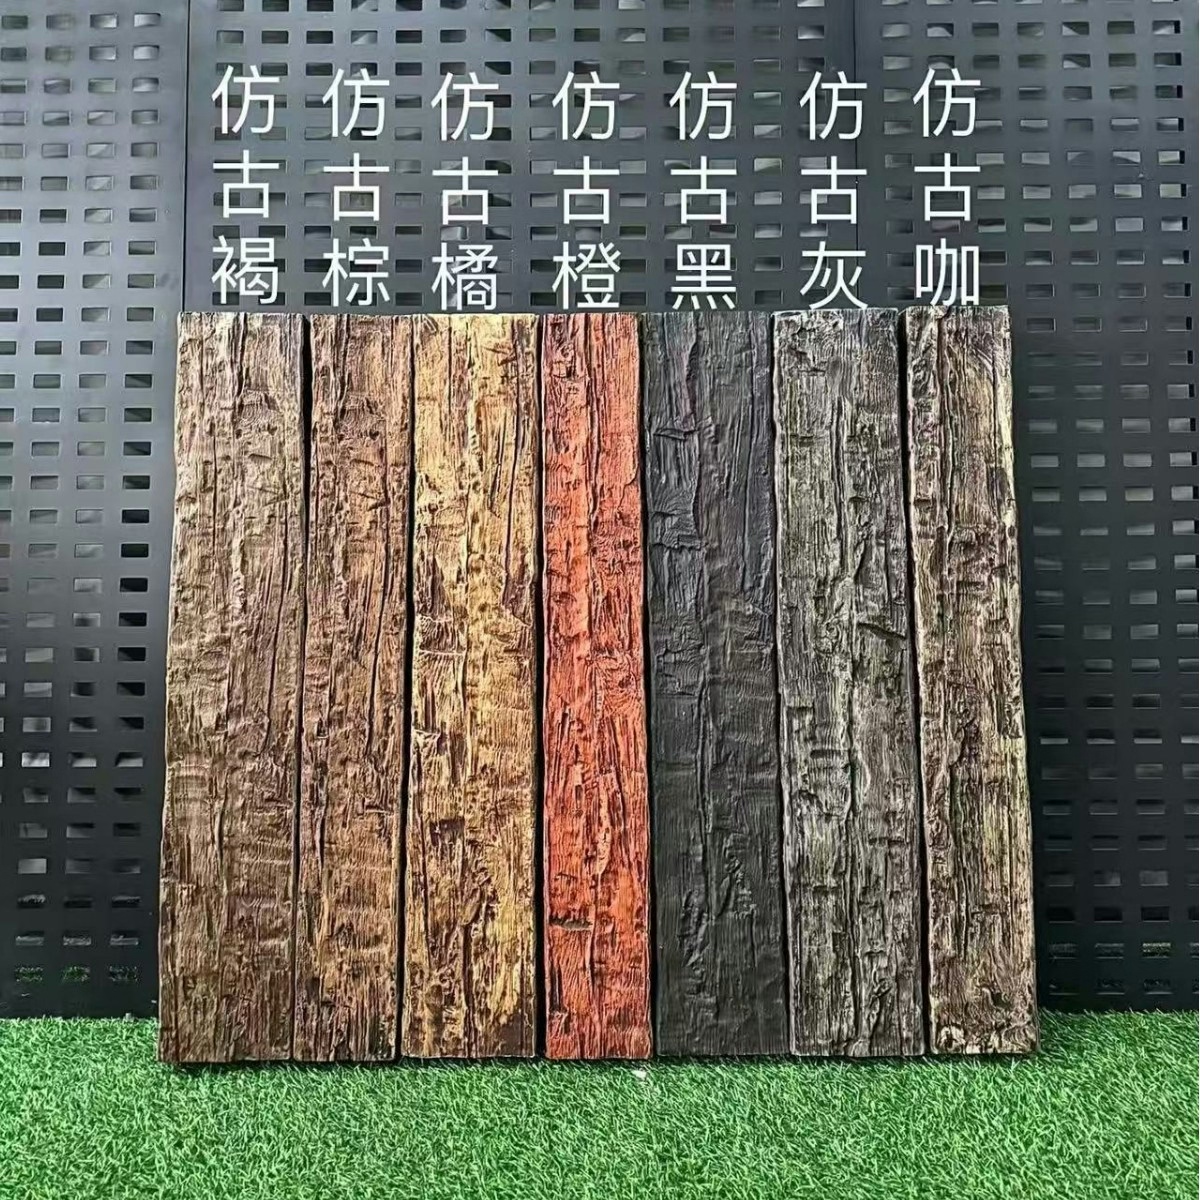
Sample requests
Request samples from each shortlisted supplier:
- Stock profile samples.
- Stock color and finish samples.
- Custom development samples if needed.
- Reference samples showing quality.
Samples demonstrate the supplier's quality.
Stage 3: Supplier selection
With research complete, select the supplier.
Comparison matrix
Build a comparison matrix of the shortlisted suppliers:
| Criteria | Supplier A | Supplier B | Supplier C |
|---|---|---|---|
| Production capacity | |||
| Mold library | |||
| Custom capability | |||
| Code compliance | |||
| Lead times | |||
| Pricing | |||
| References | |||
| Sample quality |
The matrix supports objective comparison.
Total cost consideration
Consider total cost, not just unit price:
- Per-piece pricing.
- Setup fees.
- Documentation fees.
- Freight costs.
- Installation costs.
- Lifecycle costs.
Total cost provides better comparison than unit price alone.
Relationship potential
Consider the relationship potential:
- Communication responsiveness.
- Willingness to customize.
- Long-term partnership potential.
- Strategic alignment with your business.
The relationship matters for ongoing procurement.
Selection decision
Make the selection based on:
- Best fit for the project's needs.
- Best total cost.
- Best relationship potential.
- Best references.
The selection becomes the procurement partner.
Stage 4: Specification development
With the supplier selected, develop the beam specification.
Project specifications
Develop the beam specification for each project:
- Beam locations and dimensions.
- Profile and cross-section per location.
- Color and finish per project.
- Documentation requirements.
The specification becomes the order reference.
Standing specifications
If running multiple projects:
- Standard profiles in your portfolio.
- Standard color and finish specifications.
- Standard cleat hardware.
- Standard documentation packages.
Standing specifications streamline future ordering.
Sample development
Develop approved samples:
- Reference samples from the supplier.
- Multiple iteration cycles as needed.
- Designer or homeowner approval.
- Documentation of approved specifications.
Sample development produces the production reference.
Specification documentation
Document the specification:
- Profile drawings with dimensions.
- Color and finish specifications.
- Installation requirements.
- Quality standards.
Documentation supports consistent ordering and quality verification.
Stage 5: Ordering
With the specification developed, place orders.
Order structure
Structure the order:
- Per-project quantities and lengths.
- Delivery dates and locations.
- Documentation requirements.
- Payment terms.
The order structure should align with the project's needs.
Volume tier optimization
Optimize volume for tier pricing:
- Aggregate volume across projects if possible.
- Time orders to maximize tier discounts.
- Plan volume commitments for tier progression.
Volume optimization maximizes pricing benefits.
Order placement timing
Time the order placement:
- After field measurements for renovation.
- After framing for new construction.
- Aligned to construction schedule.
- Allowing for lead time.
Order timing supports the project's timeline.
Order documentation
Document each order:
- Order confirmation.
- Specifications reference.
- Delivery schedule.
- Quality requirements.
Documentation supports order tracking and quality verification.
Stage 6: Delivery and installation
With orders placed, manage delivery and installation.
Delivery coordination
Coordinate delivery:
- Delivery date and time.
- Delivery location and access.
- On-site storage and protection.
- Coordination with construction manager.
Delivery coordination supports smooth project flow.
Delivery verification
Verify delivery:
- Quantities match the order.
- Quality matches the specification.
- Damage documentation if any.
- Acceptance or rejection per quality standards.
Delivery verification protects against quality issues.
Installation planning
Plan the installation:
- Crew composition and scheduling.
- Tools and equipment.
- Coordination with other trades.
- Quality control procedures.
Installation planning supports quality installation.
Installation execution
Execute the installation:
- Standard cleat mounting.
- Beam positioning and securing.
- Field joint finishing if applicable.
- Touch-up for any field damage.
Installation execution produces the installed beams.
Installation verification
Verify the installation:
- Visual quality inspection.
- Structural integrity verification.
- Code compliance verification.
- Punch list and corrections.
Installation verification produces accepted installation.
Stage 7: Post-install follow-up
After installation, follow up.
Replacement stock
Maintain replacement stock:
- Replacement beams held at the supplier.
- Coverage period (typically 24 to 36 months).
- Fast replacement availability.
- Color and finish matched to original.
Replacement stock protects against damage.
Care and maintenance
Provide care and maintenance guidance:
- Cleaning recommendations.
- Refinishing schedule if needed.
- Damage prevention guidance.
- Warranty terms.
Care guidance supports long-term beam appearance.
Project documentation
Document the project:
- As-built beam specifications.
- Color and finish reference.
- Installation documentation.
- Warranty documentation.
Project documentation supports future reference.
Supplier relationship maintenance
Maintain the supplier relationship:
- Communication about future projects.
- Feedback on the current project.
- Continuous improvement opportunities.
- Quarterly or annual business reviews.
Relationship maintenance supports long-term value.
Common pitfalls in bulk PU faux beam buying
A few issues that come up often enough to flag:
- Choosing the cheapest supplier without considering total cost. Hidden costs may exceed the savings.
- Insufficient specification development. Vague specifications produce mismatched beams.
- Inadequate sample iteration. Rushing through samples produces mismatched results.
- Insufficient lead time planning. Tight timelines produce rushed production.
- Inadequate replacement stock planning. Damaged beams without fast replacement.
The complete process at a glance
For quick reference, the complete process:
- Needs assessment — Project type, volume, specs, timeline.
- Supplier research — Identify, assess, reference, sample.
- Supplier selection — Compare, total cost, relationship, decide.
- Specification development — Project specs, standing specs, samples, docs.
- Ordering — Structure, tier optimization, timing, documentation.
- Delivery and installation — Coordinate, verify, plan, execute, verify.
- Post-install follow-up — Replacement stock, care, documentation, relationship.
Buying bulk polyurethane faux beams for home builders is a structured process that produces the best results when each stage is executed thoroughly. The right combination of supplier, specification, ordering, and follow-up produces beams that meet the project's needs at the best total cost.
Technical References
ASTM standards cited in every specification
Test Data
Lab results from internal testing program
Updated 2026
Reviewed against current product specs