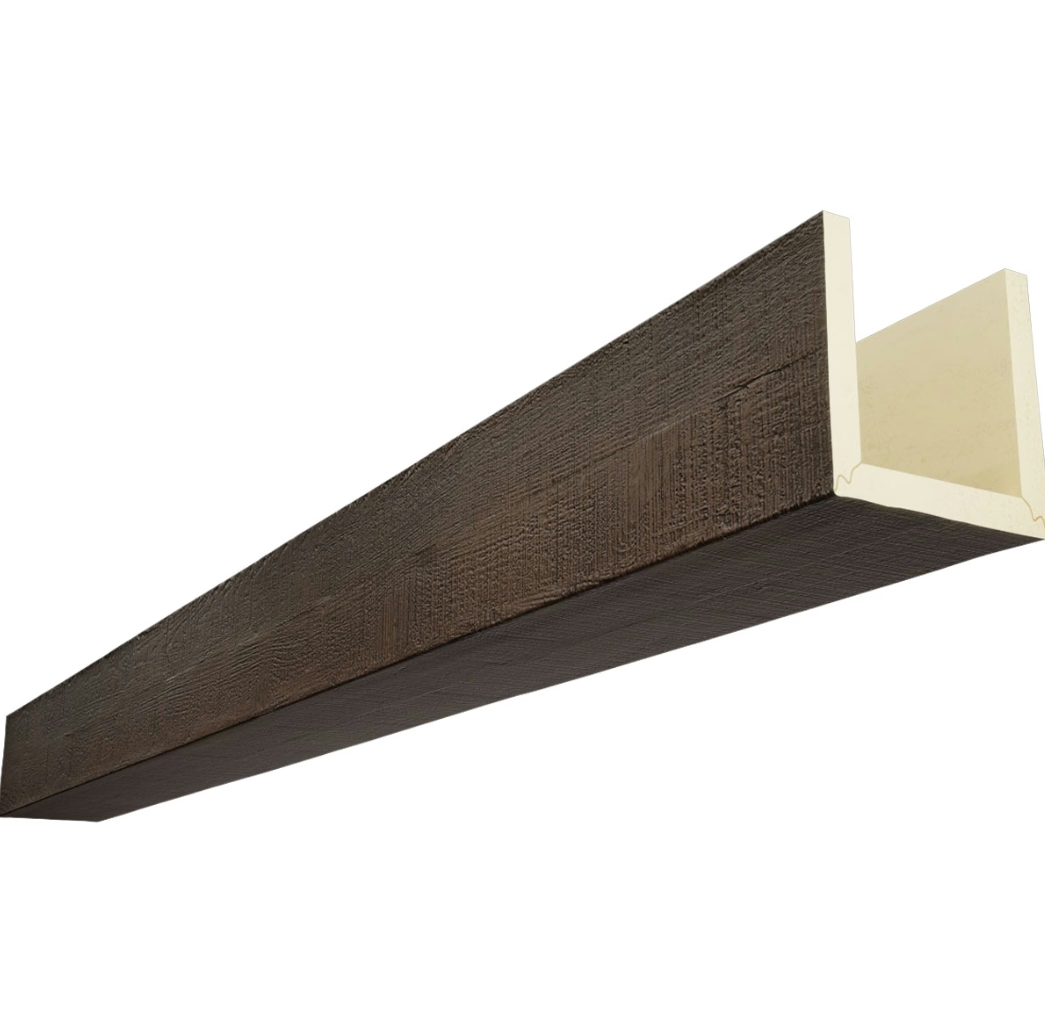
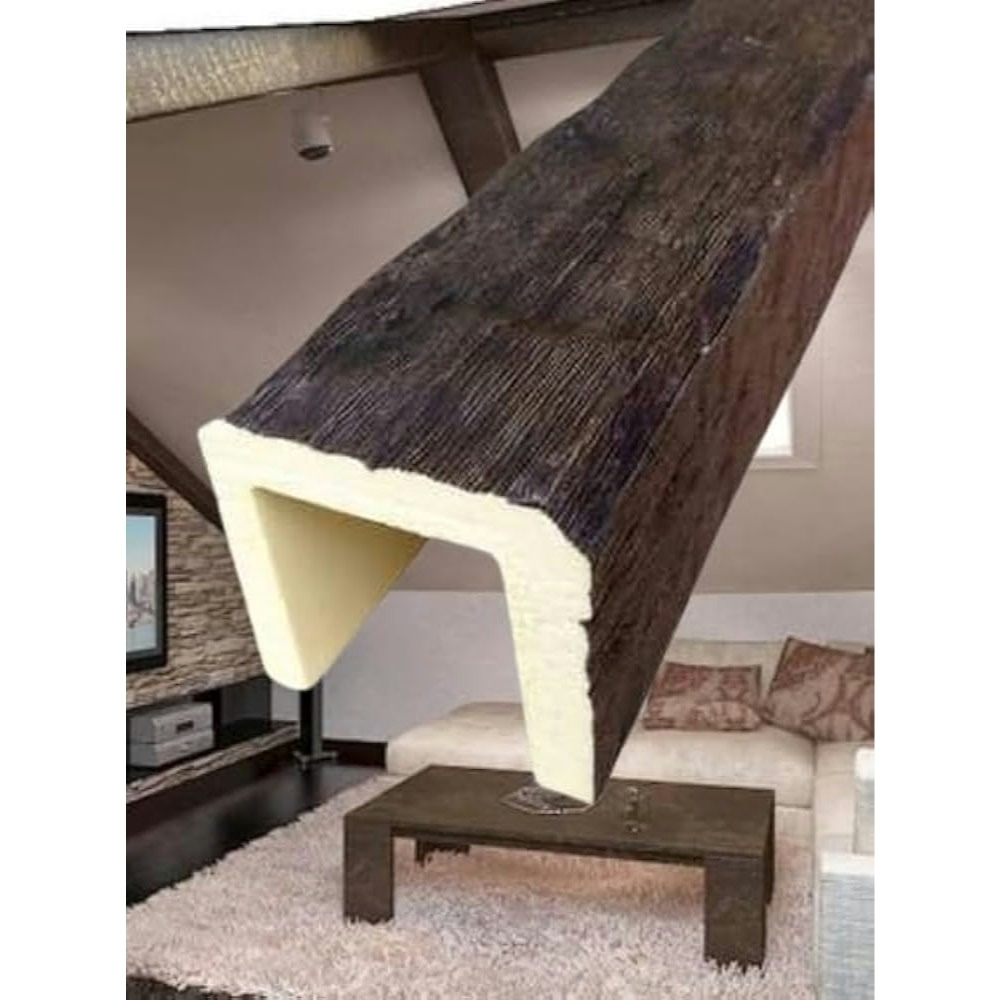
How to Source Custom PU Faux Beams for Your Residential Construction Project
Sourcing custom polyurethane beams for a residential construction project isn't complicated, but it has more steps than most builders assume. The process moves from design intent through specification, supplier selection, quote comparison, contract negotiation, and order management. Skipping steps or moving through them too quickly leads to beams that don't match the project.
This is the step-by-step process, with the questions to ask at each stage and the decisions that need to be made deliberately.
Step 1: Define the design intent
Before talking to any supplier, the design intent has to be clear:
- What style? Spanish Colonial, modern farmhouse, craftsman, traditional, transitional, contemporary, rustic, etc.
- What room or rooms? Great room ceiling, kitchen ceiling, master bedroom, covered porch, etc.
- What role? Focal element, supporting architectural detail, backdrop for other design elements.
- What color and finish? Warm brown, weathered gray, painted, whitewashed, multi-tone.
- What other elements? Coordinating corbels, beam caps, column wraps, lighting integration.
The design intent should be documented with reference images. Photographs from completed projects, architectural references, or material samples from the designer.
A clear design intent at the start of sourcing saves time later. A vague intent—"we want some beams in the great room"—leads to quotes that don't match the project's actual needs.
Step 2: Develop the technical specification
With the design intent clear, the technical specification can be developed:
- Cross-section dimensions. Width and depth. These determine the beam's visual weight and its structural mounting requirements.
- Lengths. Each beam's specific length, based on the room dimensions.
- Quantity. Total linear feet and the distribution of lengths.
- Profile reference. Cross-section drawings, photographs of similar profiles, or stock profile references from suppliers.
- Texture and color. Texture reference samples, color reference samples or formulas.
- Finish specification. Sheen, weathering effects, multi-tone variation.
- Coordinating elements. Corbels, caps, column wraps, or other elements.
- Documentation requirements. Fire rating, VOC emissions, cleat specifications.
For most residential projects, this specification is developed by the builder or designer in collaboration with the homeowner. For luxury projects, the interior designer typically drives the specification.
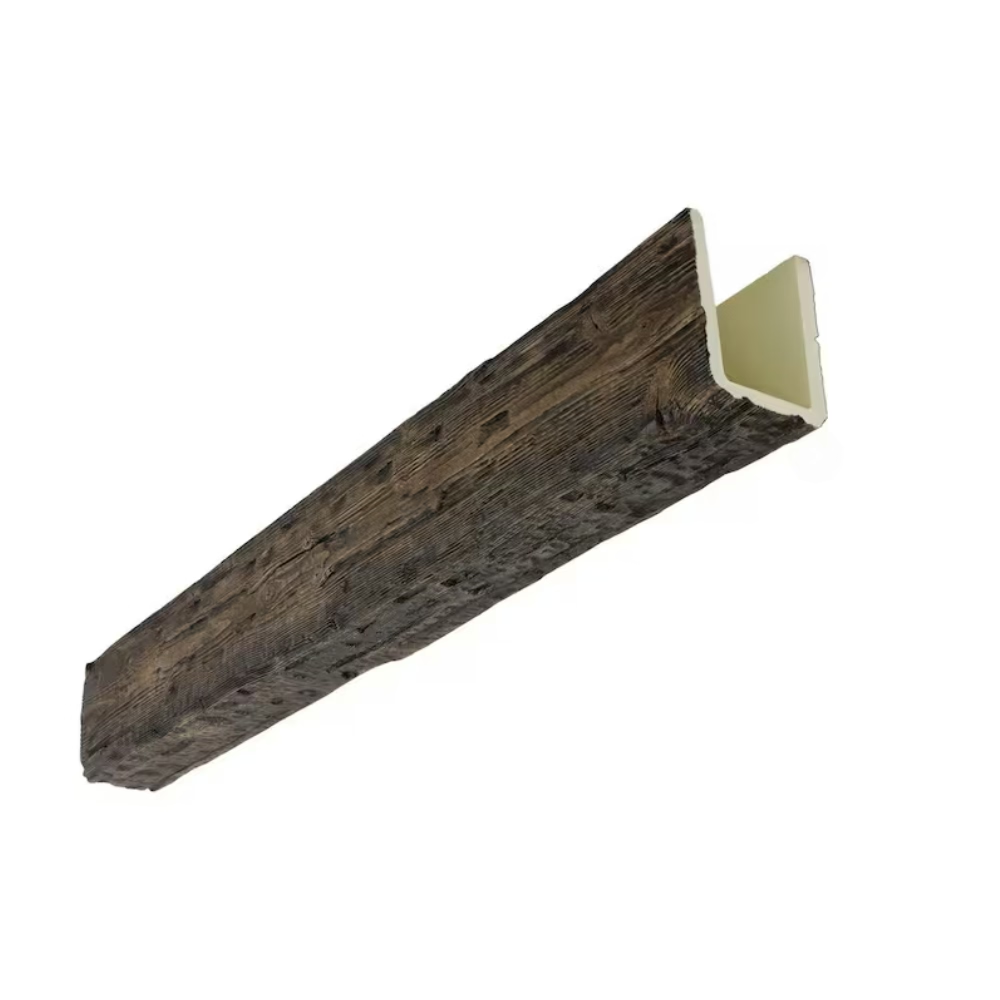
Step 3: Identify potential suppliers
With the technical specification drafted, the next step is identifying potential suppliers:
- Factory-direct suppliers. Manufacturers that produce polyurethane beams and sell directly to builders or homeowners. Factory-direct pricing is typically 15 to 30 percent below distributor pricing.
- Distributors. Suppliers that buy from factories and resell to builders or homeowners. Distributors add markup but provide logistics support and inventory availability.
- Specialty suppliers. Suppliers that focus on specific beam types—Spanish style, traditional, modern, etc. Specialty suppliers often have deeper expertise but may have higher pricing.
- Importers. Suppliers that import polyurethane beams from overseas factories. Import pricing can be lower, but lead times are longer and quality control is more variable.
For most residential projects, the choice is between factory-direct and distributor supply. The decision depends on the project's volume, the builder's logistics capabilities, and the timeline.
Step 4: Request quotes from 3 to 5 suppliers
Send the technical specification to 3 to 5 suppliers and request detailed quotes. The quote request should include:
- The technical specification (cross-section, lengths, quantity, profile, texture, color, finish).
- The project timeline (construction schedule, beam delivery date).
- The delivery location.
- Any special requirements (documentation, cleat hardware, replacement stock).
A good quote includes:
- Per-piece pricing by length.
- Setup fees (mold, color match, profile modification).
- Packaging details.
- Freight cost or allowance.
- Lead time estimate.
- Payment terms.
- Replacement stock terms.
- Documentation included.
A vague quote is a warning sign. A supplier that can't provide a detailed breakdown is either not serious about the project or doesn't have the operational maturity to handle it.
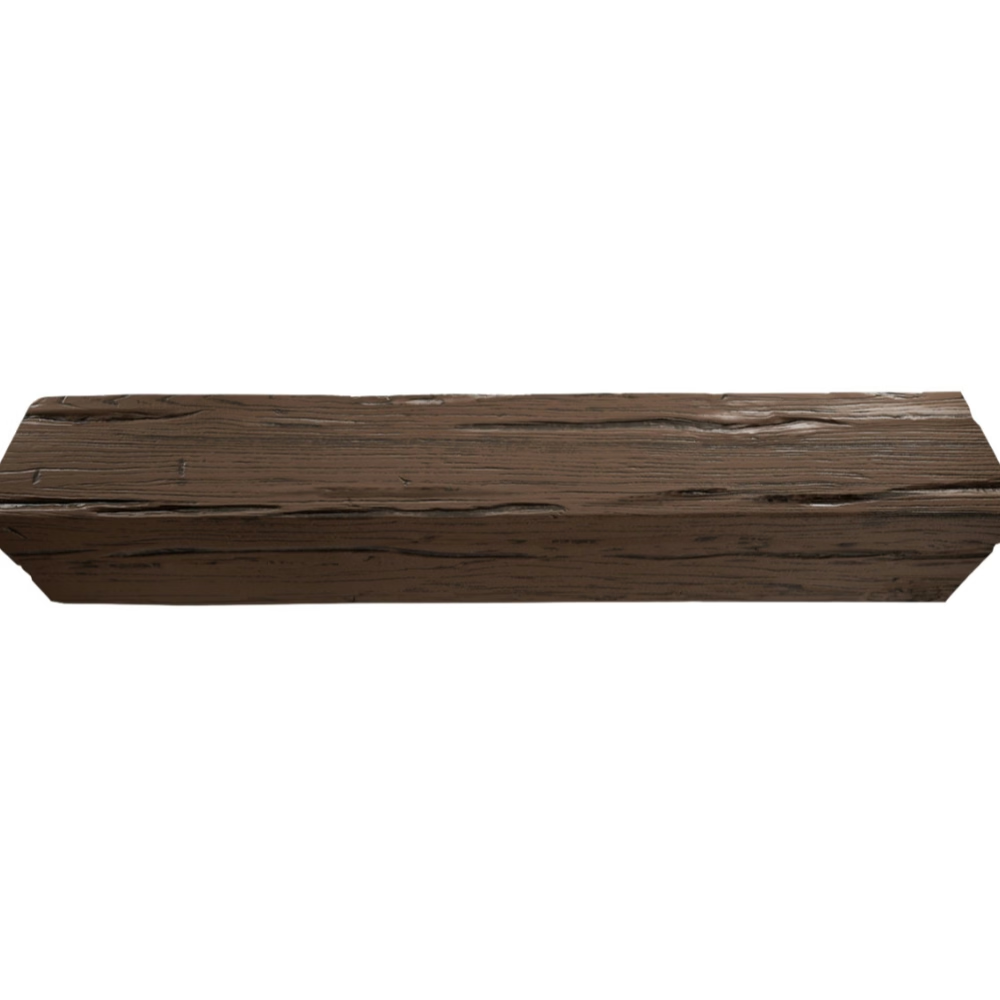
Step 5: Compare quotes on more than price
Quote comparison should consider more than the bottom-line price:
- Lead time. A 5-day difference in lead time can matter for a tight construction schedule.
- Documentation. Does the supplier provide the documentation the project requires?
- Color consistency. Does the supplier commit to color consistency across reorders?
- Replacement terms. What's the replacement policy for damaged or defective beams?
- Communication. Is the supplier responsive and clear in their communication?
- References. Can the supplier provide references from similar projects?
The cheapest quote is rarely the best quote. The right quote is the one that balances cost, lead time, quality, and reliability for the specific project.
Step 6: Negotiate the contract terms
Once a supplier is selected, the contract terms need to be negotiated:
- Pricing. Confirm the per-piece pricing, the setup fees, and any volume discounts.
- Payment terms. Negotiate deposit and balance terms that match the project's cash flow.
- Lead time. Confirm the production and delivery milestones in writing.
- Quality standards. Document the acceptable tolerance for color, dimension, and finish.
- Replacement terms. Document the replacement policy for damaged or defective beams.
- Cancellation terms. Document the cancellation fees at each stage of production.
The contract doesn't need to be adversarial, but it needs to be clear. Most beam supply relationships work smoothly because the contract covers the predictable issues.
Step 7: Manage the order
After the contract is signed, the order moves into active management:
- Confirm the production schedule. The supplier should confirm the production start date, the production completion date, and the shipping date.
- Coordinate with the construction schedule. The beam delivery needs to align with the construction phase that requires the beams.
- Inspect the beams on delivery. The beams should be inspected against the specification before installation.
- Handle any issues. If beams arrive damaged or defective, the replacement process defined in the contract kicks in.
Most residential projects have a project manager (the builder's PM or the homeowner's representative) who manages the order through delivery. For luxury projects, the interior designer may be involved in the order management.
Step 8: Plan for the install
The install phase requires its own planning:
- Cleat hardware. Confirm the cleat hardware has been ordered and is on site before the beam delivery.
- Install crew. Confirm the install crew has experience with the specific beam type and cleat system.
- Field measurements. For renovation projects, confirm field measurements before ordering.
- Install sequence. Plan the install sequence to minimize on-site handling and damage.
The install phase is where most beam projects succeed or fail. A well-specified, well-manufactured beam can still fail if the install isn't done correctly.
Common pitfalls in sourcing custom beams
A few issues that come up often enough to flag:
- Vague specifications leading to mismatched quotes. Suppliers quote different things when the specification is vague. Comparing these quotes is meaningless.
- Choosing the cheapest quote without considering other factors. The cheapest quote often has hidden costs—longer lead time, weaker documentation, less reliable replacement terms.
- Not confirming the cleat hardware. Beams and cleats are often ordered separately. A project that confirms the beam order but not the cleat order ends up with beams but no mounting hardware.
- Skipping the field measurement step. For renovation projects, beams ordered on plan dimensions often don't fit the actual space. The fix is to measure at framing completion.
- Not inspecting the beams on delivery. Beams that arrive damaged should be identified before installation, not after. The replacement process is much smoother when damage is identified at delivery.
When to involve a designer or consultant
For some residential projects, the sourcing process benefits from professional support:
- Luxury projects. Interior designers with experience in beam specifications can develop the technical specification and review quotes more effectively than most builders.
- Custom home projects. Architects or designers with experience in the specific architectural style can ensure the beam specification matches the design intent.
- Renovation projects with complex integration. Designers or contractors with renovation experience can identify the field measurement and structural issues before they become problems.
For most production home builders, the sourcing process is handled in-house. For custom projects, professional support is usually worth the cost.
Sourcing custom polyurethane faux beams for a residential construction project is a process that benefits from discipline at each step. Skipping steps or moving through them too quickly leads to beams that don't match the project. Following the process produces beams that meet the design intent, arrive on time, and install cleanly.
Technical References
ASTM standards cited in every specification
Test Data
Lab results from internal testing program
Updated 2026
Reviewed against current product specs