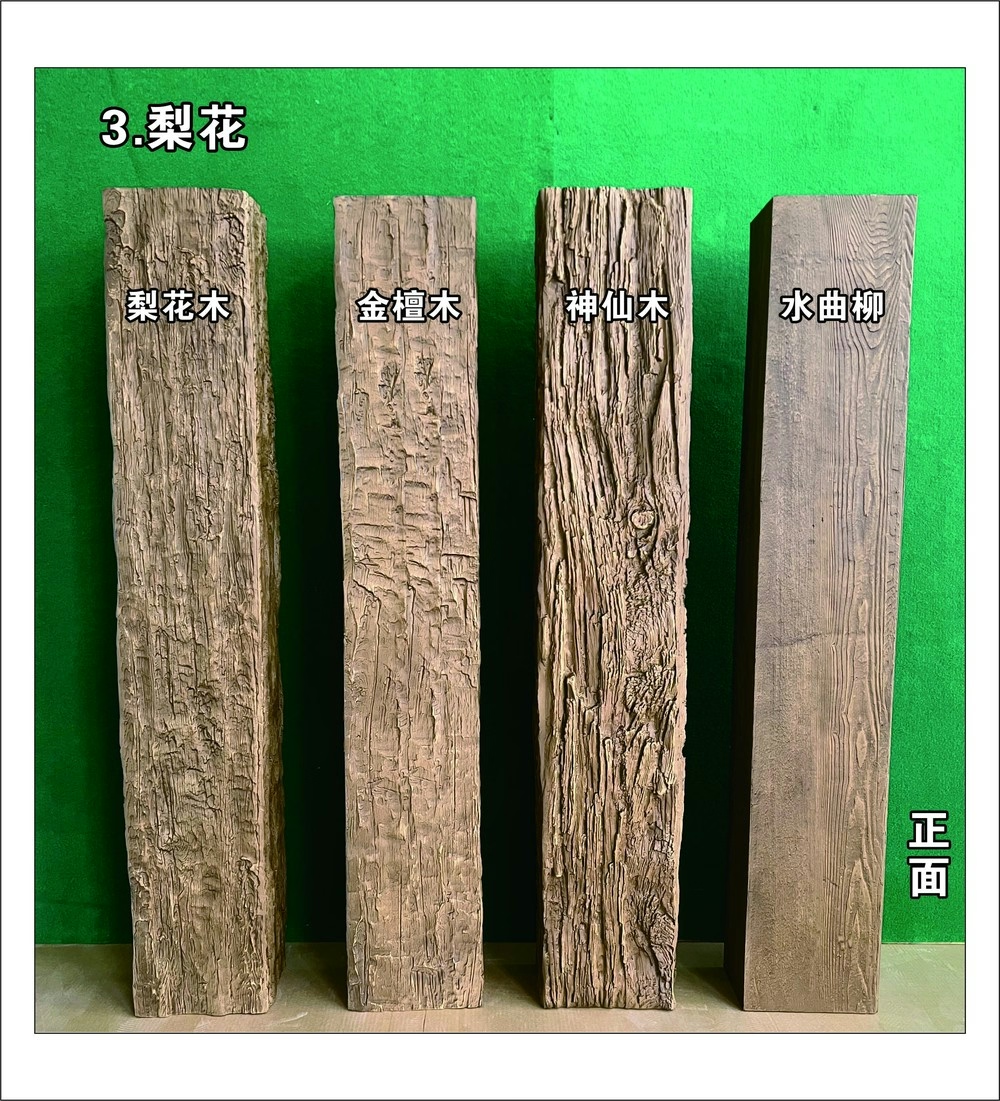
Polyurethane Faux Beams Installation Tips for Building Contractors
Building contractors installing polyurethane faux beams benefit from practical installation tips that come from experienced crews. This article shares installation tips covering crew training, tools and equipment, cleat installation, beam positioning, and quality control best practices.
Tip 1: Train crews thoroughly before first install
For crews installing beams for the first time:
- Initial training takes 2 to 4 hours.
- Hands-on practice with sample beams.
- Review of the cleat system and components.
- Understanding of beam handling and positioning.
- Quality standards and inspection criteria.
Trained crews install faster and with fewer errors.
Tip 2: Use the right tools for the job
For efficient installation:
- Cordless drill with appropriate bits.
- 4-foot level for cleat installation.
- Laser level for layout accuracy.
- Stud finder for cleat location verification.
- Socket wrench or impact driver for cleat screws.
- Tape measure, pencil, and chalk line.
- Safety equipment (gloves, eye protection, hard hat if overhead).
Right tools produce efficient installation.

Tip 3: Plan the installation sequence
For efficient project flow:
- Install cleats before beams arrive.
- Verify cleat locations against beam dimensions.
- Coordinate with other trades for ceiling work.
- Schedule installation when other trades won't interfere.
Sequenced planning avoids conflicts.
Tip 4: Verify substrate before cleat installation
Before installing cleats:
- Identify substrate type at each location.
- Verify substrate is adequate for beam load.
- Add blocking if substrate is inadequate.
- Document any substrate issues.
Substrate verification prevents installation failures.

Tip 5: Use the right cleat for each substrate
Cleat specification per substrate:
- Wood framing: Standard lag screws (typically 1/4 inch by 2 inch).
- Metal framing: Self-tapping screws (typically #10 by 1.5 inch).
- Plaster and lath: Toggle bolts (rated for the load).
- Concrete or masonry: Expansion or chemical anchors.
Correct cleats per substrate produce secure mounting.
Tip 6: Install cleats level and aligned
For straight beam runs:
- Use a laser level for layout.
- Mark cleat locations clearly.
- Verify each cleat is level before securing.
- Check alignment between cleats.
Level cleats produce straight beam runs.
Tip 7: Pre-drill cleat locations when needed
For substrates that require pre-drilling:
- Plaster and lath (to avoid cracking).
- Concrete or masonry (for anchors).
- Hardwood (for screws).
- Metal (for self-tapping screws).
Pre-drilling prevents substrate damage.
Tip 8: Handle beams carefully during installation
For beam protection:
- Lift beams with adequate crew (don't drag).
- Protect beam surface from scratches.
- Avoid impact on beam edges.
- Use clean gloves or hand protection.
Careful handling prevents damage.
Tip 9: Use a lift or support for long beams
For beams 16 feet or longer:
- Use a second person to support the beam end.
- Consider a temporary support or brace.
- For very long beams, use a lift or scaffold.
- Don't try to install alone.
Proper support prevents accidents and improves quality.
Tip 10: Position beams accurately on cleats
For accurate positioning:
- Lift beam onto cleats carefully.
- Slide beam to the desired position.
- Verify beam alignment along the run.
- Secure beam to cleats before releasing support.
Accurate positioning produces straight runs.
Tip 11: Secure beams to cleats properly
For secure attachment:
- Use the screws or hardware specified by the manufacturer.
- Don't over-tighten (may damage beam).
- Don't under-tighten (may allow movement).
- Verify security by testing.
Proper security prevents future issues.
Tip 12: Finish field joints carefully
For beams with field joints:
- Assemble on ground or scaffolding before mounting.
- Apply factory-supplied filler at the joint.
- Allow filler to cure per factory specifications.
- Color-match the joint with factory touch-up materials.
Careful joint finishing produces invisible joints.
Tip 13: Touch up any field damage
For any field damage during installation:
- Use factory-supplied touch-up materials.
- Color-match the touch-up to the beam.
- Apply touch-up per factory specifications.
- Document any significant damage for warranty.
Touch-up maintains the beam's appearance.
Tip 14: Inspect installation quality
After installation:
- Visual inspection of beam alignment.
- Check for gaps or misalignments.
- Verify beam security.
- Document any quality issues.
Inspection identifies issues before project closeout.
Tip 15: Protect beams during subsequent work
After installation:
- Cover beams during painting or other finishing work.
- Avoid impact from ladders or equipment.
- Protect from dust and debris.
- Remove protection carefully.
Protection prevents post-installation damage.
Tip 16: Document the installation
For project records:
- Photograph the installed beams.
- Document beam locations and specifications.
- Note any field modifications.
- Keep touch-up materials for future reference.
Documentation supports warranty claims and future work.
Tip 17: Provide care and maintenance guidance to homeowner
After installation:
- Provide cleaning recommendations.
- Explain any warranty terms.
- Provide touch-up materials.
- Document any special considerations.
Homeowner guidance supports long-term beam appearance.
Tip 18: Build crew expertise over time
For continuous improvement:
- Track installation times per project.
- Identify common issues and solutions.
- Refine crew techniques.
- Cross-train crew members.
Crew expertise improves over time.
Tip 19: Use the supplier's installation support
For installation questions:
- Contact the supplier for technical support.
- Request on-site assistance for complex projects.
- Use the supplier's installation guides.
- Document lessons learned.
Supplier support improves installation quality.
Tip 20: Maintain replacement stock awareness
For project protection:
- Know what replacement stock is held at the supplier.
- Track replacement stock coverage period.
- Use replacement stock for damaged beams.
- Document any replacements.
Replacement stock awareness protects the project.
Common installation mistakes to avoid
A few mistakes that occur frequently:
- Insufficient crew training. Crew without training takes longer and makes errors.
- Wrong cleat for substrate. Standard cleats inadequate for non-standard substrates.
- Inadequate substrate verification. Cleats mounted into inadequate structure.
- Poor beam handling. Dragging or impact damage during installation.
- Insufficient joint finishing. Visible field joints from below.
Quick reference for PU faux beam installation
- Crew size: 2 people for most beams, 3+ for long beams.
- Time per beam: 15 to 30 minutes for standard beams.
- Tools: Drill, level, stud finder, basic carpentry tools.
- Cleat specification: Per substrate per manufacturer's guide.
- Joint finishing: Factory filler and touch-up materials.
- Quality inspection: Visual inspection after installation.
Polyurethane faux beam installation tips for building contractors is a category where crew training, proper tools, correct cleat installation, and quality control all combine to produce efficient installation. The right combination produces fast, quality installations that meet project specifications and homeowner expectations.
Technical References
ASTM standards cited in every specification
Test Data
Lab results from internal testing program
Updated 2026
Reviewed against current product specs