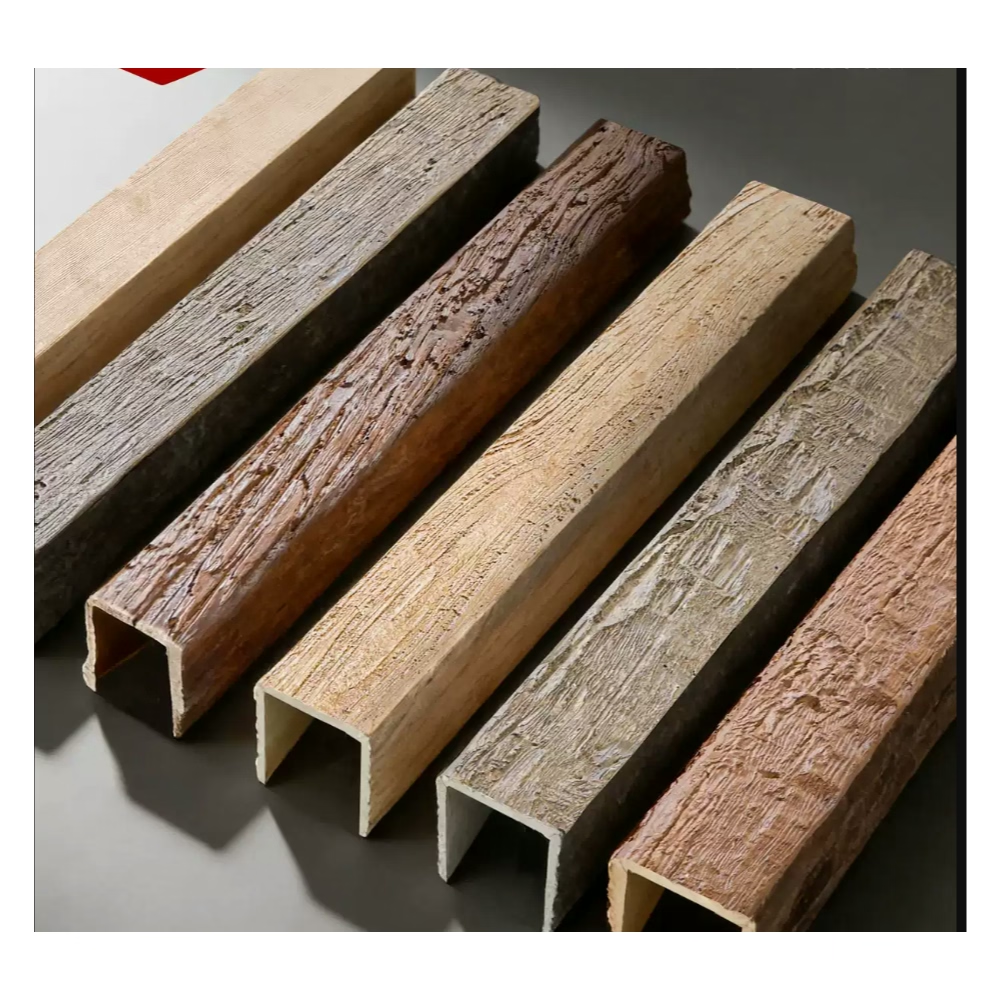
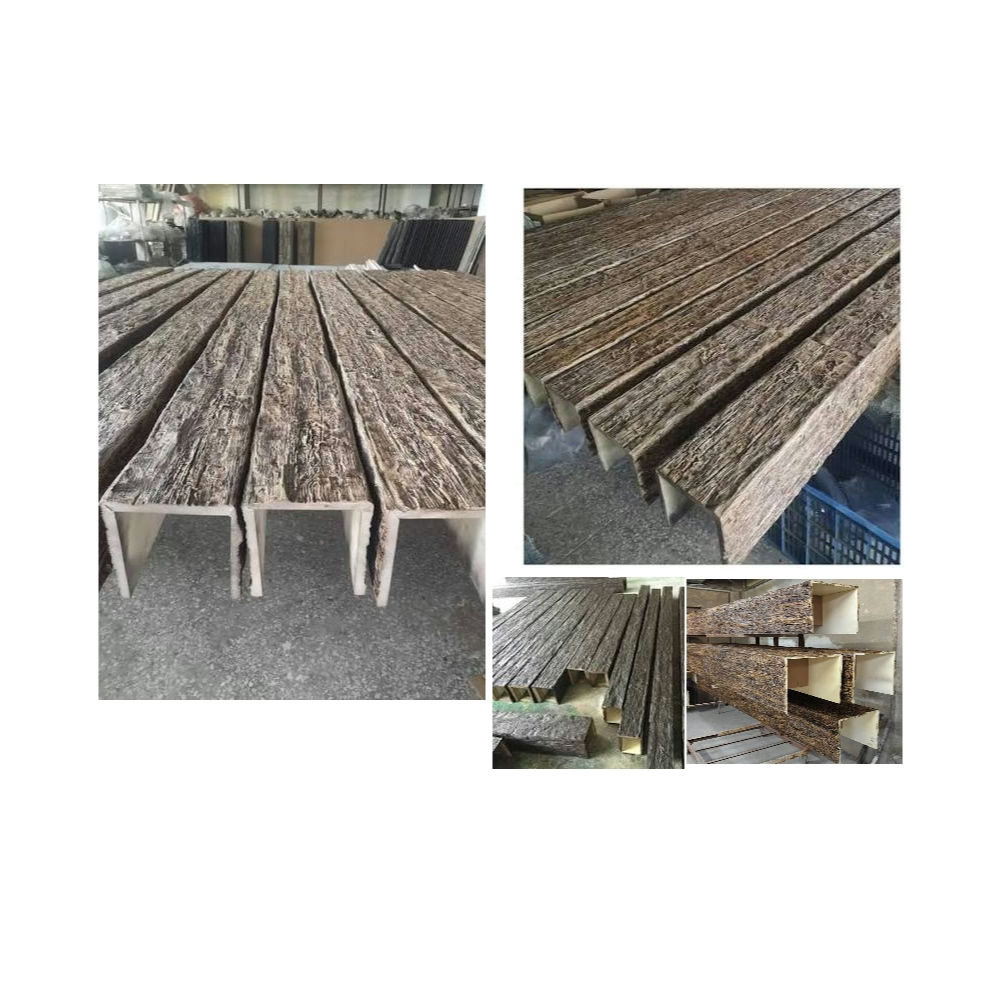
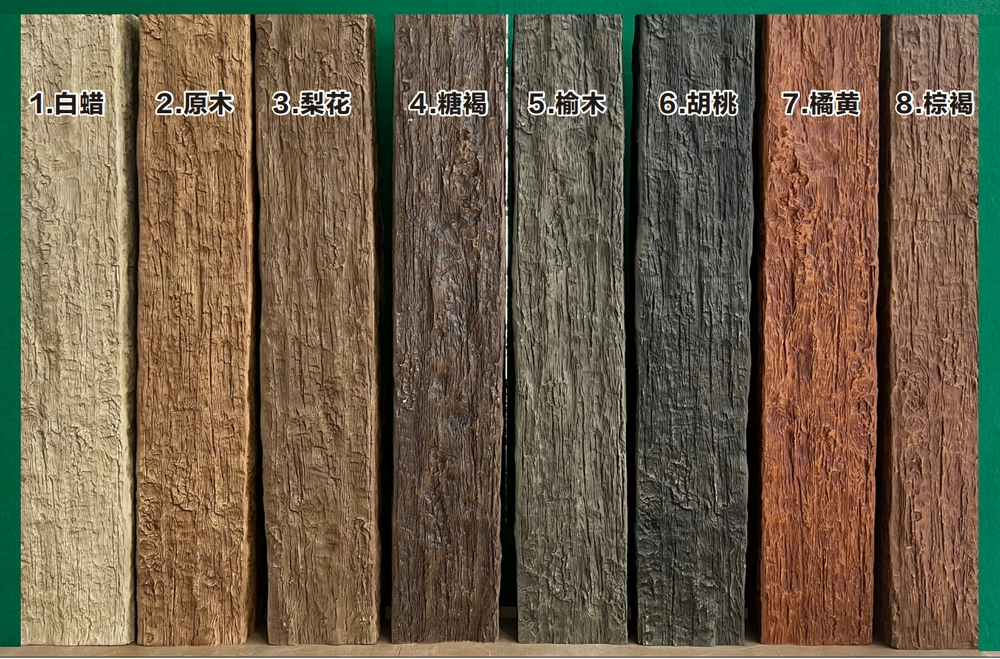
The young couple's budget for their great room ceiling project totaled $2,500—barely enough for materials alone if they hired professional installation. Their alternative meant abandoning the beam feature entirely, leaving the flat ceiling that made the room feel generic. When they asked if DIY installation was realistic, I walked them through the honest assessment: yes, capable homeowners with basic tools and patience can install faux beams successfully, but certain corners cannot be cut without compromising results. Understanding which costs represent necessary investments versus areas where smart substitutions save money without quality sacrifice allowed them to complete a beautiful installation for $1,800 total—professional appearance on a constrained budget through informed decision-making rather than false economy.
This guide helps budget-conscious homeowners optimize costs while maintaining installation quality that delivers lasting satisfaction. The goal isn't the absolute cheapest possible installation—it's the best result achievable within budget constraints through strategic resource allocation.
Material Selection and Smart Sourcing
Standard product lines from established manufacturers provide best balance of cost, quality, and availability for DIY projects. Custom colors, textures, or dimensions command premiums that budget-constrained projects cannot justify—stick with stock offerings that manufacturers produce in volume, capturing efficiency savings these volumes enable. A standard rustic brown 8x8 beam costs $18-22 per foot while custom texture versions reach $35-50 per foot—the standard product delivers 90% of the visual impact at 40% of the cost.
Direct manufacturer purchase bypasses retail markups when volumes justify minimums. Some manufacturers sell direct to homeowners for orders exceeding 200-300 linear feet, providing 20-30% savings versus retail pricing. However, small projects under these minimums must use retail channels—attempting to split orders with neighbors or buying excess for future projects rarely works practically. Accept retail pricing on small projects while larger renovations might justify direct purchase.
Seasonal sales and discontinued products offer savings opportunities requiring flexibility on color and style. Manufacturers clearing inventory of discontinued textures or colors discount 30-50% for available stock—potentially perfect for projects where specific color preferences don't dominate. Sign up for email lists from manufacturers and suppliers to receive sale notifications when inventory reduction prices appear.
Alternative suppliers including online retailers sometimes undercut local pricing substantially. However, shipping costs on long beam lengths can eliminate savings unless ordering full bundles qualifying for reduced freight rates. Calculate total delivered costs including shipping before assuming distant suppliers offer real savings. Also consider that returns and warranty service prove more complicated with distant suppliers than local sources.
Used or salvage faux beams rarely exist in sufficient quantity and condition for reliable sourcing. Unlike dimensional lumber where reclaimed materials create substantial markets, polyurethane beams last so long that salvage markets don't develop meaningfully. Occasionally renovation projects sell removed beams in good condition—monitor local classified ads and renovation forums if willing to wait indefinitely for appropriate materials to appear.
Tool Investment vs. Rental Optimization
Essential tool requirements include: measuring tape, level, chalk line, handsaw or circular saw, drill/driver, adhesive gun, and ladder or scaffold. Most DIY homeowners own these basics—no exotic tools are required for straightforward installations. Avoid spending hundreds on specialized tools when basic equipment suffices. A $15 handsaw cuts polyurethane beams perfectly well despite taking slightly longer than a $400 miter saw would.
Ladder or scaffold access proves necessary for ceiling work but purchase rarely justifies for single projects. Rent appropriate access equipment by the day or week—typically $50-150 depending on ceiling height and equipment type. An A-frame ladder suffices for 10-foot ceilings while taller installations may require scaffold or articulating ladder. Never compromise safety economizing on access equipment—falls cause injuries far exceeding rental cost savings.
The laser level rental transforms layout work from difficult approximation to precision task for modest cost. A one-day rental ($30-50) provides accuracy that string lines and bubble levels struggle to match, particularly on large rooms or vaulted ceilings. The time saved and accuracy gained justify rental cost through reduced error and rework prevention.
Shared tool borrowing from friends, family, or neighbors creates win-win scenarios when those relationships support it. Many homeowners own tools they use infrequently—borrowing that idle capacity costs nothing while providing tools you need. However, respect equipment and relationships—return tools promptly in condition received, replace consumables used, and reciprocate when able.
Purchasing vs. renting decision depends on likelihood of future use beyond immediate project. A quality cordless drill serves countless household needs justifying purchase even for single beam project. Conversely, a pneumatic nailer you'll use once then store for years makes rental sensible. Think beyond the immediate project to total ownership costs over items' useful lives.
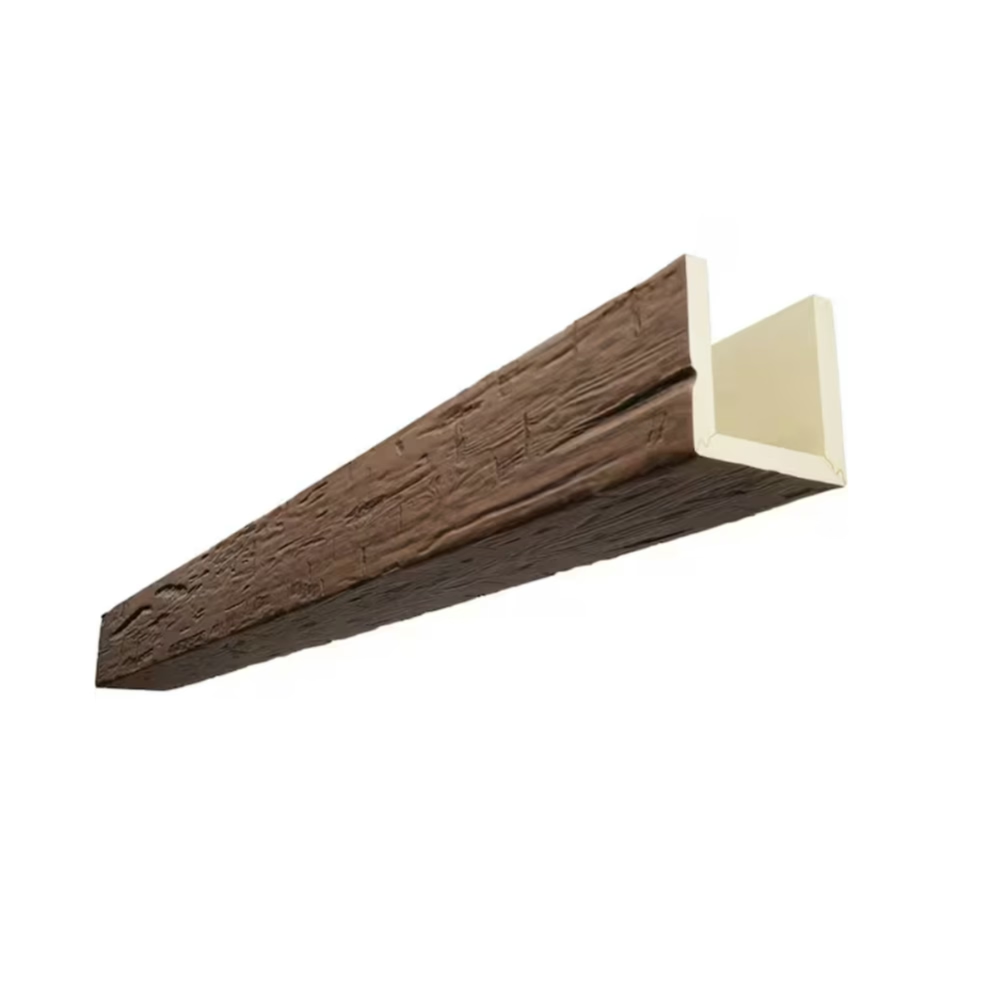
Installation Technique Simplifications
The adhesive-primary mounting approach eliminates expensive hardware while providing adequate attachment for most applications. Quality construction adhesive ($6-8 per tube, requiring 1-2 tubes per beam) plus basic screws at 24-inch spacing creates sufficient attachment without elaborate bracket systems. This simple method works for standard residential applications with typical 8-12 foot ceilings and moderate beam lengths.
Simplified beam layouts reduce complexity and materials versus elaborate grid patterns. Three parallel beams spanning a great room creates dramatic effect while requiring only three pieces and six end cuts—simpler than complex grids involving dozens of cuts and intersections. Straightforward layouts also reduce error probability—fewer cuts mean fewer opportunities for mistakes that waste materials and time.
Off-the-shelf beam lengths matching room dimensions minimize cutting and waste. If rooms measure 16 feet wide, order 16-foot beams rather than cutting 18 or 20-foot pieces. This reduces waste while eliminating cutting that consumes time and risks errors. Work with manufacturer or supplier to order lengths matching your specific needs within available size increments.
The temporary support strategies using basic materials rather than specialized props prevent sagging during adhesive cure without equipment investment. Scrap 2x4 lumber as temporary braces, spring-loaded drywall poles, or simple nails partially driven as temporary holding pins secure beams during cure then remove or conceal. These field-expedient solutions cost nothing while performing adequately for one-time use.
Pre-painting techniques simplify finishing when entire ceilings require repainting anyway. Paint ceiling before installing beams, then paint beams separately, finally touching up only the adhesive joint lines after installation. This sequence proves faster and neater than painting around installed beams or attempting to install pre-finished beams without touching up joints.
Labor Cost Elimination Through DIY
Personal labor represents the largest potential saving—professional installation typically costs $8-15 per linear foot while DIY labor costs only your time. On 200 linear feet of beams, this represents $1,600-3,000 labor savings substantial enough to justify weekend project commitment. However, honestly assess whether your skills and time availability make DIY realistic versus hiring professionals completing work efficiently.
Helper recruitment from friends or family provides necessary assistance without professional labor costs. Ceiling work proves difficult alone—a helper holding beam ends during positioning, passing tools, or operating temporary supports makes installation safer and more efficient. Reciprocal labor trading where you help with their projects in exchange for assistance with yours creates mutual benefit without cash transactions.
The learning curve exists but most capable homeowners master basic beam installation within their first room. Accept that early work proceeds slower than later work as you develop technique. Consider starting in less-visible rooms where minor imperfections won't bother you, progressing to prominent spaces after developing confidence and skill.
Project timeline flexibility allows working at convenient pace rather than compressed professional schedules. Professionals might complete installation in 2-3 days where homeowners working weekends and evenings spread work over 3-4 weeks. If schedule flexibility exists, DIY timeline extends proves acceptable saving thousands in labor costs.

Cost-Benefit Analysis on Key Decisions
The beam dimensions affect both material cost and visual impact—finding the right balance optimizes value. Oversized 12x14 beams in standard residential rooms waste money on dimensions that don't enhance appearance proportional to cost increases. Conversely, 4x4 beams in large spaces appear inadequate regardless of savings. Standard 6x6 to 8x8 sizes typically deliver best value for residential applications—meaningful presence at reasonable costs.
Spacing optimization balances visual effect against material quantity. Five beams at 5-foot spacing costs 25% more than four beams at 6.7-foot spacing—determine whether that visual difference justifies cost. Mock up both layouts using cardboard or tape on ceiling before ordering materials, evaluating which spacing level satisfies your design intent at acceptable cost.
Finish quality represents area where economy sometimes proves false. Cheap beams with poor texture detail or unrealistic color look obviously fake regardless of installation quality—saving $200 on materials creates result worth far less than spending $300 additional delivers. Allocate budget to quality visible surfaces even if that means fewer beams or simpler layouts. Better to install three excellent beams than five mediocre ones achieving inferior result.
The supplemental lighting integration decision depends on current lighting adequacy and budget remaining after beam costs. If current lighting serves adequately, delay integrated fixture additions until budget allows rather than compromising beam quality to simultaneously fund lighting. However, if lighting clearly inadequate, allocate budget between beams and lighting creating functional beautiful space rather than beautiful but dim room.
Avoiding False Economies
The adequate adhesive quantity proves essential—underapplying adhesive to stretch supplies risks future failures far exceeding adhesive savings. Follow manufacturer recommendations for coverage patterns and quantity rather than improvising lighter application hoping it suffices. Adhesive represents modest cost component where skimping creates disproportionate risk.
Appropriate fastener selection matters despite minimal cost differences—using drywall screws because you own them rather than appropriate wood screws needed for this application saves perhaps $5 while creating potential attachment weaknesses. Invest in correct fasteners for the specific application ensuring reliable long-term attachment rather than forcing wrong fasteners to work.
Measurement verification prevents cutting errors that waste expensive materials. The "measure twice cut once" principle sounds trite but prevents costly mistakes. An error causing one beam cutting mistake might cost $100-200 replacing wasted material—far exceeding time saved rushing measurements. Slow careful measurement and marking prevents errors that false speed causes.
Installation timing during favorable conditions rather than working in extreme heat, cold, or high humidity optimizes adhesive performance. Adhesive cures best at moderate temperatures and humidity—working during appropriate weather windows (even if that delays project) produces better installations than rushing during conditions that compromise adhesive bond quality.
Common Mistakes and How to Avoid Them
Poor layout planning causes beams to land inappropriately relative to lighting, HVAC, or architectural features. Complete full room layout including all ceiling elements before ordering materials prevents discovering interference problems after materials arrive. Draw scaled ceiling plans showing beam positions relative to fixtures and features, ensuring harmonious arrangement rather than conflict.
Inadequate ceiling preparation leaves dirt, grease, or loose paint compromising adhesive bonds. Clean and prepare surfaces thoroughly before installation begins—this "free" preparation requiring only cleaning supplies and elbow grease dramatically improves adhesion quality compared to attempting to glue beams to dirty or deteriorated ceiling surfaces.
Rushing installation leads to misalignment that becomes permanent once adhesive cures. Take time ensuring each beam positions perfectly level and straight before adhesive sets. The few extra minutes per beam ensuring accuracy prevents having to live with obviously crooked beams—errors that professional installers could correct but DIYers typically cannot without removing and reinstalling beams.
Skipping temporary support allows beams to sag during cure creating permanent deformation. Maintain temporary bracing full duration through complete cure—typically 48-72 hours. Don't remove temporary supports prematurely hoping adhesive has achieved adequate strength—patience through complete cure prevents sag problems that cannot correct without reinstallation.
Project Examples and Budget Breakdowns
Example 1: Master Bedroom (220 sq ft, 9-foot flat ceiling)
- Materials: Three 16-foot 6x6 beams at $19/foot = $912
- Adhesive and fasteners = $45
- Ladder rental (weekend) = $60
- Paint touch-up supplies = $25
- Total: $1,042
- Time investment: 12 hours over one weekend
- Professional cost would be: $2,400-3,000
Example 2: Great Room (450 sq ft, 12-foot vaulted ceiling)
- Materials: Five 24-foot 8x8 beams at $24/foot = $2,880
- Adhesive and fasteners = $95
- Scaffold rental (week) = $140
- LED strip lights and wiring = $180
- Total: $3,295
- Time investment: 30 hours over three weekends
- Professional cost would be: $5,500-7,000
Example 3: Basement (400 sq ft, 7.5-foot ceiling, mechanical concealment)
- Materials: Six 20-foot 6x8 beams at $21/foot = $2,520
- Adhesive and fasteners = $80
- Tall ladder rental (weekend) = $75
- Black paint for mechanicals = $35
- Total: $2,710
- Time investment: 20 hours over two weekends
- Professional cost would be: $4,200-5,500
These examples demonstrate 50-65% cost savings through DIY labor while achieving professional-appearing results. The savings justify weekend time investment for most homeowners with basic skills and appropriate expectations about learning curves and project duration.

Budget-conscious DIY installation can deliver excellent results when homeowners make informed decisions about where to invest limited resources and where thoughtful economy preserves adequate quality. The key distinction separates wise cost optimization from false economy undermining quality—understanding this difference allows beautiful affordable installations that create home value and personal satisfaction far exceeding modest financial investment. DIY beam projects prove accessible to capable homeowners willing to invest time developing technique, working carefully to high standards, and learning from the experience that first installations provide for future home improvement projects.
Technical References
ASTM standards cited in every specification
Test Data
Lab results from internal testing program
Updated 2026
Reviewed against current product specs