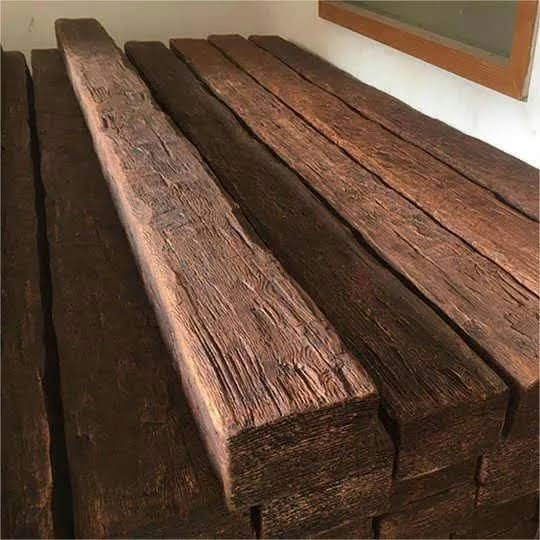
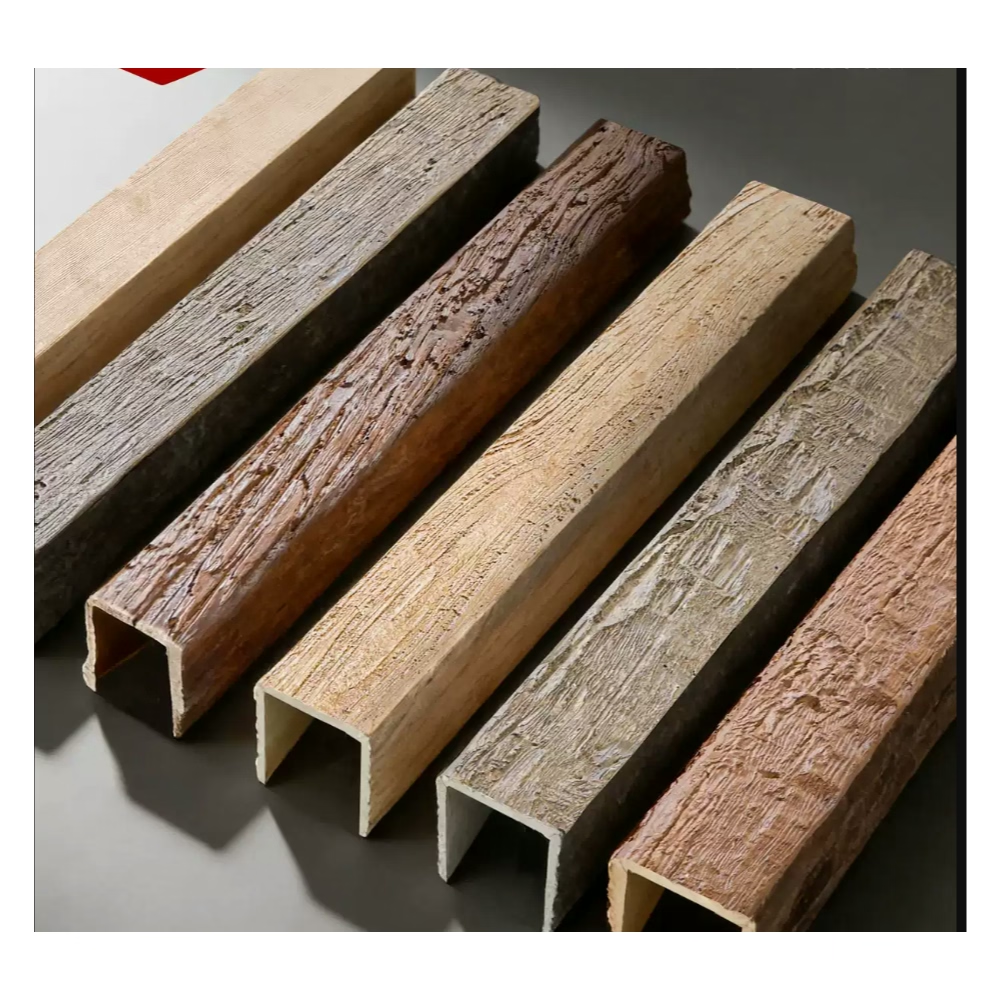
Choosing Faux Ceiling Beams for Commercial Interior Renovation
Choosing decorative ceiling beams for a commercial interior renovation is a different exercise than choosing beams for residential new construction or for custom home renovation. The constraints change: occupancy types dictate fire rating requirements, the existing ceiling conditions may be impossible to alter, the schedule constraints are tighter because the business is either paying rent during construction or losing revenue during closure, and the design vocabulary needs to fit a commercial brand rather than a personal taste.
This article provides a working framework for commercial renovation teams — design firms, general contractors, project managers, and ownership representatives — to make sound beam selection decisions. The framework is built around five criteria that, when applied in sequence, produce a specification appropriate to the specific project.
Criterion 1: Match occupancy to fire rating requirement
The first decision is non-aesthetic and largely non-negotiable. The occupancy classification of the space determines the fire rating requirement for the decorative beams, and that decision is made by the building official, not by the designer or the building owner.
Occupancy classifications and their typical beam fire ratings:
Business and mercantile occupancies (B and M). Most commercial offices, retail stores, restaurants (seating areas), and similar spaces. Class B or Class C fire rating is usually acceptable. Most polyurethane beam products as manufactured meet Class C; specifiers verify if Class B is required and add intumescent treatment if so.
Assembly occupancies (A). Theaters, convention spaces, restaurants with 75+ occupant load, places of worship. Class A or Class B typically required depending on specific use and occupant load. Most decorative beams in these spaces need Class A, which adds cost and lead time.
Hotels and multi-family common areas (R-1 and R-2). Lobby, corridor, and amenity spaces. Class A or Class B per specific jurisdiction interpretation. Documentation requirements tend to be more rigorous than for office space.
Educational occupancies (E). Classrooms, lecture halls, common areas in schools. Class A fire rating usually required.
Healthcare occupancies (I-2 and I-3). Hospitals, clinics, certain institutional occupancies. Strict requirements that may exclude polyurethane beams entirely or require very specific treatment protocols. Confirm with the building official before specifying.
For most commercial renovation projects in office, retail, restaurant, and hospitality categories, Class B fire rating is the common requirement. Class A is required for assembly occupancies with high occupant loads, educational occupancies, and certain jurisdiction-specific requirements. Class C is acceptable for general commercial spaces without specific fire-rated assembly requirements.
Cost impact: standard polyurethane to Class B adds $25–$50 per beam. Class A adds $45–$85 per beam. The premium is per piece, not a flat project cost, so large orders see proportionally higher total cost increase.
Lead time impact: Class B adds 1–2 weeks for treatment and certification documentation. Class A adds 2–4 weeks for the same reasons.
Criterion 2: Understand the existing ceiling conditions
The second decision is about what is actually above the ceiling and what the new beams are attaching to. This is where renovation differs most from new construction.
Common existing conditions in commercial renovation:
Exposed structure. Concrete deck, steel beams, mechanical ductwork, and electrical conduit all visible above the work plane. Adding decorative beams means the new beams interact with — or hide — the existing exposed systems. This requires careful coordination with mechanical, electrical, and plumbing trades to ensure the beam layout doesn't conflict with service runs.
Acoustic ceiling grid. Standard 2×2 or 2×4 acoustic tile in a suspended grid system. The grid itself is hung from the structure above. Decorative beams in this context can be face-mounted through the tile to the structure above, or can be supported from the grid in light-duty applications only. Most polyurethane beam installations bypass the grid and attach to structure.
Drywall ceiling on metal studs. Smooth or textured finish, no visible services. Beams attach through the drywall into the studs or into blocking mounted between studs. This is the simplest existing condition for beam installation and is common in office and residential-over-retail mixed-use buildings.
Historic plaster ceiling. Older buildings with plaster and lath ceilings. May be too fragile for direct beam attachment. Solutions include mounting beams to the wall structure or to a new suspended support system that bypasses the plaster entirely.
Vaulted or angled ceiling. Common in restaurants, hotel lobbies, and conference centers. Beam installation on angled ceilings requires creative mounting approaches and may affect which beam profiles work aesthetically.
The honest answer is that most commercial renovation projects have existing ceiling conditions that complicate beam installation in some way. The complications are usually manageable but are never free. Schedule a site visit during the specification phase. The condition on paper and the condition in the building rarely match perfectly.
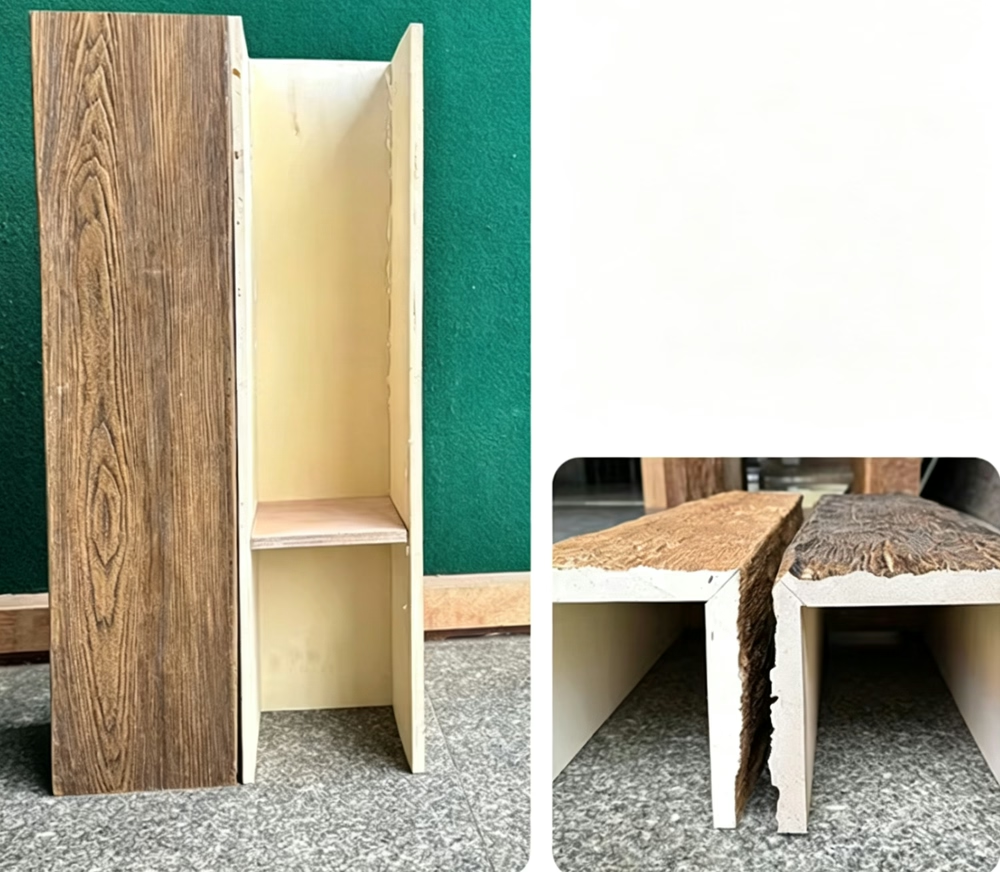
Criterion 3: Confirm the design intent vocabulary
The third decision is aesthetic. What is the design vocabulary the space is going for?
The most common commercial design vocabularies for beam ceilings:
Industrial modern. Steel and wood combination, often with darker finishes, exposed fasteners, weathering steel details. Polyurethane beams in walnut or ebony tones replicate this aesthetic effectively. Beam profiles tend toward squared or slightly hand-hewn with restrained texture.
Farmhouse transitional. Lighter wood tones with moderate distressing, often paired with shiplap walls and matte black iron details. Polyurethane beams with whitewash, light oak, or weathered gray finishes work here. Beams are typically more substantial profiles (8×10 and up).
Mid-century modern. Clean lines, minimal texture, often open-beam ceiling layouts with structural-looking beams in lighter tones. Polyurethane beams with smooth finishes in warm honey or light walnut support this vocabulary well.
Spanish or Mediterranean revival. Specific beam vocabulary described in detail in the Spanish style sourcing article. Requires understanding of viga, latilla, and corbel elements.
Contemporary hospitality. Often features beams as a partial ceiling treatment rather than a full grid — a single dramatic beam element in a lobby, a perimeter beam frame in a dining room, a beam feature at the reception desk. Polyurethane beam design supports any of these compositions.
Restaurant and food service. Wide variance — anything from clean contemporary to heavily distressed rustic. Finishes need to be commercial-grade for cleaning tolerance.
The design vocabulary decision influences profile selection, finish selection, and pattern of placement across the ceiling. Each vocabulary has specific beam family characteristics that work and others that do not.
Criterion 4: Balance material against install constraint
The fourth decision involves the practical installation constraints of the specific project. These constraints often determine whether the design intent can be executed as drawn or requires compromise.
Occupied space renovation. Beams are installed while the building is partially or fully occupied. Two-person crew, low-disruption equipment, and short installation windows matter. Polyurethane supports this constraint set better than solid timber.
Phased renovation. Work happens in phases to keep parts of the building operational. Beam installation may need to occur in shorter work windows than the design intent assumes. Coordination between beam supplier, GC, and ownership is essential.
Tight schedule. The opening date is fixed by lease, brand, or business plan. Beam supply and installation cannot slip without material business consequence. Polyurethane offers faster production lead times than solid timber, but production lead times still need to be calculated backwards from opening date.
Limited site storage. The renovation site cannot accept a full beam delivery at once due to staging area limitations. Staggered deliveries or staging at off-site warehouse with just-in-time delivery to site are common solutions.
Out-of-hours work. Some commercial renovations are restricted to nights and weekends. Beam installation in occupied buildings often proceeds under these conditions. Polyurethane installation requires minimal equipment and is well-suited to short overnight work windows.
The honest assessment of install constraints typically rules out some beam families entirely. A heavy solid timber beam may be the design team's preference, but the existing ceiling structure, the working hours, and the site access constraints make it impractical. Polyurethane often emerges as the realistic choice when constraints are fully accounted for.
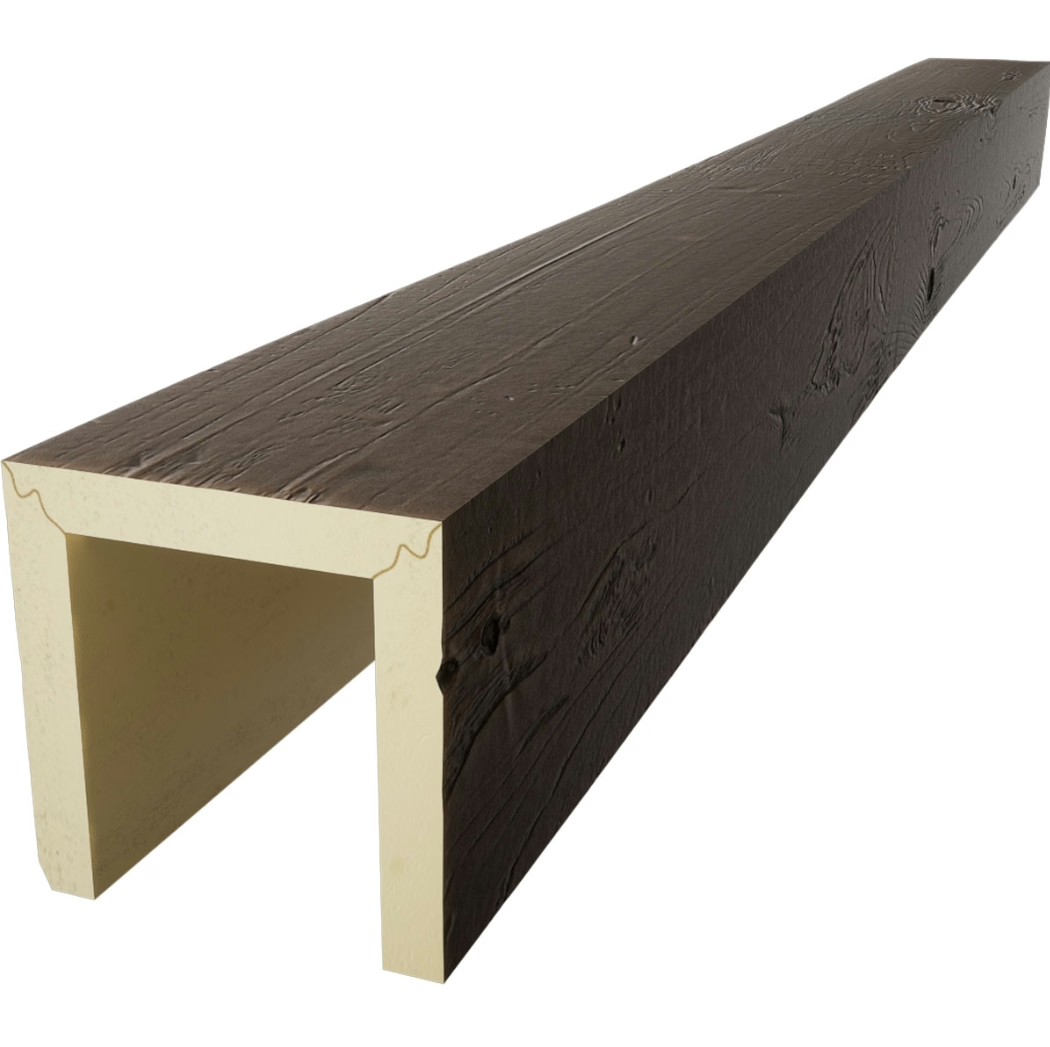
Criterion 5: Specify within budget realities
The fifth decision is financial. The beam budget is set by project economics, and the design intent must adapt to that budget rather than the budget adapting to the design.
Typical polyurethane beam pricing for commercial renovation:
| Quality grade | Per linear foot | Sample project 60 linear feet |
|---|---|---|
| Production-grade | $14–$22 | $840–$1,320 |
| Mid-grade | $22–$32 | $1,320–$1,920 |
| Commercial-grade with Class A | $35–$50 | $2,100–$3,000 |
| Artisan-grade | $45–$70 | $2,700–$4,200 |
For a single-beam commercial feature element (such as a 16-foot beam at a hotel reception desk), the budget impact is modest. For a comprehensive beam ceiling treatment across a 2,000-square-foot commercial space with a 4×6 beam grid, the budget impact can run $20,000–$60,000 depending on grade.
Budget allocation principles for commercial renovation:
- Front of house and high-visibility spaces. Allocate the highest beam grade to lobby, reception, primary dining room, and other spaces that owners and visitors experience first.
- Back of house and service areas. Use lower-grade beams where the beams are present but not focal. Some projects eliminate beams entirely from these areas.
- Amenity spaces. Mid-grade beams are appropriate for fitness centers, business centers, and similar amenities that contribute to the occupant experience without being focal elements.
The goal is matching beam grade to visibility and use intensity rather than to space size alone. Small spaces in high-visibility positions deserve the highest beam grade. Large back-of-house spaces can support lower-grade beams or no beams at all.
Material alternatives and where they fit
Polyurethane is not the only beam material available for commercial renovation. The alternatives each have specific applications where they are the right choice.
Solid wood. Appropriate when the design calls for authentic material, when the budget supports material-only and labor premium, when the install timeline accommodates the longer lead time, and when the existing structure can support the added weight.
MDF with veneer or laminate. Appropriate for low-budget decorative applications in dry environments. Limited on-site durability, sensitive to moisture, and does not match polyurethane's finish quality.
High-density urethane foam (different chemistry than polyurethane). Used in applications requiring enhanced chemical resistance or specific code certifications. Aesthetic quality generally below polyurethane.
Steel-clad or composite beams. Used for industrial modern aesthetics or for structural applications where the beam actually carries load. Not appropriate for traditional or transitional aesthetics.
Gypsum-based faux beams. Built up on-site from drywall over metal framing. Highly customizable in shape and finish but labor-intensive and slow to install. Used when the design calls for very specific shapes that cannot be replicated with manufactured beams.
For most commercial renovation projects, polyurethane occupies the middle of the cost-quality spectrum and offers the best balance for general decorative applications. The other materials fill specific niches where their particular properties justify the tradeoff in cost, aesthetics, or labor.
Common selection mistakes
A few specific mistakes show up frequently in commercial renovation beam selection.
Choosing beam grade by cost rather than by visibility. Designers and project managers sometimes economize on beams across the board to control project cost. The result is a space where the highest-visibility elements have underwhelming beam quality. The reverse approach — concentrating beam grade where visibility is highest and using lesser grades elsewhere — produces a stronger impression at the same overall budget.
Specifying fire rating above code requirement. Some designers specify Class A fire rating as a default without confirming the actual code requirement for the occupancy. The cost premium for Class A is meaningful and the lead time impact is significant when it is not actually needed.
Treating commercial renovation like residential new construction. The constraints are different. Solid timber that would be specified in a luxury residential project may be impractical in a commercial renovation with tight schedule, occupied space, and existing ceiling limitations.
Coordinating beam selection too late in the design process. Beams interact with lighting, fire suppression, AV systems, mechanical, and ceiling structure. Late coordination produces field-condition compromises. Early coordination produces clean installations.
Failing to test finishes under actual lighting conditions. A finish that looks perfect in the supplier's showroom may look completely different under the LED lighting specified for the project. Request a finish sample and view it under the project's actual lighting specification before approving.
A practical selection workflow
For commercial renovation projects, the beam selection process typically follows this workflow.
Step 1 (week 1). Identify occupancy classification, confirm fire rating requirement with the building official if unclear, document existing ceiling conditions during a site visit, and confirm design vocabulary with the project team.
Step 2 (week 2). Develop the beam specification outline — profiles, finishes, lengths, quantities, mounting approach, fire rating. Engage two or three suppliers for rough pricing.
Step 3 (week 3). Refine the budget allocation across spaces. Identify the visibility hierarchy that determines beam grade by location. Confirm the budget envelope is realistic for the design intent.
Step 4 (week 4–6). Issue formal samples from the shortlisted suppliers. Conduct sample evaluation with the design team under conditions that mimic the project lighting. Iterate as needed.
Step 5 (week 7). Approve a sample as the production master. Issue PO. Confirm production schedule against the construction timeline.
Step 6 (week 8–12). Production runs. Confirm logistics and delivery timing with the GC and the project schedule.
Step 7 (install). Beams arrive, are inventoried, and are installed. Field touch-ups are addressed if needed.
Total elapsed time from selection start to installation is typically 12–16 weeks for standard commercial renovation projects. Compressed schedules require early engagement of the supplier and may force higher costs through expedited production.
A closing note on selection discipline
The selection framework exists because the decision involves more variables than aesthetic preference alone. Commercial renovation beam selection requires integrating code compliance, structural constraints, install realities, design intent, and budget discipline into a coherent specification. The framework is mechanical and repeatable. The application requires judgment that comes from experience with similar projects.
When the framework is applied carefully, the resulting specification is defensible, the beam installation performs as expected, and the budget is controlled. When the framework is skipped or applied casually, beam installations become sources of project complications that could have been avoided.
The discipline is worth maintaining even on projects where it feels like overhead. The selection decisions made up front determine the project experience during installation and the performance quality in service for years afterward.
Technical References
ASTM standards cited in every specification
Test Data
Lab results from internal testing program
Updated 2026
Reviewed against current product specs