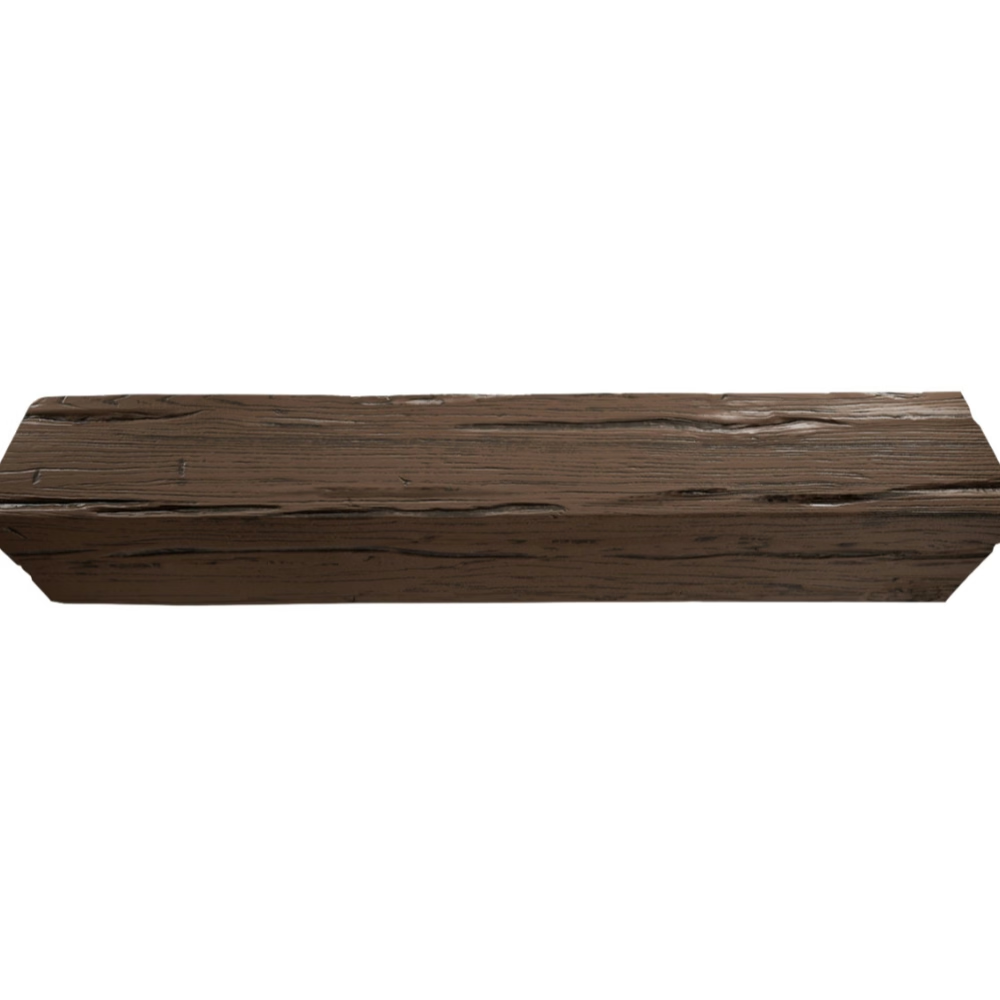
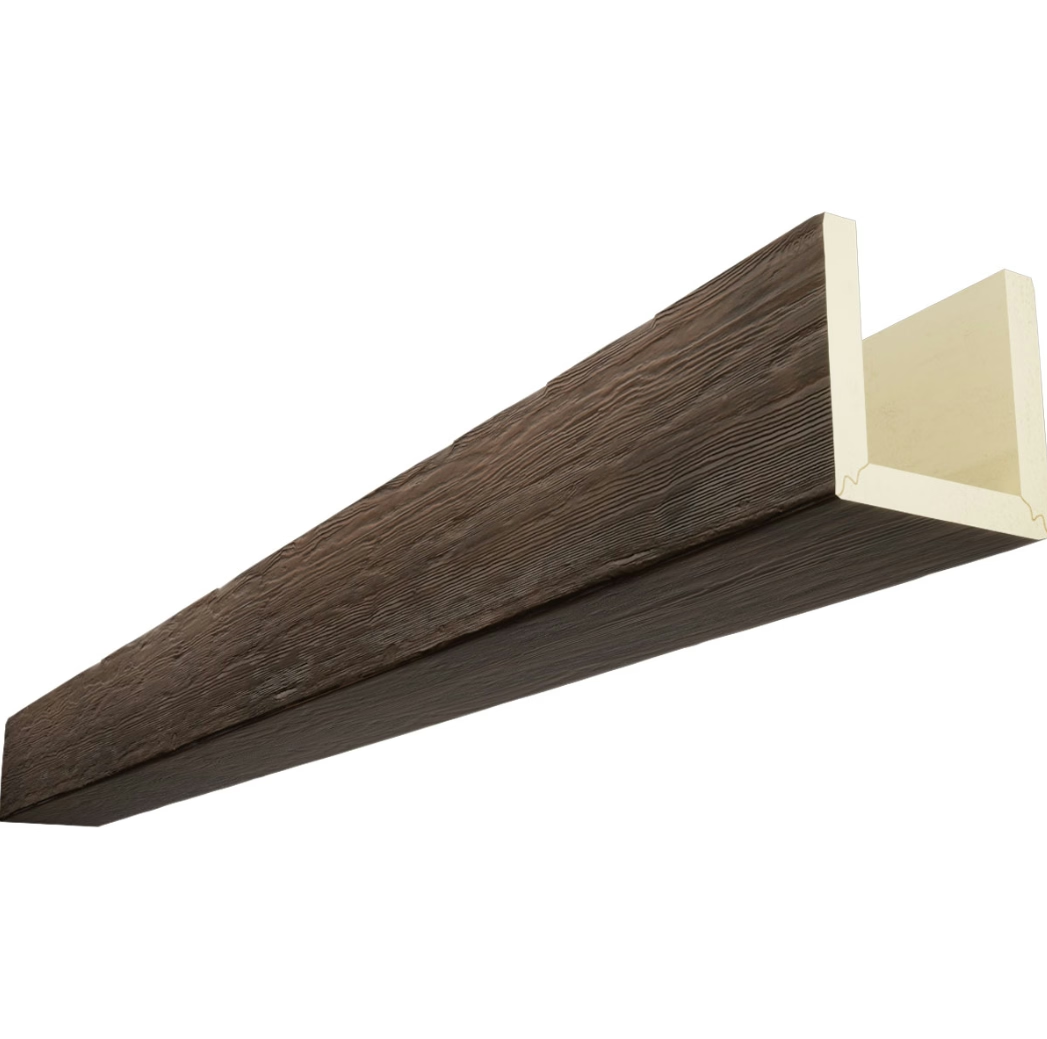
The formal dining room stretched 18 feet square with a flat 10-foot ceiling—dimensionally adequate but architecturally lifeless. The client wanted something special, something that elevated the space to match the quality evident throughout the rest of their custom home. I sketched a coffered ceiling concept with faux beam grids creating recessed panels, and watched her expression shift from polite interest to genuine excitement. "That's it—that's what this room needs." The transformation from flat plane to dimensional architecture changed the room's entire character, proving that ceiling treatments often deliver more dramatic impact per dollar invested than any other design intervention.
Coffered ceilings represent one of architecture's most enduring decorative traditions, creating rhythm, depth, and richness through geometric panel organization. Modern faux beam technology makes these sophisticated ceiling treatments accessible to projects where traditional timber framing or extensive carpentry would prove prohibitively expensive. Understanding design principles, construction strategies, and detail resolution for beam-defined coffered systems allows creating interiors that reference centuries of architectural tradition while leveraging contemporary materials and methods.
Design Principles for Coffered Beam Layouts
The fundamental geometry of coffered ceilings divides ceiling planes into grids of recessed panels surrounded by projecting beams or ribs. This organization must relate proportionally to room dimensions—square or nearly-square coffers generally appear more balanced than highly rectangular panels, unless rectangular proportions respond to specific room geometry or architectural features demanding directional emphasis.
Module sizing typically ranges from 3 to 6 feet for residential applications, with larger commercial spaces accommodating 6 to 10-foot modules. The calculation begins by dividing room dimensions by target module sizes, then adjusting to create whole numbers of complete coffers rather than fractional panels at perimeters. An 18-foot room works perfectly at 3-foot (6 coffers), 4.5-foot (4 coffers), or 6-foot (3 coffers) modules. A 20-foot room might use 4-foot (5 coffers) or 5-foot (4 coffers) spacing—the choice depends on desired visual density and coffer depth you plan to achieve.
Beam hierarchy clarifies organizational structure in coffered layouts. Primary beams—typically running one direction and often larger in cross-section—establish the major grid lines. Secondary beams perpendicular to primaries complete the grid. This size differentiation prevents visual confusion, helping eyes read the organizational system rather than seeing undifferentiated pattern. Common hierarchies pair 8x8 primary beams with 6x6 secondaries, or 10x10 primaries with 8x8 secondaries in larger spaces.
The perimeter condition requires careful resolution. Coffers can extend fully to walls, with perimeter beams sitting tight against wall surfaces. Alternatively, flat ceiling borders can frame the coffered field, creating transition zones between complex ceiling center and simpler perimeter. This border approach works particularly well when coffers don't divide room dimensions evenly—the border absorbs the dimensional adjustment preventing awkward partial coffers at edges.
Ceiling height constraints affect coffer feasibility. Standard 8-foot ceilings rarely accommodate coffering without feeling oppressively low once beam depth projects down. Nine-foot ceilings represent the practical minimum for coffered treatments in residential scale. Ten feet and higher work progressively better, allowing deeper coffers that read more dramatically. In rooms with ample height, consider deeper coffers—3 to 6 inches—rather than shallow 1-2 inch recesses that can appear tentative rather than purposeful.
Construction Methods and Sequencing
Two fundamental approaches create coffered effects with faux beams: applying beams to flat ceilings with recessed panels created through paint or trim details, or installing beams on dropped grids with coffer fields set higher. The first method proves simpler and works on existing finished ceilings, while the second creates more dramatic depth but requires ceiling framing modifications.
The applied-beam approach begins with a finished flat ceiling. Beams install using standard mounting methods—adhesive and fasteners securing them to the ceiling surface. The "coffers" exist as flat panels surrounded by projecting beams, with perceived depth coming from the beam projection below ceiling plane rather than actual panel recession. This method converts flat ceilings to coffered appearance efficiently, though the effect reads as less three-dimensional than true recessed panels.
Paint treatment within applied-beam coffers enhances depth perception. Darker paint in panel fields compared to beam colors creates shadowing that suggests recession. Subtle tonal variation—perhaps two or three shades darker—often reads more sophisticated than extreme contrast that can appear cartoonish. Metallic or pearl finishes in coffer fields catch light differently than flat beam surfaces, further emphasizing the organizational geometry.
The dropped-grid method involves installing a secondary ceiling structure below the original ceiling plane, with faux beams attaching to this lowered framework. Coffer fields remain at original ceiling height, creating actual 2-4 inch (or deeper) recesses between them and the lower beam grid. This approach delivers authentic architectural depth with shadows and relief that applied-beam systems can't match, though at cost of reduced ceiling height and more complex framing.
Framing requirements for dropped grids typically use 2x lumber or metal framing creating a grid at the intended beam bottom elevation. This framework must attach securely to ceiling joists or structural deck above, capable of supporting beam weight plus any lighting integrated into the system. The framing layout mirrors the beam positions, providing continuous backing for beam attachment along their full lengths.
Installation sequencing matters significantly in coffered systems. In applied-beam approaches, install primary beams first, establishing the major organizational lines. Secondary beams fill in between primaries, completing the grid. This sequence allows minor spacing adjustments in secondary positions if field dimensions vary from design documents. In dropped-grid systems, complete all framing before beginning beam installation, then install beams following the same primary-then-secondary sequence.
Detail Resolution at Intersections and Corners
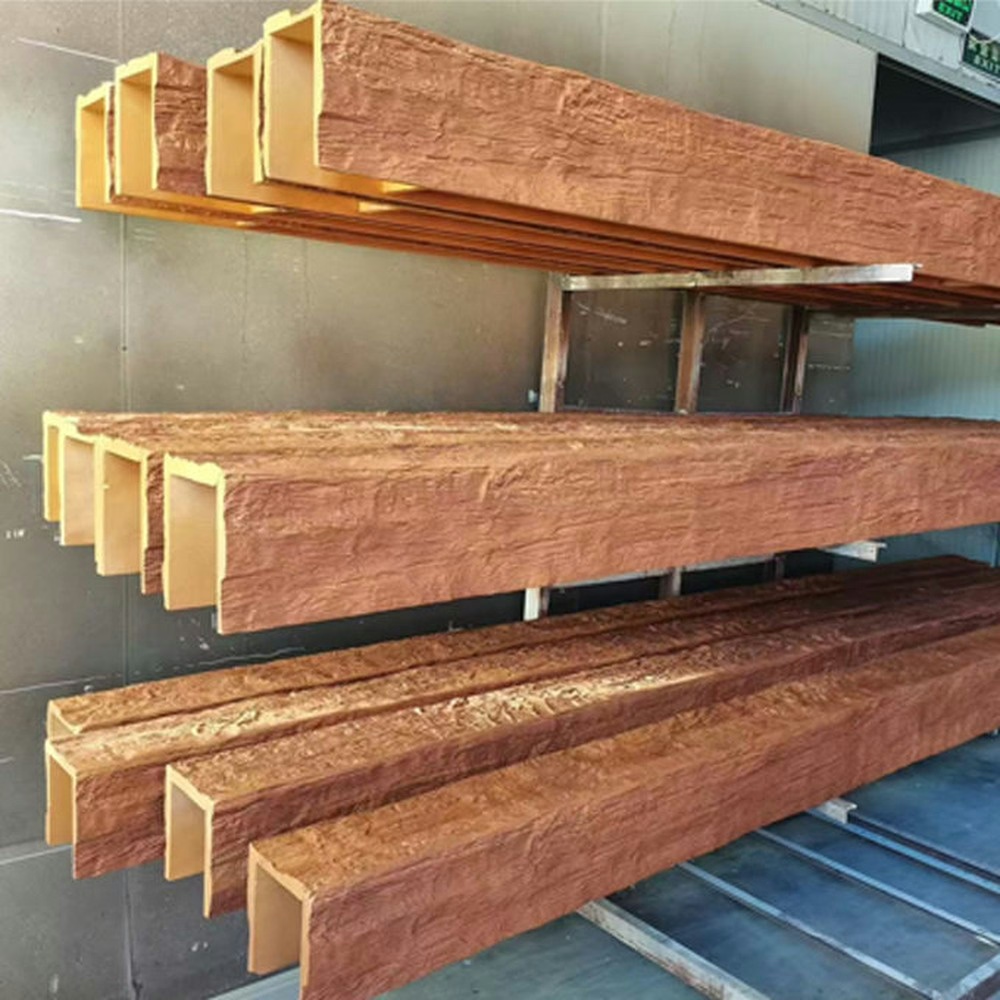
Beam intersections where crossing members meet require clean joinery that appears intentional rather than improvised. Several approaches handle these junctions depending on beam profiles and desired effect. Mitered corners create seamless transitions where beam faces appear to wrap continuously around corners—the most sophisticated solution but requiring precise cutting. Butt joints where one beam runs continuous while the crossing beam shows cut ends against its face read as simpler, more rustic—appropriate for certain design styles but less refined.
The hierarchical relationship guides intersection details. Primary beams typically run continuous through intersections, with secondary beams showing cut ends butting into primary faces. This logic suggests structural relationships even though decorative beams carry no loads. Mixed approaches where some intersections use miters while others use butts appear confused and undermine the organizational clarity coffered systems should establish.
Corner conditions where beams meet walls present similar choices. Beams can return along walls creating picture-frame perimeter that contains the coffered field. Alternatively, beams can terminate before reaching walls, leaving flat ceiling borders. Return approaches feel more complete and traditional, while terminated beams read as more contemporary. The choice should align with overall design direction and room architectural character.
Inside corners where beams meet in room corners or at architectural features require particularly careful attention. These three-dimensional junctions involve beams meeting at right angles in both horizontal and vertical planes—complex geometry that hand-cutting on site proves challenging to execute cleanly. Pre-cut corner assemblies or careful shop fabrication of corner pieces improves results dramatically compared to field-cut solutions.
Integrating Lighting into Coffered Systems
Recessed lighting within coffer panels represents the most common lighting strategy, with fixtures centered in panel fields or arranged in multiples depending on coffer size. Standard residential recessed cans—typically 4-6 inch diameter—fit well in 3-5 foot coffers. Larger coffers might accept multiple fixtures or larger commercial-scale cans. The fixture placement should appear deliberate—perfectly centered or arranged in clear patterns rather than randomly positioned avoiding structural conflicts.
Cove lighting along coffer perimeters creates dramatic effects emphasizing the geometry through indirect illumination. LED strip lighting installed atop beams facing into coffer recesses washes light up onto the recessed panel surfaces. This technique works particularly well in dropped-grid coffers where actual depth provides space for light to spread before hitting panel surfaces. The indirect lighting emphasizes the three-dimensional relief while providing functional ambient illumination.
Pendant fixtures dropping from coffer centers make bold statements in focal coffers—perhaps the central panel in a grid of nine coffers, or at specific points coordinated with furniture layout below. The pendant-in-coffer composition creates framed focal points that draw eyes upward. Wire routing through beam interiors (as described in previous discussions) conceals electrical connections maintaining clean appearance.
Chandelier integration with coffered ceilings requires coordination between fixture size and coffer module. Large chandeliers might occupy multiple coffers, with the beam grid framing around rather than dissecting the fixture. Smaller fixtures can nestle within single coffers, their size proportionate to panel dimensions. This chandelier-coffer relationship should appear planned rather than coincidental—adjust coffer layout to frame chandeliers appropriately rather than positioning fixtures arbitrarily within predetermined coffer fields.
Material and Finish Coordination
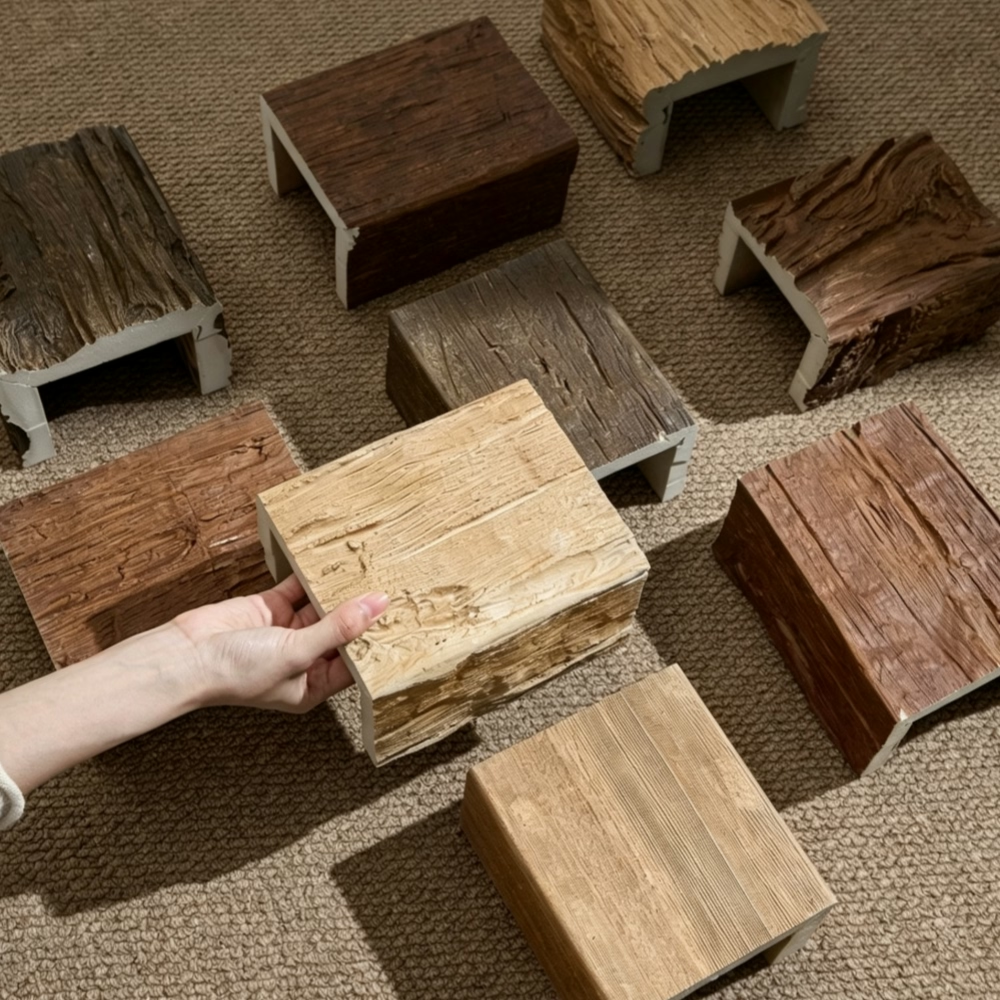
Beam finish selection dramatically affects overall coffer system appearance. Matching beams to other room woodwork—doors, casings, flooring—creates integrated environments where ceiling treatments feel like part of comprehensive architectural language. Contrasting beam color against wall and ceiling colors creates drama and emphasis—dark beams against light ceilings produce traditional formal effect, while light beams against dark surfaces read as contemporary and unexpected.
The ceiling finish within coffer panels deserves equal attention to beam selection. Smooth paint represents the classic approach—clean surfaces contrasting with textured beam surfaces. Wallcovering or decorative paint finishes in panels—perhaps subtle metallic or texture effects—add richness without overwhelming the architectural organization beams establish. Fabric panels stretched within coffers create exceptional acoustic and aesthetic effects in media rooms or performance spaces.
Beam stain or paint finish must coordinate with lighting plans. Dark stained beams under bright lighting show rich color and grain detail. The same dark beams in dimly-lit rooms can appear as black voids without visible character. Light or medium-toned beams perform better in lower-light conditions, maintaining visible texture and dimension that dark finishes lose without adequate illumination.
Sheen level affects maintenance and appearance. Flat or matte finishes on beams minimize reflections and emphasize texture—appropriate for rustic or traditional applications. Satin finishes provide subtle sheen that enhances wood character while remaining easy to clean—versatile choice for most applications. Semi-gloss or gloss finishes create more formal, polished effect but show dust and fingerprints readily—best reserved for formal spaces with professional maintenance.
Scale Relationships and Proportion Guidelines
Room size relative to coffer module determines whether coffered treatments feel appropriate or overwhelming. Small rooms—under 12x12 feet—rarely benefit from coffering since the required smaller module sizes (2-3 feet) create busy, cluttered effects. Medium rooms of 14x18 to 20x20 feet represent the sweet spot where 3-5 foot modules create balanced compositions without excessive visual weight. Large rooms exceeding 20x25 feet accommodate larger modules and deeper coffers that smaller spaces cannot carry.
Ceiling height to beam depth ratios should maintain balance preventing beams from dominating spaces disproportionately. In 9-foot ceilings, limit beam depths to 6-8 inches—two to three inch recess depth. In 10-12 foot ceilings, 8-10 inch beams with 3-4 inch recesses work well. Taller ceilings above 12 feet can accept 10-12 inch beams with 4-6 inch coffer depths. These proportions keep beam presence substantial without appearing to lower ceiling oppressively.
The visual weight of coffered ceilings requires balancing against other room architectural features. Rooms with substantial millwork, detailed cabinetry, or complex architectural features can integrate bold coffered ceilings as part of overall richness. Minimalist interiors with limited detail might be overwhelmed by heavily coffered ceilings—consider whether the ceiling treatment aligns with or fights the design language established by other room elements.
Historical Precedents and Contemporary Adaptations
Classical architecture from Roman through Renaissance periods used coffered ceilings extensively in monumental interiors—temples, basilicas, palaces—where the repeated geometric organization emphasized spatial grandeur. These historical examples typically used stone or timber construction with considerable depth and scale appropriate to massive rooms. Contemporary adaptations scale these principles to residential and commercial projects while maintaining the essential organizational clarity and dimensional relief that make coffering compelling.
Traditional applications favored square coffers with consistent module sizes creating uniform fields. Contemporary approaches experiment with varied module sizes, rectangular proportions, or asymmetrical organizations responding to room geometry or functional zones. A great room might feature dense small-module coffering over the seating area transitioning to larger modules over the dining zone—spatial differentiation through ceiling articulation.
The material contrast between historical timber or stone coffers and modern polyurethane faux beams allows effects impossible in traditional construction. Curved coffers following barrel-vault geometries, compound-curved surfaces impossible to frame in timber, or extreme depths that solid timber weight would make impractical—all become feasible with lightweight modern materials. This material freedom expands design vocabulary while maintaining connection to historical architectural traditions.

Coffered ceiling systems created with faux wood beam grids synthesize classical architectural language with contemporary materials and construction efficiency. Understanding proportion, construction methods, and detail resolution allows creating sophisticated ceiling treatments that transform flat planes into dimensional architecture. The investment in coffered design and installation returns dividends through dramatic spatial enhancement that flat ceilings cannot approach—making these treatments among the most cost-effective strategies for elevating interior architectural quality.
Technical References
ASTM standards cited in every specification
Test Data
Lab results from internal testing program
Updated 2026
Reviewed against current product specs