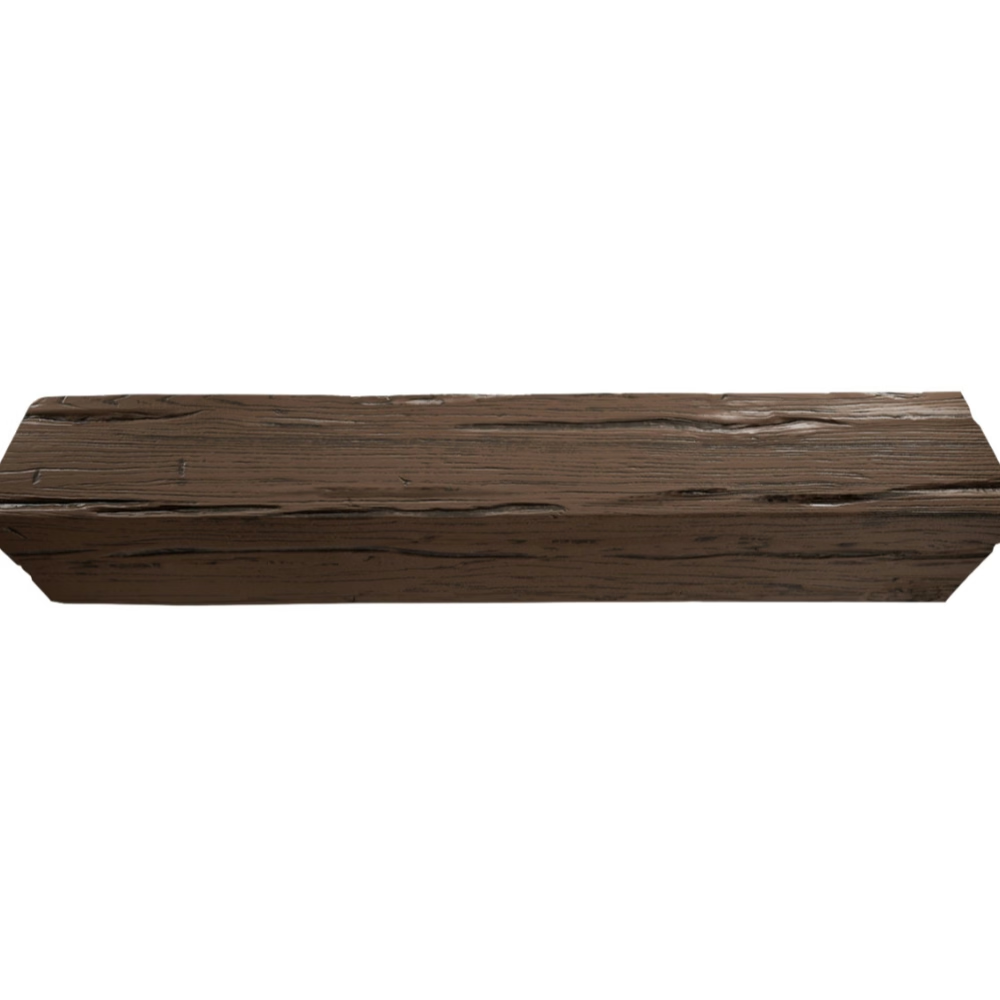
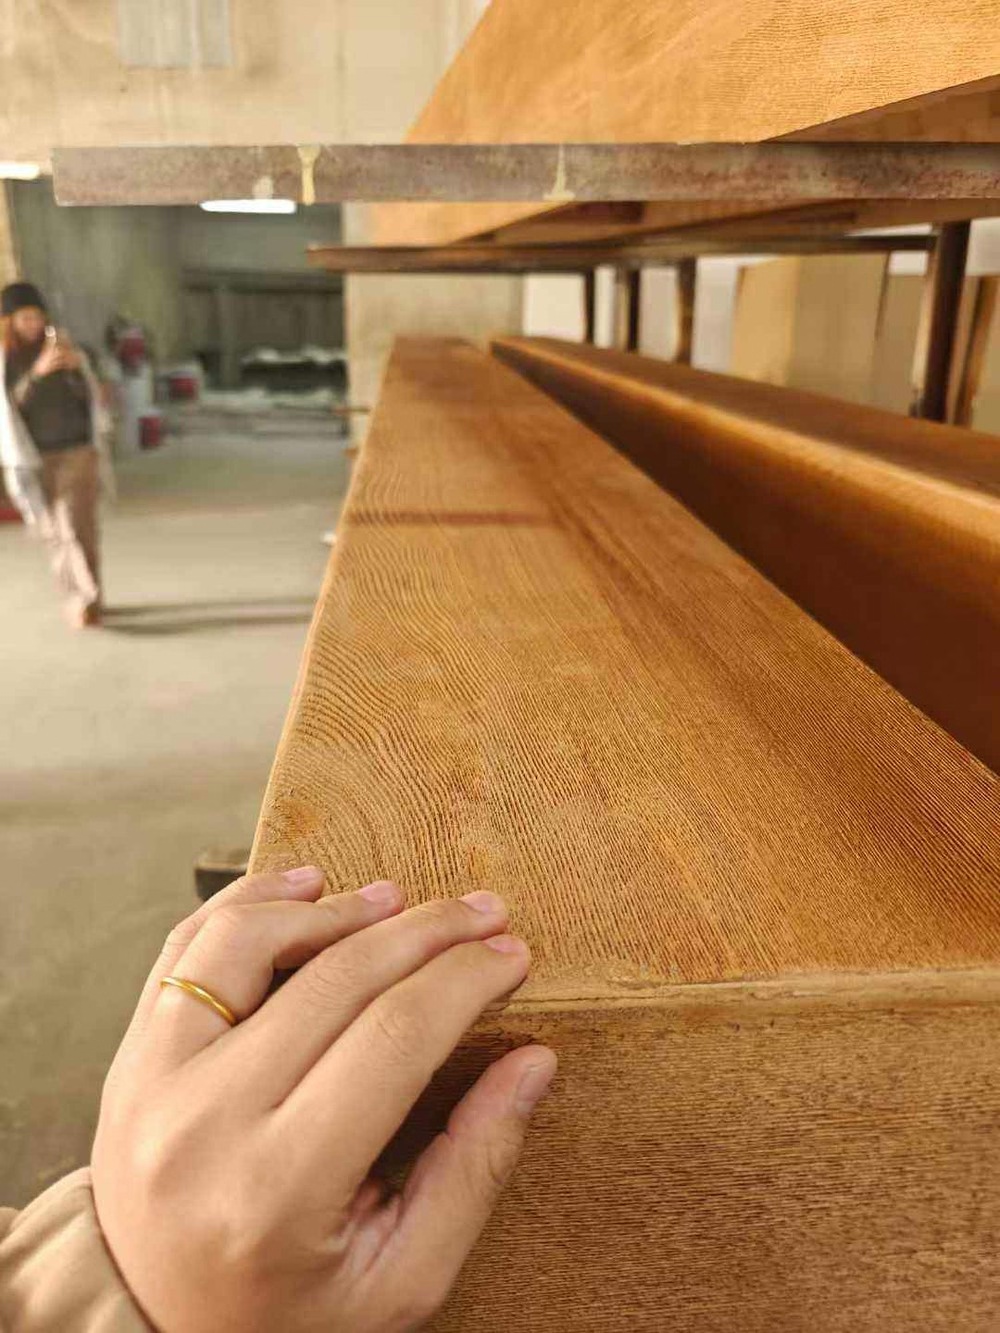
Nothing demonstrates the transformative power of faux beams more convincingly than seeing actual projects before and after installation. These case studies from my project files illustrate how strategic beam additions solve design problems, create architectural character, and deliver value that justifies investment. Each project presented unique challenges teaching lessons applicable to similar situations. Understanding what worked, what didn't, and why helps designers and homeowners make informed decisions about their own projects.
Case Study 1: Suburban Great Room Volume Control
The Challenge: A 2,800 square foot great room with 22-foot vaulted ceiling felt cavernous and uncomfortable despite beautiful finishes and quality furnishings. The sheer volume overwhelmed the space, creating acoustical problems and a sense of being in a gymnasium rather than a welcoming living area. The homeowners loved the natural light and volume but struggled with how the space felt.
Design Solution: We designed a perpendicular beam layout spanning the short axis of the room—five 8x10 hand-hewn oak-style beams at 6-foot spacing. The beams ran from sidewall to sidewall, breaking the vertical thrust while maintaining the soaring volume. We specified medium-dark brown stain matching the hardwood flooring, creating vertical visual connection between floor and ceiling that the previous all-white ceiling lacked.
Installation Details: The drywall ceiling in good condition allowed adhesive-primary installation with mechanical fasteners at 24-inch centers. We routed recessed lighting wiring through two beam interiors, eliminating surface conduit that would have compromised the clean aesthetic. Installation required three days with two-person crew using scissor lift for access.
Budget: Material costs totaled $4,200 for five beams averaging 28 feet length. Installation labor ran $2,800 including lift rental. Total project cost of $7,000 represented 0.8% of the home's value—modest investment for the transformation achieved.
Results: The volume feels controlled without losing spaciousness. Acoustical improvement proved dramatic—conversation is comfortable where it previously echoed. The warm wood tones created visual interest that the white ceiling plane lacked. The homeowners report it's "finally our favorite room" after years of avoiding a space that felt uninviting despite its size.
Lessons Learned: Beam spacing at 6 feet created good rhythm without feeling crowded. Initial design proposed 8-foot spacing but test mock-ups showed the wider spacing insufficient to control the volume. The additional beam cost proved money well spent. Also learned that matching floor and beam tones creates cohesion that contrasting schemes wouldn't deliver in this particular space.
Case Study 2: Restaurant Exposed Structure Refinement
The Challenge: A farm-to-table restaurant occupied an older retail space with exposed bar joists and corrugated metal deck ceiling—industrial aesthetic that worked conceptually but felt harsh and cold. The owners wanted rustic warmth without concealing structure behind conventional ceilings which would cost $80,000+ and reduce the already-modest 11-foot clear height.
Design Solution: We designed faux wood beams wrapping the lower chords of alternating bar joists—12 beams spanning the 40-foot length at 8-foot spacing. Custom U-channel beams fit over the 3-inch joist profiles. We specified heavily distressed barn wood texture in weathered gray-brown tones creating reclaimed aesthetic. Pendant lights suspended through beam penetrations integrated lighting with architectural treatment.
Installation Details: Custom U-channels fabricated to field-measured joist dimensions ensured proper fit. Installation used construction adhesive supplemented by self-tapping screws through beam sides into joist profiles—accessible from scissor lift during off-hours. Electrical rough-in modifications for pendant drops occurred concurrent with beam installation.
Budget: Custom beam fabrication cost $185 per linear foot—nearly triple standard beam pricing but far less than alternative ceiling solutions. Total beam cost reached $89,000 for 480 linear feet. However, this avoided $80,000 for conventional ceiling plus retained ceiling height worth thousands more in perceived volume.
Results: The space transformation from cold industrial to warm rustic met owner vision perfectly. Guest comments frequently mention the ceiling character. Acoustics improved moderately—not matching what acoustic ceiling would achieve but far better than bare structure. The investment paid back through reputation building—the restaurant became Instagram-famous partially due to distinctive aesthetic the ceiling treatment created.
Lessons Learned: Field measurement precision proved critical for U-channel fit. We measured twice and had fabricator build one prototype beam for test-fit before committing to full production. That prototype revealed 1/4-inch sizing adjustment needed—would have caused major problems across 12 beams if we'd built all before test-fitting. Also learned that restaurant off-hours installation requires careful scheduling—"off hours" in restaurants means late night, complicating crew management but necessary to avoid disrupting operations.
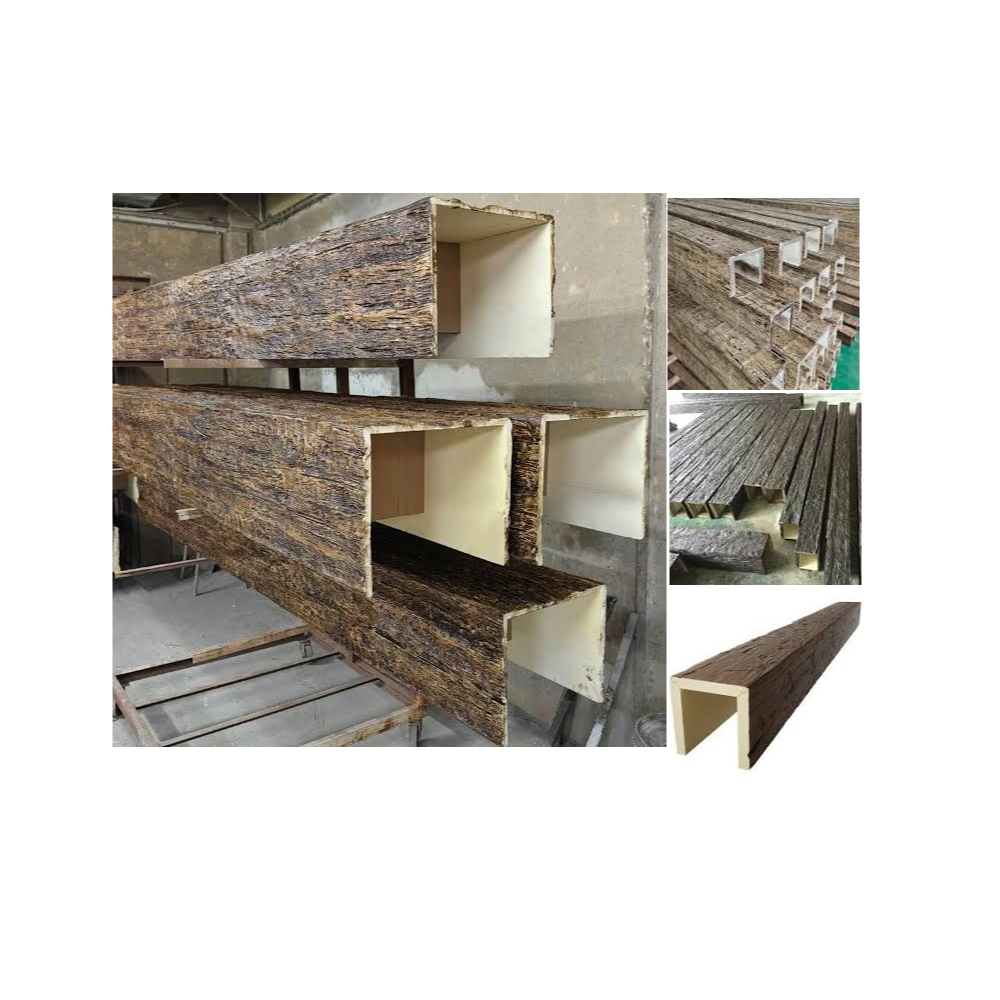
Case Study 3: Master Bedroom Intimacy Creation
The Challenge: A 450 square foot master bedroom with 12-foot flat ceiling felt more like a hotel lobby than an intimate sleeping space. Previous owners had removed a coffered ceiling during renovation, leaving stark white drywall expanse that made the proportionally-oversized room feel cold and unwelcoming.
Design Solution: We recreated a simplified coffered effect using a 5-foot module grid creating 15 coffers over the bed area—approximately 15x15-foot portion of the ceiling. The grid used 8x8 primary beams with 6x6 secondary beams stained dark walnut. Coffer panels received subtle metallic bronze glaze creating recessed depth. We left perimeter ceiling areas flat, framing the coffered treatment over the bed as an intentional ceiling "room within a room."
Installation Details: Careful layout ensured the grid centered on the bed position with equal border spacing. Installation followed the primary-beams-first then secondary-beams sequence described in coffered ceiling articles. LED strip lights atop beams facing into coffers provided indirect ambient lighting creating dramatic nighttime effect. Total installation time reached five days including coffer painting.
Budget: Materials including beams, paint, and electrical totaled $3,800. Professional installation labor reached $4,200 given the complexity of grid layout and painting precision. The $8,000 total represented significant investment for one room but transformed the space dramatically.
Results: The bedroom feels appropriately intimate with visual interest overhead. The indirect lighting created adjustable ambiance from bright for reading to dim for relaxation. The clients report sleeping better—likely psychological since ceiling treatments don't directly affect sleep quality, but perception matters. The "hotel lobby" room became a personal sanctuary worth the investment.
Lessons Learned: Limiting the coffered treatment to bed area rather than entire ceiling proved crucial—early designs covering the entire 450 square feet felt overwhelming and pushed budget boundaries. Concentrating impact over the bed created focal interest while leaving dressing and seating areas simpler. Also learned that metallic glazing in coffers catches light beautifully but requires skilled painting—this technique isn't DIY-friendly for amateurs.
Case Study 4: Office Lobby Corporate Character
The Challenge: A professional services firm occupied generic office space with dropped acoustic tile ceilings creating institutional atmosphere that undermined their premium brand positioning. They needed architectural gravitas without major reconstruction that would close their office for weeks. Budget limited to $25,000 for lobby and conference room improvements.
Design Solution: We specified 10x10 rough-sawn oak beams spanning the 24-foot lobby length—four beams at 6-foot spacing creating strong directional emphasis toward the reception desk. Conference room received perpendicular layout—five beams breaking the 16-foot width. Both spaces used charcoal-brown stain creating sophisticated contemporary character rather than rustic traditional. Beams installed directly against existing acoustic tile ceiling, avoiding tile removal that would have exposed mechanical systems requiring concealment.
Installation Details: The acoustic tile ceiling required supplemental blocking installed above tiles at beam locations. This blocking—2x4 lumber screwed to existing bar joists—provided solid mounting since tiles themselves couldn't support beam weight. Beam installation used heavy-duty adhesive plus lag bolts through tiles into blocking. Small access hatches in tiles allowed reaching above ceiling for blocking installation.
Budget: Beams cost $8,400 for approximately 420 linear feet. Installation including blocking materials and labor reached $11,200. Remaining budget funded new lighting fixtures and furniture repositioning creating cohesive transformation.
Results: Client reports that prospects comment on the space character during tours—something that never occurred with previous generic appearance. Employee satisfaction surveys showed improved scores for "proud of workplace" after renovation. The perceived quality helped justify their professional fees to clients who evaluate firms partially on environmental sophistication. They estimate the renovation paid for itself within 18 months through improved close rates on proposals.
Lessons Learned: Installing over acoustic tile proved far more economical than tile removal and ceiling reconstruction. The blocking system works but requires careful engineering—one early beam showed slight sag until we added supplemental blocking. Test-install one beam first, verify performance, then proceed with remaining beams. Also learned that corporate clients value how quickly installation completed—this project took three extended weekends allowing office to remain operational throughout.
Case Study 5: Covered Patio Extension Continuity
The Challenge: A home addition created a covered patio extending from the great room—both spaces featured similar dimensions and function, but the patio showed exposed 2x10 joists while the interior featured decorative beams. The discontinuity felt jarring, yet real wood beams outdoors would require constant maintenance the homeowners wanted to avoid.
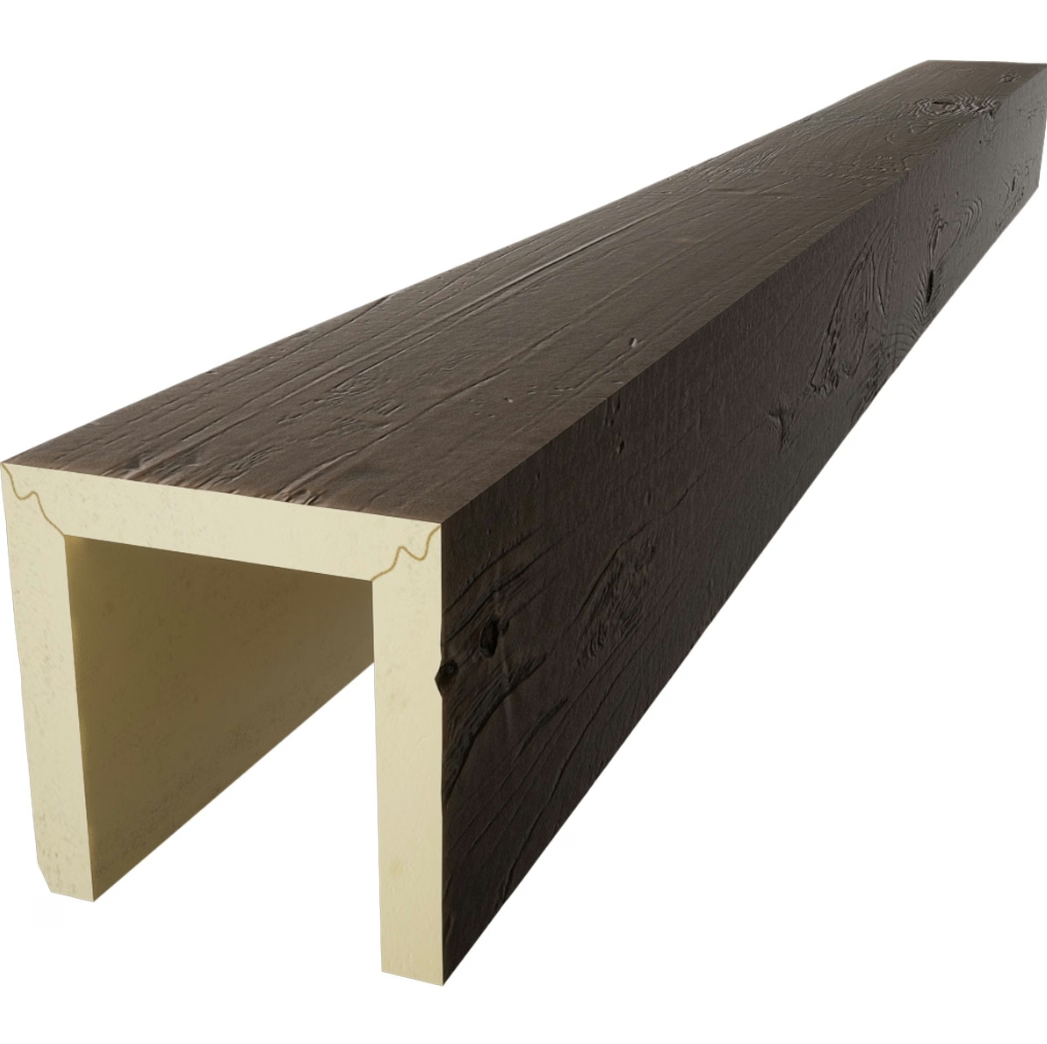
Design Solution: We specified UV-stabilized exterior-grade faux beams matching the interior beam profile and color—8x8 hand-hewn in medium rustic brown. These wrapped the existing patio joists creating visual continuity between spaces. The installation made interior and covered exterior read as unified volume rather than separate spaces.
Installation Details: Each beam created a U-channel wrapping three sides of existing 2x10 joists (bottom and both sides visible from below). Construction adhesive rated for outdoor exposure provided bonding supplemented by stainless steel screws at 16-inch centers. Sealing all penetrations prevented water infiltration that could degrade adhesive bonds.
Budget: Exterior-grade beams cost 40% premium over interior versions—$2,800 for materials covering eight joists at 16 feet each. Installation labor reached $1,900. Total $4,700 cost seemed expensive for outdoor application but compared favorably to alternatives: painting existing joists left the discontinuity, while wood beams would require refinishing every 3-5 years at comparable per-occurrence costs.
Results: The visual continuity transformed the spaces. Opening large sliding doors fully integrates interior and exterior into single flowing environment. Three years post-installation, the exterior beams show no fading or degradation despite south exposure—validating the UV-stabilized product selection. The homeowners specifically mention this feature when giving home tours, indicating strong satisfaction.
Lessons Learned: Verifying true exterior rating—not just "suitable for covered outdoor use"—proved critical. We sent samples to independent testing confirming UV stability before specifying. Several lower-cost options failed testing, validating the premium product choice. Also learned that stainless fasteners cost 3-4x standard screws but prevent the rust staining that would ruin appearance—false economy to save $100 on fasteners protecting a $4,700 investment.
Case Study 6: Basement Renovation Mechanical Concealment
The Challenge: A finished basement with 7.5-foot ceiling height featured exposed ductwork, plumbing, and electrical conduit creating cluttered appearance. Conventional dropped ceiling would reduce already-minimal height to claustrophobic 7 feet. The budget wouldn't support relocating mechanicals within structure above.
Design Solution: We designed a hybrid ceiling combining painted drywall with exposed black-painted mechanicals and faux beams positioned to distract from and partially conceal mechanical systems. Eight beams running length of the 30-foot space at 4-foot spacing created strong rhythm drawing eyes horizontally rather than upward to mechanicals. Strategic beam placement partially concealed the most unsightly duct runs and pipe penetrations.
Installation Details: Beams installed directly to floor joists above, passing beside (not over) mechanical obstructions. Painting mechanicals flat black before beam installation minimized their visual impact. Beam color selection—medium brown contrasting with white drywall and black mechanicals—made beams the focal point rather than mechanicals.
Budget: Materials totaled $2,100 for beams plus $800 for painting mechanical elements. Installation labor reached $1,500. The $4,400 total proved far less than alternatives: dropped ceiling would cost $8,000+ while reducing critical ceiling height, and relocating mechanicals would exceed $20,000.
Results: The basement transformation from "unfinished-looking" to "industrial-chic" exceeded expectations. The mechanical elements became design features rather than problems when integrated intentionally rather than unsuccessfully concealed. The family uses the space as media room and guest suite—functions they'd avoided previously due to appearance concerns.
Lessons Learned: Sometimes the best concealment strategy isn't perfect hiding but creating visual hierarchies where one attractive element dominates less-attractive necessities. The beam rhythm proved strong enough that mechanicals recede to background. Also learned that flat black paint (not satin or gloss) on mechanicals minimizes light reflection that would draw attention. This finish choice cost nothing extra but contributed significantly to final success.

These case studies demonstrate faux beam retrofit versatility across varied scenarios—residential and commercial, aesthetic and functional, modest and ambitious. Common themes emerge: careful planning pays dividends, test installations prevent costly errors, appropriate product selection matters more than initial cost, and professional installation quality justifies expense through results. Every project teaches lessons applicable to others facing similar challenges. The transformations these retrofits deliver often surprise clients who understand the concept intellectually but cannot fully envision the impact until seeing completed results—that reveal moment when "oh, that's nice" becomes "this is exactly what the space needed" makes this work consistently rewarding.
Technical References
ASTM standards cited in every specification
Test Data
Lab results from internal testing program
Updated 2026
Reviewed against current product specs