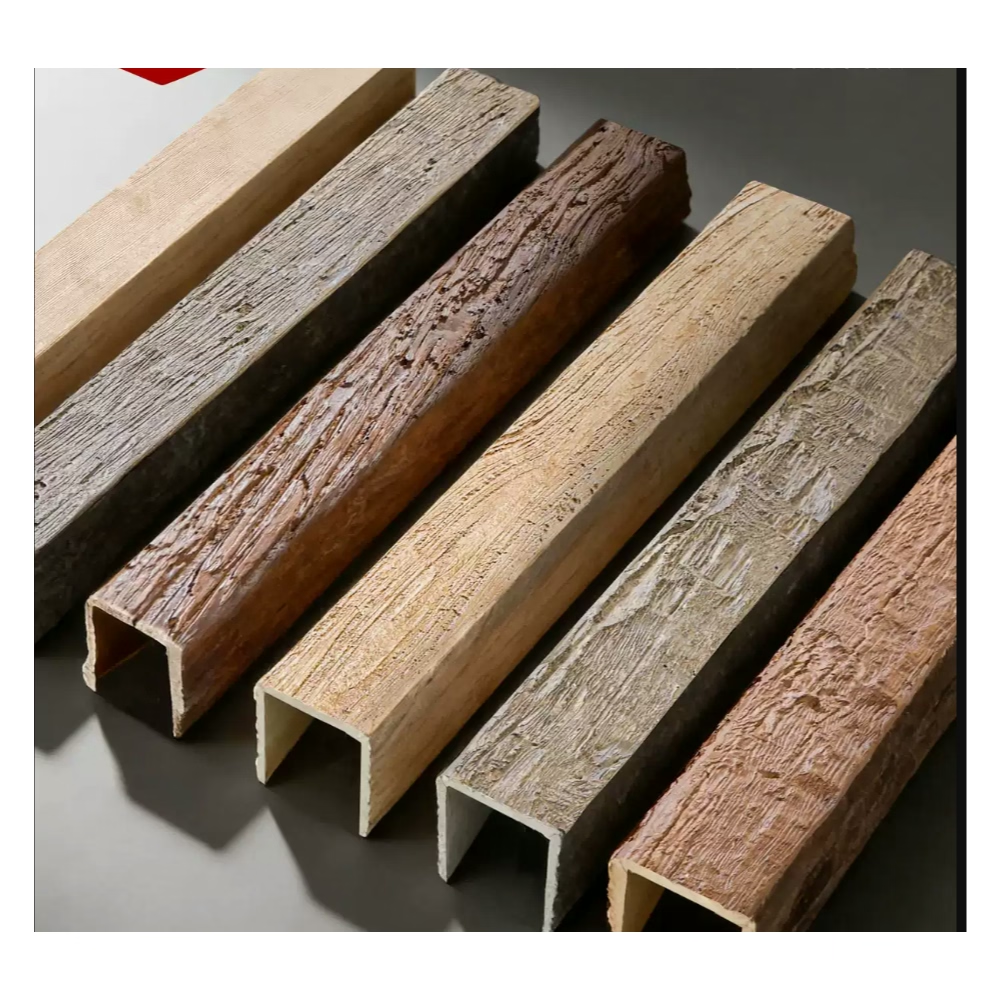
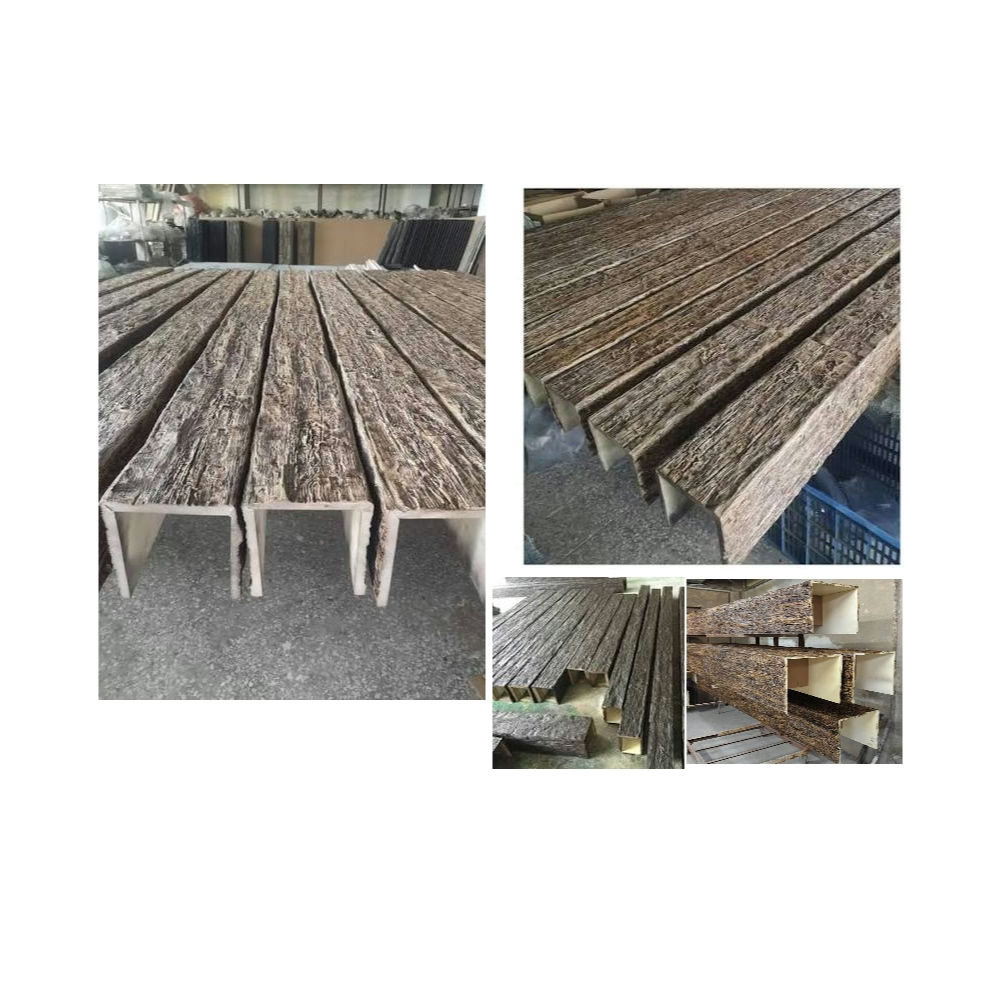
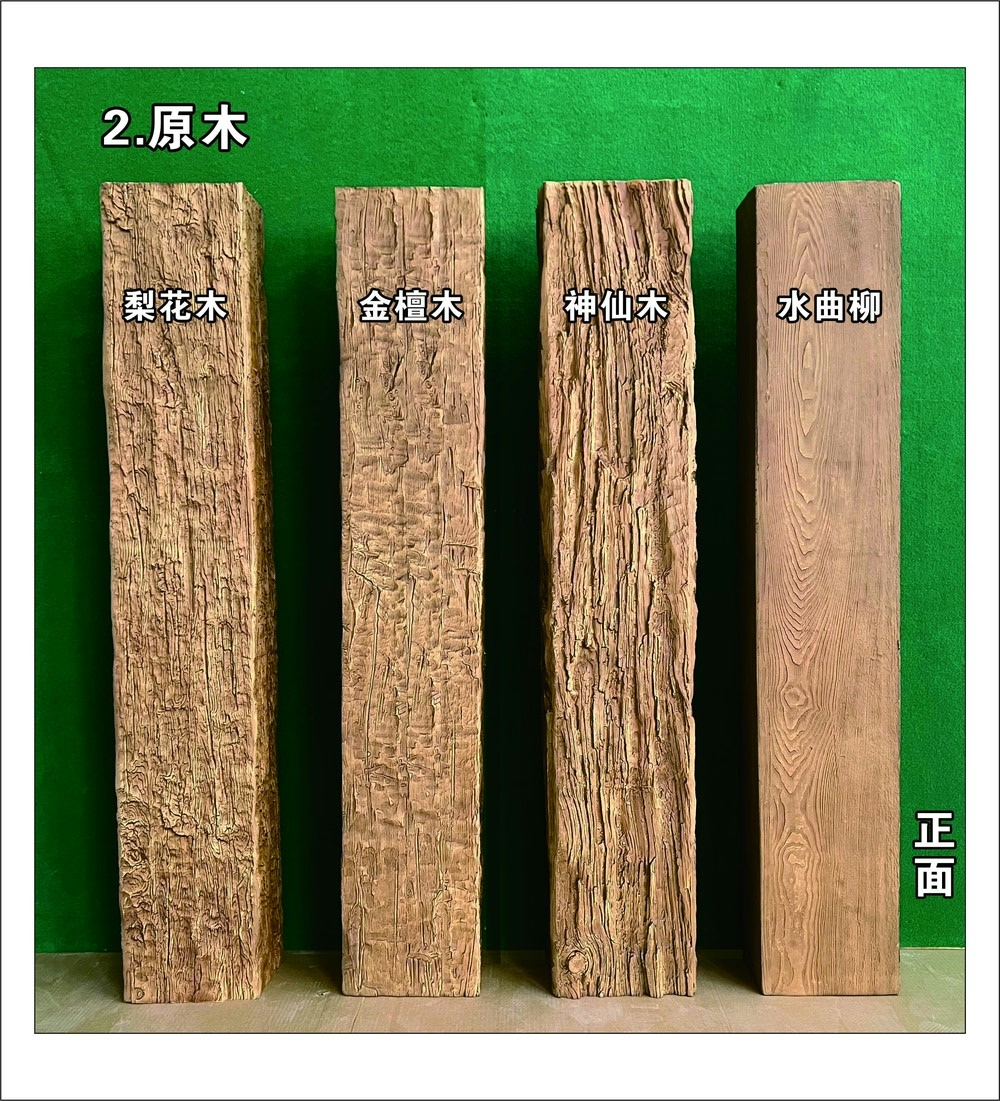
Standing in a 1960s office building slated for adaptive reuse, I faced a common renovation dilemma: exposed steel I-beams that were structurally sound but aesthetically incompatible with the upscale residential lofts the developer envisioned. Removal meant costly structural engineering and reconstruction. Covering them with built-up carpentry would consume budget and schedule. Full-coverage polyurethane beam wraps solved the problem in days rather than weeks, transforming industrial infrastructure into warm architectural features that prospective buyers loved.
This scenario plays out constantly in renovation work. Existing structural elements that must remain present aesthetic challenges that traditional solutions address inefficiently. Understanding how full-coverage beam systems work—and where they deliver maximum value—helps designers and contractors solve these problems elegantly while controlling costs and schedules.
The Renovation Challenge: Existing Structure Aesthetics
Older buildings contain structural systems designed for function rather than appearance. Steel beams, concrete girders, and rough-sawn timber members did their jobs supporting loads but were never intended as finished interior elements. When building use changes—industrial to residential, institutional to hospitality, warehouse to retail—these structural components suddenly occupy visible positions in spaces where aesthetic expectations have risen dramatically.
Simple concealment using drywall or other cladding creates bulky, angular enclosures that look exactly like what they are: structural elements hidden behind boxes. These enclosures consume space, create awkward junctions with other finish materials, and signal their concealment purpose rather than reading as intentional design elements. The visual weight of boxed beams can overwhelm renovated spaces, particularly when multiple parallel beams require individual enclosures.
Damaged or deteriorated beams present even thornier problems. Water-stained wood beams, corroded steel members, or concrete showing spalling and crack patterns need concealment that thoroughly hides these imperfections. Paint and surface treatments prove inadequate when damage extends to three-dimensional surface disruptions. Complete replacement solves the aesthetic problem but triggers structural engineering requirements and costs that often exceed project budgets.
Historic preservation projects face unique constraints. Building codes may prohibit removal or significant alteration of original structural members. Tax credit programs and landmark designations require maintaining historic fabric even when it conflicts with contemporary aesthetic preferences. Concealment strategies that leave original materials in place while improving appearance satisfy both regulatory requirements and design goals.
Full-Coverage Beam Wrap Systems Explained
Modern polyurethane beam covers function as complete enclosures that slip over existing structural members, concealing them entirely while presenting finished wood appearance on all visible faces. Unlike three-sided U-channel beams that mount to flat ceiling surfaces, full-coverage wraps accommodate the dimensional profile of existing beams, whether steel I-beams, concrete rectangular girders, or timber members of various cross-sections.
The system design centers on a hollow shell sized to fit over the existing beam with minimal clearance. Custom fabrication allows matching virtually any beam profile—wide-flange steel sections, square or rectangular concrete beams, round or square timber columns, even unusual custom profiles encountered in historic industrial buildings. The polyurethane shell thickness typically ranges from 3/4 inch to 1-1/2 inches, providing sufficient strength to maintain shape while keeping overall dimensions manageable.
Installation methodology varies based on existing beam accessibility and configuration. For beams accessible from above—exposed in attic spaces or mechanical areas—cover sections can slip down over the beam from top to bottom, eliminating visible seams on lower faces. When access exists only from below, covers install in multiple pieces that join along vertical edges, with joints positioned to minimize visibility from primary viewing positions.
Securing the covers to existing structure uses several approaches depending on substrates. Steel beams accept self-tapping screws driven through the polyurethane shell into beam flanges, with fastener heads countersunk and filled to disappear into the wood-grain texture. Concrete beams require powder-actuated fasteners or expansion anchors that provide sufficient holding power. Wood beams accept conventional wood screws that pull the cover tight against the existing member.
The completed installation presents uniform wood appearance regardless of what it conceals beneath. Surface textures replicate sawn timber, hand-hewn beams, or smooth milled lumber depending on specification. Color matching allows coordination with other wood elements in the renovated space or creation of contrast effects when desired. The polyurethane material proves vastly more durable than actual wood, resisting moisture, impact, and wear that would damage natural timber.

Dimensional Planning and Custom Fabrication
Accurate field measurement forms the critical foundation for successful beam cover projects. Unlike new construction where beam sizes follow standard dimensions, renovation beams come in every conceivable size reflecting decades of construction practice and custom fabrication. Steel beams might measure anything from 4 inches to 24 inches deep with flange widths varying independently. Concrete beams often feature odd dimensions dictated by structural calculations rather than material standards.
The measurement process must capture not just nominal dimensions but actual as-built conditions. Beams may have bowed or deflected slightly under decades of load. Concrete might show surface irregularities or form joint offsets. Steel members sometimes feature welded attachments or reinforcing plates that increase local dimensions. Complete dimensional surveys using digital measuring tools or photogrammetry capture these variations, allowing fabrication of covers that accommodate real conditions rather than theoretical dimensions.
Custom fabrication capabilities vary significantly among manufacturers. Commodity producers focus on standard residential beam sizes—6x6, 8x8, 6x12—that address the majority of new construction applications but rarely match renovation beam profiles. Specialized fabricators serving commercial renovation markets maintain flexible molding capabilities that can produce custom profiles economically even in small quantities.
The lead time and cost implications of custom fabrication require early project planning. Standard-size beam covers might ship within days, while custom profiles need weeks for tooling, sampling, and production. Budget impacts depend on order quantity—custom profiles for a single beam involve higher per-unit costs than runs of dozens of identical covers that amortize tooling expenses across volume. Understanding these timing and cost factors during design development prevents surprises during procurement.
Installation Techniques for Various Substrates
Steel beam wrapping begins with thorough cleaning to remove any oils, rust, or loose scale that would interfere with adhesive bonding. While mechanical fasteners provide primary attachment, construction adhesive applied between the steel and polyurethane shell fills voids and prevents rattling. Self-tapping screws rated for steel penetration secure the cover at regular intervals—typically 16 to 24 inches—pulling it tight against the beam flanges.
The screw pattern should concentrate fasteners near beam ends and at mid-span, where thermal expansion and contraction create the greatest stress on attachments. Countersink pilot holes ensure screw heads sit below the textured surface, then fill countersinks with color-matched putty that disappears into the surface texture. For beams painted after installation, putty selection is less critical since paint conceals it. Pre-finished beams require careful color matching for invisible repairs.
Concrete beam coverage presents more complex fastening challenges. The cover must attach securely despite concrete's hard, dense nature that resists conventional fasteners. Powder-actuated tools drive hardened fasteners into concrete quickly, though the installation noise may restrict use in occupied buildings. Concrete screws using specialized threads provide quieter alternative attachment that still achieves adequate pull-out resistance. Adhesive alone rarely provides sufficient hold for ceiling-mounted applications where gravity works against the bond.
Wood beam wrapping represents the simplest installation scenario since conventional wood screws provide reliable attachment without specialized tools or fasteners. The key consideration becomes avoiding damage to structurally important sections of deteriorated beams. Position fasteners through sound wood rather than rotted or damaged areas. If the existing beam shows extensive deterioration requiring structural reinforcement, complete that work before installing cosmetic covers that would conceal problems requiring future access.
Addressing Junctions and Penetrations
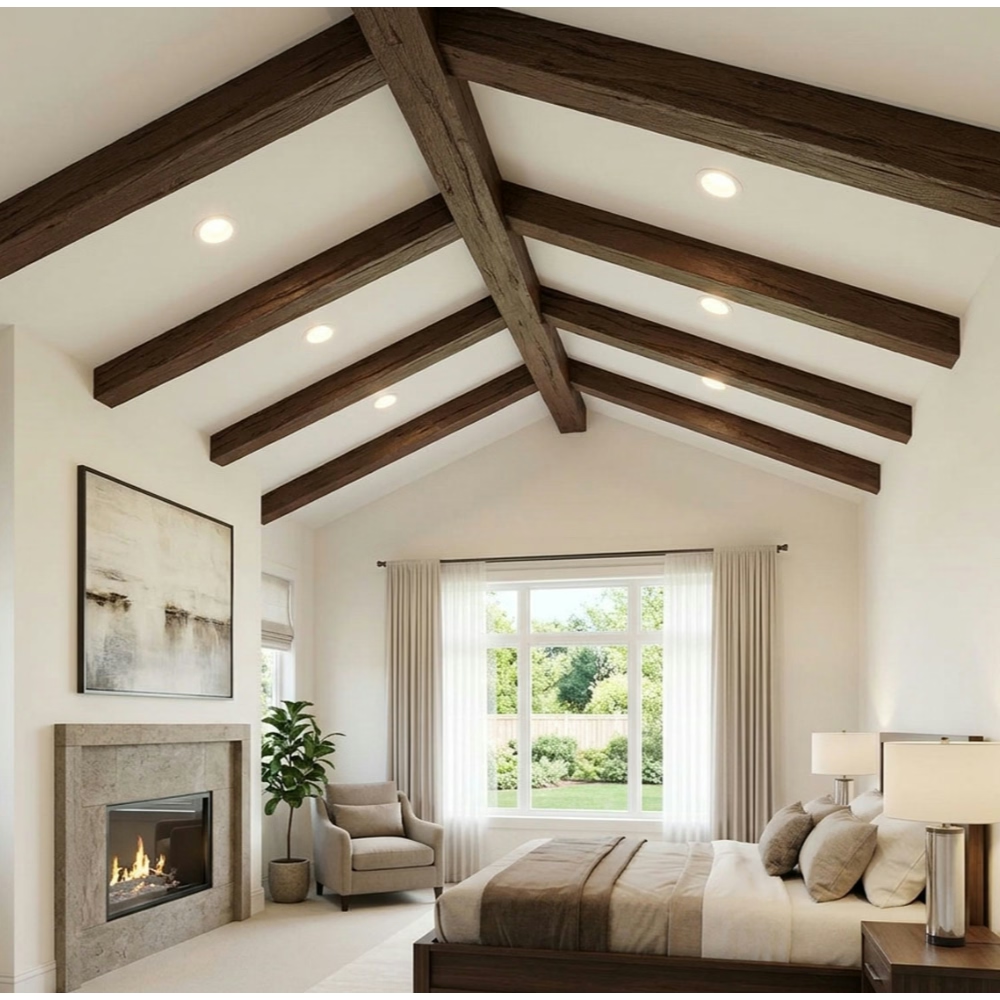
Beam intersections where members cross perpendicular to each other create three-dimensional junction conditions that require careful detailing. The polyurethane material saws and shapes easily, allowing scribing one beam cover to fit around another. At these intersections, determine which beam should appear continuous and which should show cut ends. Typically the primary spanning members read as continuous while secondary or supported beams appear to frame into them.
Electrical and mechanical penetrations through existing beams need accommodation in the cover system. Light fixtures mounted to beam faces require holes sized to fit fixture mounting plates. While polyurethane cuts cleanly, drilling or cutting finished beams on-site risks damaging surface textures. Better practice involves providing penetration locations to manufacturers so factory-installed openings arrive properly sized and edge-finished.
Where beams meet walls or columns, terminating the cover cleanly prevents the "afterthought" appearance that undermines professional installations. Measure exact beam-to-wall distances before fabrication so covers arrive at correct lengths. If field conditions vary from measurements, scribing cover ends to match wall irregularities creates tight fits. Applied trim pieces covering the junction between beam end and wall provide insurance against less-than-perfect fits while adding shadow lines that emphasize the beam-to-wall transition.
Ductwork, piping, or conduit crossing beams present similar challenges. When possible, route utilities before installing beam covers, allowing covers to fit cleanly without on-site modifications. If utility routing must cross finished beams, plan junction details during design—raised chase boxes, exposed conduit treated as design features, or deliberate gaps between beam sections that acknowledge and accommodate the crossings.
Cost-Benefit Analysis for Renovation Projects
Comparing beam cover systems to alternative approaches reveals where this strategy delivers maximum value. Replacement costs for structural beams include engineering analysis, temporary shoring, demolition, new member installation, and finish work—often totaling tens of thousands per beam. Coverage using traditional carpentry—building frames from dimensional lumber and cladding with wood boards or panels—consumes substantial labor while creating bulky enclosures.
Polyurethane full-coverage systems typically cost less than half the carpentry alternative while reducing installation time by 60-70%. The material arrives finished, eliminating field painting or staining. Two-person crews install most beam covers in hours rather than the days required for carpentry buildouts. In occupied buildings where construction noise and disruption cause tenant complaints or revenue loss, installation speed translates to significant soft cost savings beyond direct labor rates.
The durability advantage becomes apparent over renovation project lifecycles. Wood carpentry enclosures in moisture-prone areas eventually show warping, splitting, or rot requiring maintenance. Polyurethane proves impervious to moisture, insects, and dimensional movement, maintaining appearance without ongoing maintenance. For renovation projects targeting 20+ year hold periods before next refresh, maintenance-free finishes contribute to long-term operational economics.
Property value impacts should factor into renovation investment decisions. Exposed attractive beams register as premium features in residential and hospitality markets, supporting higher asking prices or rental rates. The perceived value of "wood beams" contributes to property positioning even when savvy buyers recognize them as decorative rather than structural. Market data from residential sales consistently shows ceiling treatments including beams correlate with faster sales and premium pricing.

Full-coverage polyurethane beam systems solve renovation challenges that would otherwise require expensive structural interventions or bulky carpentry enclosures. Understanding system capabilities, installation requirements, and cost positioning allows designers and contractors to deploy this strategy where it delivers maximum value—transforming aesthetic liabilities into featured architectural elements that elevate renovated spaces while controlling budgets and schedules.
Technical References
ASTM standards cited in every specification
Test Data
Lab results from internal testing program
Updated 2026
Reviewed against current product specs