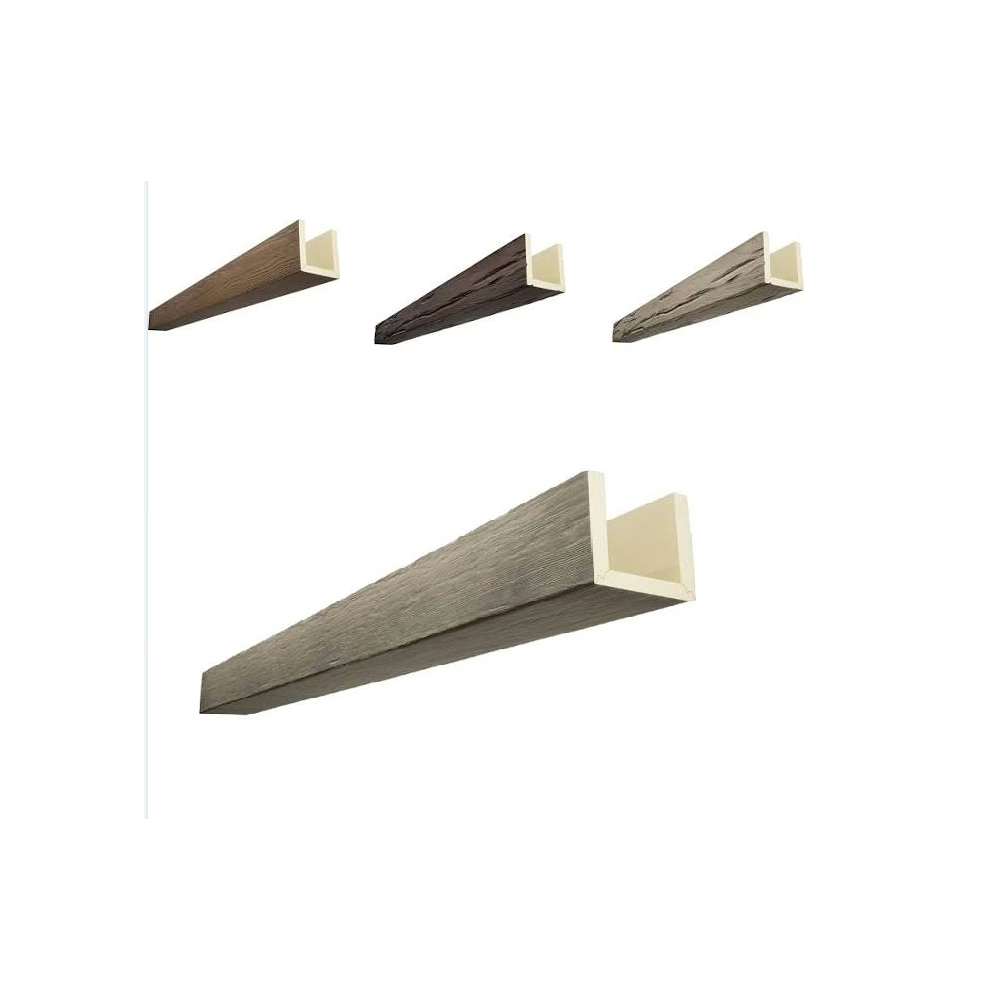
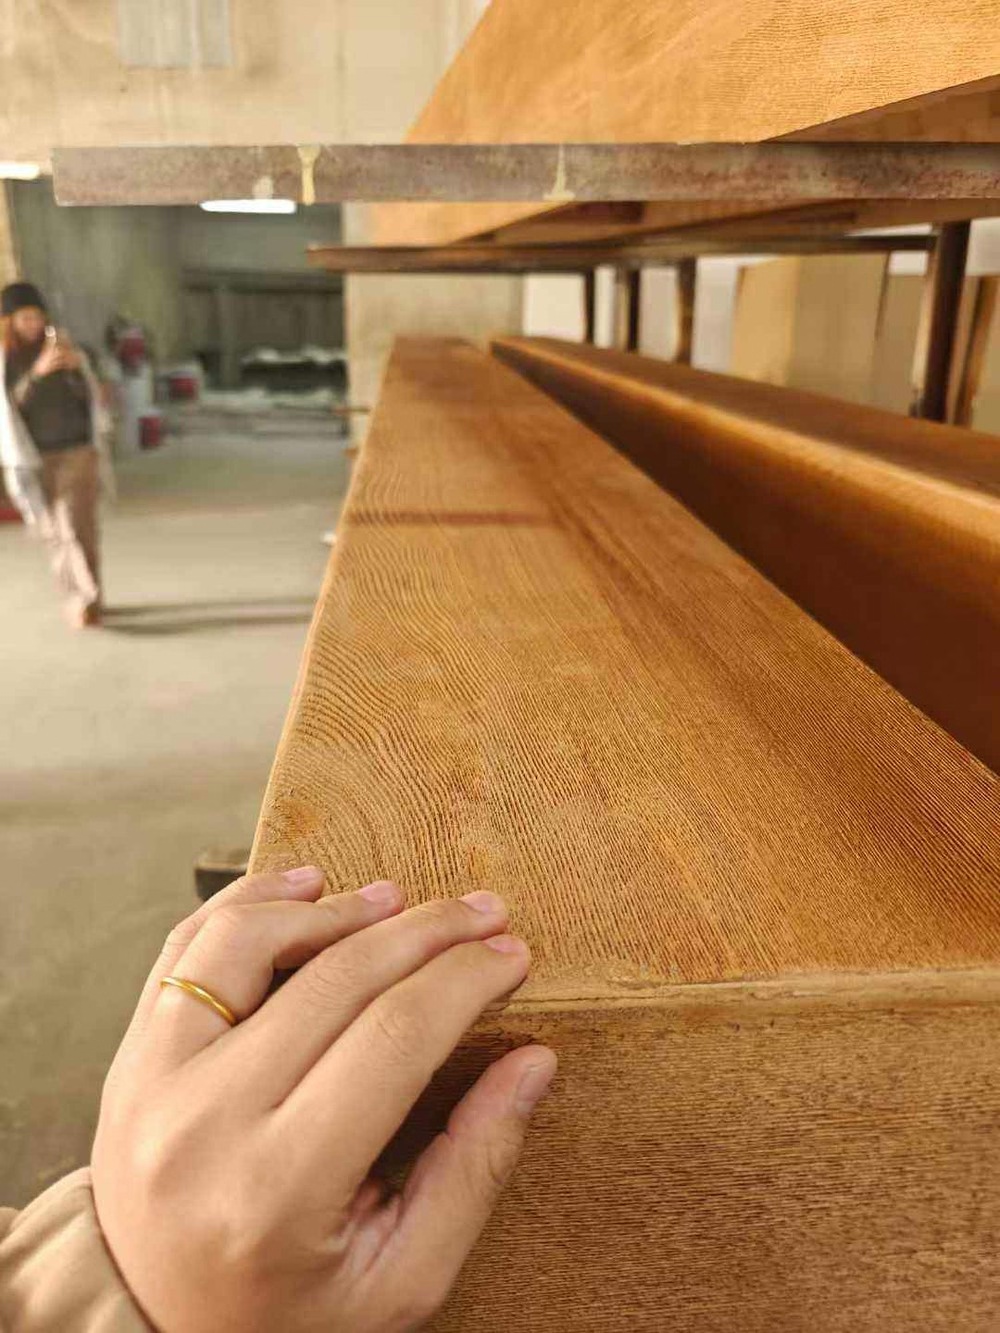
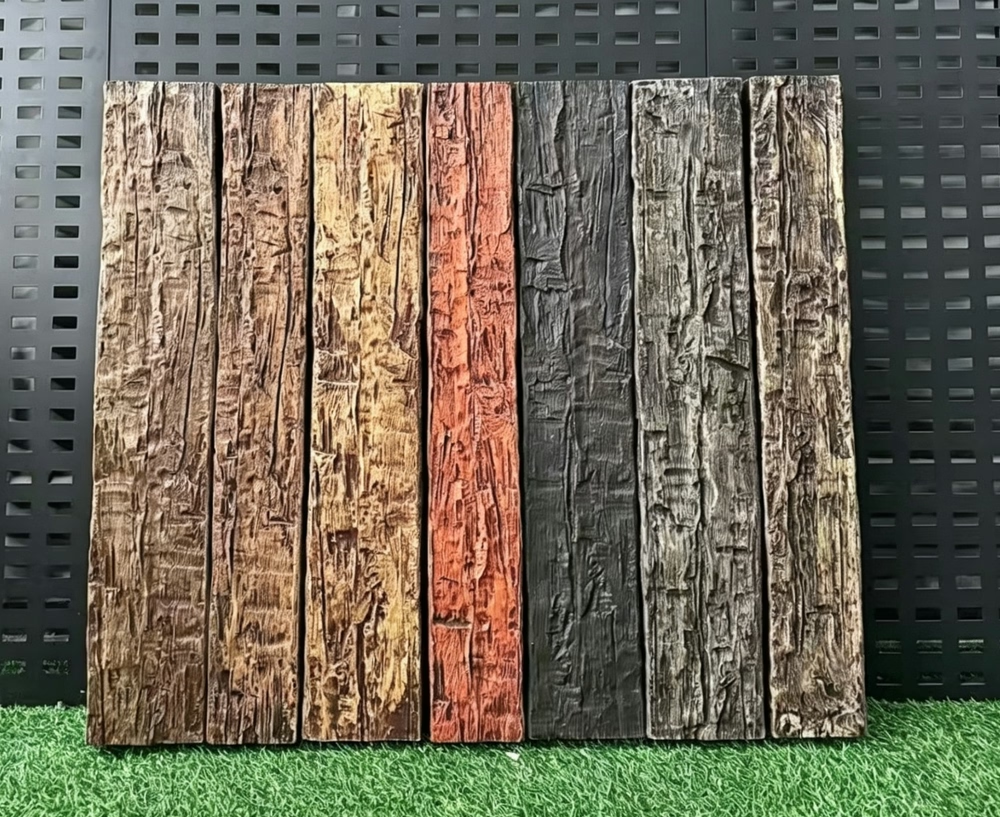
The 450-square-foot studio felt even smaller than its modest dimensions suggested—a featureless white box with builder-grade finishes and zero architectural character. My client wanted warmth and definition without sacrificing the openness that made the space livable. We added three carefully positioned faux timber beams that transformed the apartment from generic rental unit into a curated urban dwelling that punched well above its square footage.
Studio apartment design requires restraint and precision that larger spaces forgive. Every design element must justify its presence by serving multiple functions—aesthetic impact, spatial definition, or perceived volume enhancement. Faux timber beams excel at this multitasking when sized and positioned thoughtfully, but the same beams that elevate larger rooms can overwhelm studios if applied without careful consideration of scale and proportion.
Understanding Scale in Compact Spaces
Beam dimensions must correspond to room proportions to avoid visual dominance that makes spaces feel cramped. In studios with 8-foot ceilings, beam depths of 4 to 6 inches provide architectural presence without overwhelming the limited ceiling plane. Wider beams—8 inches or more—that work beautifully in great rooms with soaring ceilings create oppressive effects in compact studios, actually lowering perceived ceiling height rather than adding interest.
The relationship between beam width and ceiling area follows principles similar to trim sizing in traditional carpentry. Just as baseboards scale with room size, decorative beams should remain proportional to the spaces they enhance. A useful rule suggests beam width shouldn't exceed 1/20th of the narrower room dimension. For a 15-foot-wide studio, this guideline recommends beams no wider than 9 inches, with 6-inch widths often proving optimal.
Beam counts matter as much as individual dimensions. A single statement beam running the studio's length creates a strong linear element without cluttering the ceiling plane. Two parallel beams spaced appropriately define a central zone while maintaining visual simplicity. Three or more beams risk creating a chopped-up appearance that fragments already limited space. The temptation to add "just one more" beam typically produces worse results than thoughtful minimalism.
Color and finish selection dramatically affects how beams impact spatial perception. Light-toned beams—natural oak, whitewashed pine, or pale cedar—blend with white or light ceilings, adding texture and interest without visual weight. Dark walnut or espresso beams create dramatic contrast that can either elegantly anchor a space or overwhelm it, depending on overall design context. Testing sample sections against actual ceiling colors prevents expensive mistakes.
Strategic Placement for Functional Zoning
Zone definition represents the most practical benefit beams offer in open-plan studios. Positioning a beam at the boundary between sleeping and living areas creates subtle visual separation without the bulk of partition walls or space-consuming furniture. The beam marks a psychological threshold that helps the brain perceive distinct functional zones within undivided space.
Running beams perpendicular to the studio's long axis visually widens narrow layouts. This perpendicular orientation creates horizontal lines that trick the eye into reading spaces as broader than their actual dimensions. Studios that feel tunnel-like benefit significantly from this cross-grain beam placement, gaining apparent width that makes them more comfortable.
Conversely, beams parallel to the long axis emphasize length and create dynamic perspective lines that draw the eye through the space. This orientation suits studios where depth perception matters more than width, particularly those with interesting views or focal points at far ends. The directional pull creates purposeful movement rather than static compartmentalization.
Asymmetric beam placement often succeeds better than centered layouts in studio applications. A single beam offset from center can define a sleeping alcove along one wall while leaving the main living area open and uncluttered. This asymmetry creates visual interest through intentional imbalance while serving the practical function of spatial definition.

Integrating Beams with Lighting Design
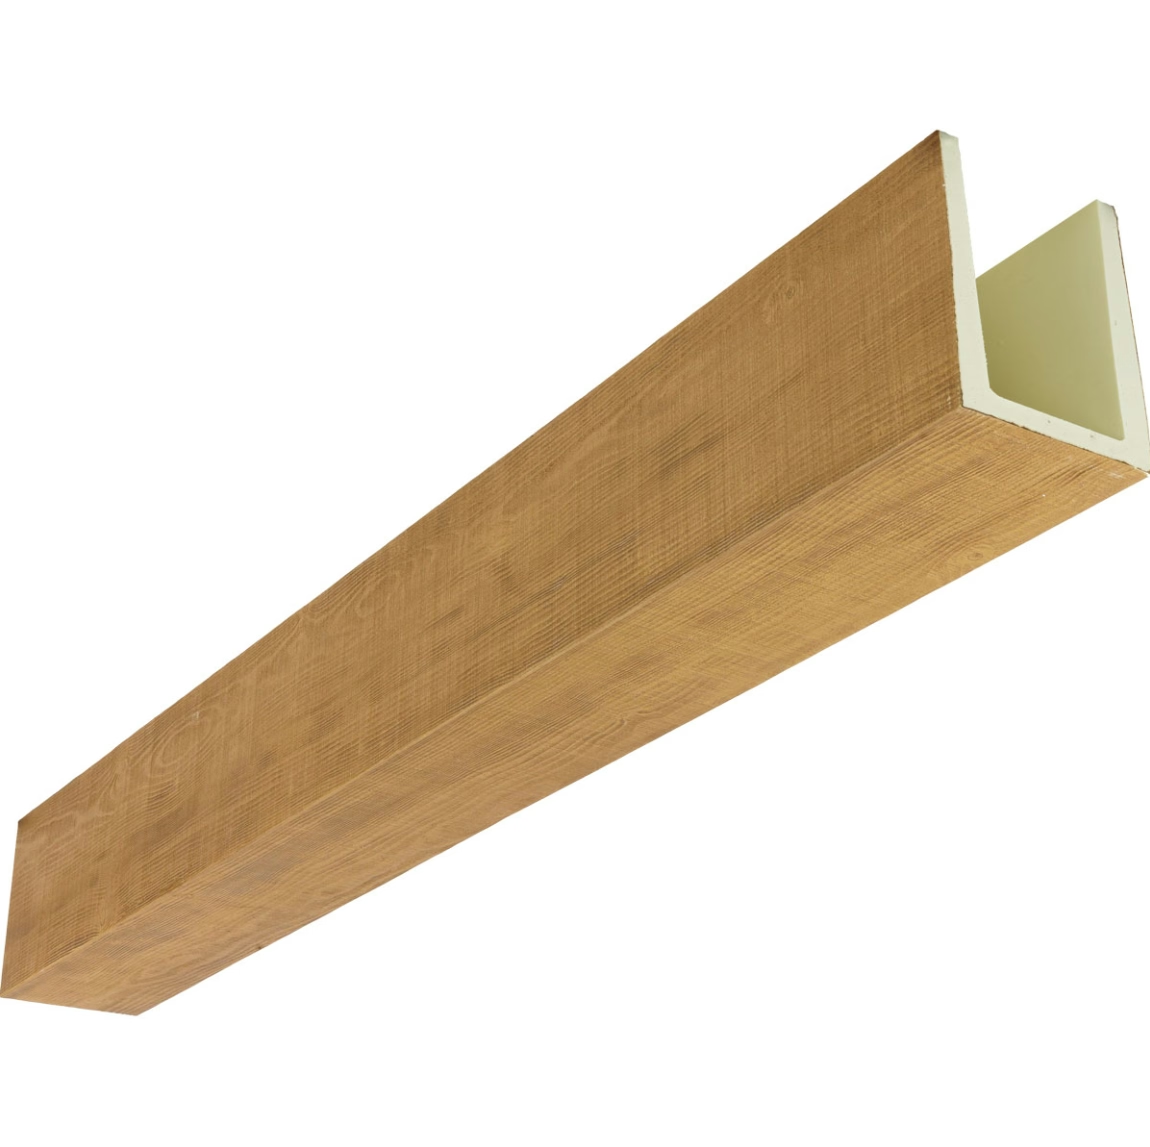
Recessed lighting coordination transforms beams from purely decorative elements into functional lighting infrastructure. LED strip lights mounted in the U-channel cavity create ambient uplighting that makes ceilings appear taller while adding warmth. This indirect lighting approach proves particularly valuable in studios where floor and table lamps consume precious surface area.
Pendant light placement benefits from beam presence, with fixtures suspended from beams appearing intentional rather than arbitrarily positioned. A pendant over a dining table hanging from a decorative beam looks architecturally integrated, while the same fixture suspended from blank ceiling suggests afterthought. This integration principle applies especially in studios where every element must appear purposeful.
Track lighting mounted to beam faces provides flexible accent lighting without ceiling penetrations. This approach suits rental studios where permanent ceiling modifications aren't permitted. Tracks follow beam lengths, creating organized linear lighting that serves multiple purposes—artwork illumination, task lighting over work surfaces, or accent lighting highlighting architectural features.
Beam-mounted spotlights can define zones through lighting rather than just structure. Positioning adjustable fixtures on beams separating functional areas allows tenants to illuminate active zones while leaving others dim, effectively shrinking or expanding the perceived space based on current use. This flexibility proves valuable in studios where the same square footage serves multiple functions throughout the day.
Material Selection for Urban Contexts
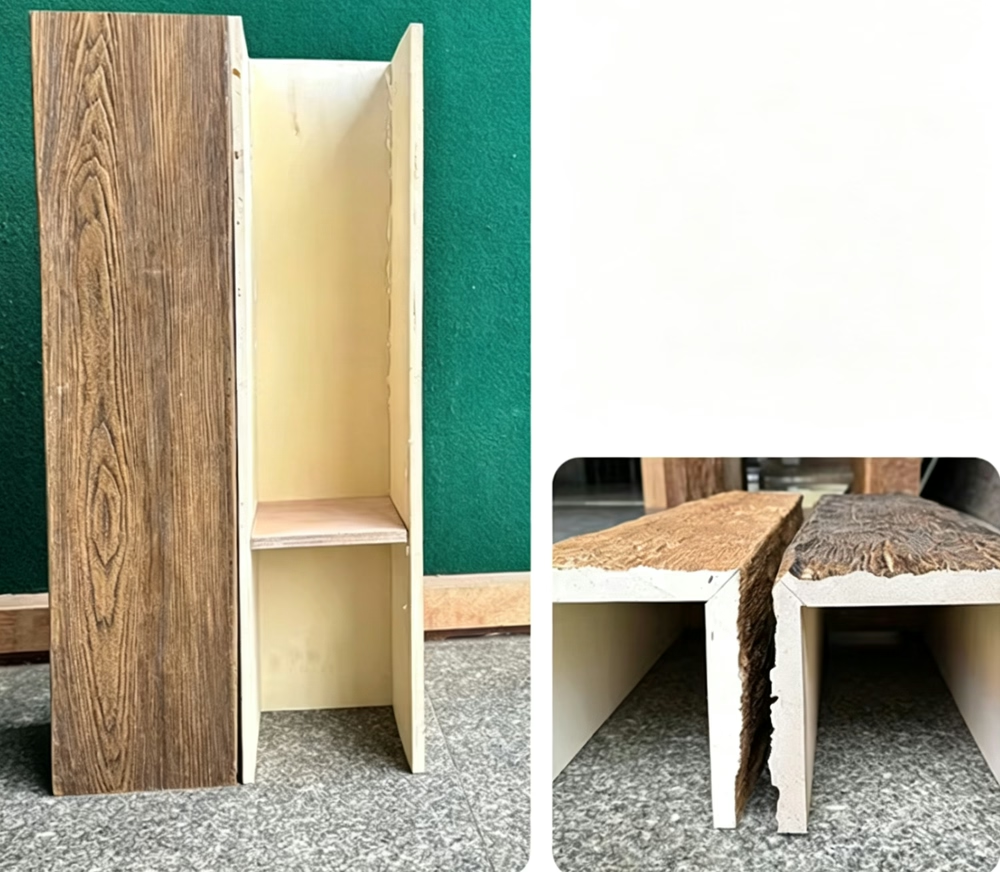
Lightweight polyurethane beams suit studio applications better than heavier alternatives for multiple practical reasons. Installation typically falls to handy residents rather than professional contractors, making manageable weight essential. A 6-foot polyurethane beam weighing under 10 pounds allows DIY installation, while equivalent solid wood beams require help and specialized mounting hardware.
Maintenance-free surfaces matter more in rental studios where tenant turnover creates repeated move-in/move-out cycles. Polyurethane resists scratches, dents, and marks that accumulate during furniture moving and normal living. Unlike natural wood that shows wear and requires periodic refinishing, synthetic beams maintain appearance indefinitely with simple dusting.
Moisture resistance proves crucial in studio bathrooms and kitchenettes that often lack separation from main living areas. Steam from showers and cooking moisture affect ceiling materials in open-plan studios differently than in traditionally compartmentalized apartments. Polyurethane's imperviousness to humidity prevents the warping, staining, and deterioration that affect natural wood in these conditions.
Acoustic properties of hollow polyurethane beams can actually benefit studio sound environments. The hollow U-channel construction creates mild sound diffusion that reduces the harsh echoes common in sparsely furnished studios with hard surface floors and minimal soft furnishings. This acoustic benefit, while subtle, contributes to perceived comfort.
Color Coordination Strategies
Monochromatic schemes using beams in tones closely matching ceiling colors add texture and dimension without color contrast. This approach creates sophisticated layering that enhances architectural interest while maintaining the visual continuity that makes small spaces feel larger. White beams on white ceilings or cream beams on off-white surfaces deliver this effect successfully.
Accent color approaches use beams as focal elements that introduce warmth or character into neutral palettes. A warm honey-toned beam in an otherwise cool gray-and-white studio adds organic warmth without requiring large furniture pieces or extensive textile selections. This strategy particularly suits minimalist aesthetics where architectural elements carry design responsibility.
Matching beams to flooring creates visual relationships that unify studios vertically. Medium oak beams echoing hardwood floors create harmonious color repetition that feels intentional and cohesive. This vertical color relationship helps small spaces read as complete compositions rather than collections of unrelated elements.
Contrasting approaches demand careful execution in compact spaces. Dark beams against light ceilings create drama but risk making ceilings feel lower if not balanced with adequate ceiling height and strategic lighting. This high-contrast strategy works best in studios with 9-foot or higher ceilings where the vertical volume can absorb the visual weight.
Installation Considerations for Renters
Damage-free mounting methods allow transformation of rental studios without security deposit forfeiture. Heavy-duty adhesive strips rated for appropriate weight loads secure lightweight polyurethane beams without nail holes or screw penetrations. Proper surface preparation and weight verification ensure installations remain secure throughout lease terms while allowing complete removal when moving.
Landlord approval processes vary significantly by property and owner. Presenting beam installation as removable décor rather than permanent modification increases approval likelihood. Providing visual renderings showing proposed installation helps landlords understand the enhancement value while reassuring them about reversibility. Some progressive landlords recognize that tasteful improvements increase property desirability for future tenants.
Temporary installation techniques using tension mounting or clip systems suit month-to-month leases or situations where permanence isn't desired. These methods typically involve aluminum channels attached to opposing walls with spring-loaded tension, over which decorative beam covers slide. Disassembly requires minutes without tools or damage.
Documentation requirements protect both tenants and landlords. Photographing ceiling conditions before installation establishes baseline conditions. Retaining all removed hardware and materials enables perfect restoration. Written approval from landlords prevents disputes about authorization. These steps seem tedious but prevent complications during move-out inspections.
Budget-Conscious Implementation
Phased installation spreads costs across multiple months while allowing design experimentation. Starting with a single beam in the most impactful location—typically defining the sleeping zone—demonstrates the concept without full commitment. Success justifies adding subsequent beams, while disappointing results cost only a single beam's investment.
DIY installation eliminates labor costs that often exceed material expenses. Studio beam installations rarely require specialized tools beyond basic drills and levels available in most households. Online tutorials and manufacturer instructions guide novice installers through processes that professional contractors complete in hours. The labor savings justify spending more on premium beam products.
Off-the-shelf standard lengths minimize costs compared to custom sizing. Manufacturers produce beams in common lengths—6, 8, 10, and 12 feet—that suit most studio dimensions. Minor length discrepancies of a few inches rarely matter visually and avoid custom cutting fees. Planning layouts around available standard sizes reduces total project costs significantly.
Outlet and discount sourcing finds quality products at reduced prices. Manufacturers occasionally offer overstock, discontinued colors, or minor cosmetic seconds at substantial discounts. These products function identically to premium stock but cost 30-50% less. For budget-conscious studio dwellers, cosmetic imperfections on ceiling-height elements prove invisible in practice.
Styling Cohesion with Furniture and Décor
Furniture scale coordination ensures beams integrate with rather than compete against furnishings. Low-profile furniture—platform beds, streamlined sofas, minimal storage—pairs well with overhead beam elements. Oversized furniture in already compact spaces combined with decorative beams creates visual chaos rather than cohesion. The ceiling treatment should complement furnishing scale.
Material repetition throughout the space strengthens design unity. If beams feature natural wood tones, incorporating wood accents in furniture, shelving, or accessories creates intentional material relationships. Conversely, beams in spaces dominated by metal and glass should lean toward smoother, more contemporary finishes that harmonize with modern materials.
Textile selections can either support or undermine beam aesthetics. Rustic beams pair naturally with textural fabrics—linen, cotton, wool—that share organic qualities. Contemporary smooth-finish beams coordinate better with sleek synthetics and leather. Material harmony across architectural elements, furniture, and textiles creates cohesive environments that feel intentionally designed.
Art and accessory placement should acknowledge beam presence. Hanging artwork directly beneath beams creates organized gallery walls with natural boundaries. Positioning plants or sculptural objects where they interact visually with beam shadows adds dimensional interest. Treating beams as active participants in accessory composition rather than ignoring them yields more sophisticated results.
Common Mistakes to Avoid
Over-beaming represents the most frequent error in studio applications. Enthusiasm for the concept leads residents to add more beams than spaces can absorb, creating cluttered ceilings that diminish rather than enhance. If questioning whether another beam improves the design, the answer is almost always no. Restraint trumps abundance in compact spaces.
Ignoring proportion creates awkward installations where beam size doesn't match room scale. Massive beams salvaged from larger projects or chosen without considering ceiling height overwhelm studios regardless of how beautiful they appear individually. Proportion matters more than absolute quality when selecting beams for small spaces.
Poor spacing creates either cramped or sparse impressions depending on the error direction. Beams placed too close together fragment ceiling planes into narrow strips that feel confining. Excessive spacing makes beams appear random rather than intentional. Spacing beams at 30-40% of room width typically produces balanced results.
Neglecting lighting integration wastes opportunities to maximize beam functionality. Installing beams without considering how they might support or enhance lighting leaves practical benefits unrealized. Even if not implementing lighting immediately, planning for future integration costs nothing during installation but provides valuable flexibility.
Long-Term Value and Flexibility
Portability of polyurethane beams allows them to move with residents across multiple living situations. Beams installed in a first studio apartment can redeploy in subsequent larger spaces, amortizing their cost across years and multiple homes. This portability makes them genuine investments rather than purely disposable décor.
Adaptability to changing styles permits design evolution without replacing architectural elements. Beams refinish readily with paint or stain, allowing color updates as aesthetic preferences shift. A whitewashed beam can become espresso-toned without replacement, supporting style changes that keep spaces feeling current.
Transferability to future spaces makes beam purchases strategic rather than purely situational. Design principles learned styling a compact studio apply to larger homes, with studio beams finding new roles defining zones in open-plan houses, enhancing basement ceilings, or adding character to garages converted into home offices.
Resale value exists for quality beams in good condition. Online marketplaces and architectural salvage communities buy and sell decorative beams, allowing cost recovery when tastes change or living situations shift. Premium beams maintain value better than cheaper alternatives, making quality initial purchases financially prudent.
Creating Impact in Minimal Space
Studio apartments challenge designers to achieve maximum impact with minimum intervention. Faux timber beams meet this challenge elegantly when selected and positioned thoughtfully. They add architectural character, define functional zones, support lighting design, and create visual interest while remaining completely reversible for rental situations.
The key to success lies in restraint, proportion, and purposeful placement rather than abundance or scale. A single well-positioned beam often accomplishes more than multiple elements competing for attention. For urban dwellers seeking to transform generic studio spaces into personalized homes, compact faux timber beams offer accessible, affordable architectural enhancement that delivers returns far exceeding their modest cost.
Technical References
ASTM standards cited in every specification
Test Data
Lab results from internal testing program
Updated 2026
Reviewed against current product specs